Welcome to this step-by-step tutorial on how to draw a beautiful ruby gem. Whether you’re an experienced artist or just starting out, this guide will help you create a stunning representation of this precious gemstone. So, grab your art supplies and let’s get started!
Materials Required
Before we begin, make sure you have the following materials on hand:
- Drawing paper
- Pencil
- Eraser
- Fine-tipped black pen or marker
- Colored pencils or markers (red, pink, purple, and shades of gray)
- Blending stump or cotton swabs
Now that you have your materials ready, let’s dive into the step-by-step process of drawing a ruby.
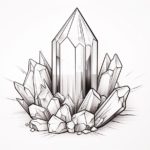
Step 1: Sketch the Basic Shape
Start by lightly sketching an oval shape on your drawing paper. This will serve as the base shape of your ruby. Keep the lines light and loose, as these will be erased later.
Step 2: Draw the Facets
Next, draw a series of angled lines within the oval shape to represent the facets of the ruby. These lines should radiate from the center of the oval and converge towards the top. Take your time to create even and symmetrical facets, as they are a defining feature of a ruby.
Step 3: Add Depth and Dimension
To make the ruby appear three-dimensional, add shading and highlights. Start by shading the areas between the facets using a medium gray colored pencil or marker. Use light, circular motions to create a smooth transition between the facets. Leave the top portion of the facets lighter to represent the reflections.
Step 4: Define the Contours
Now, it’s time to define the contours of the ruby. Use a fine-tipped black pen or marker to carefully trace over the edges of the facets. This will give your drawing a clean and polished look. Take your time and be precise with your lines.
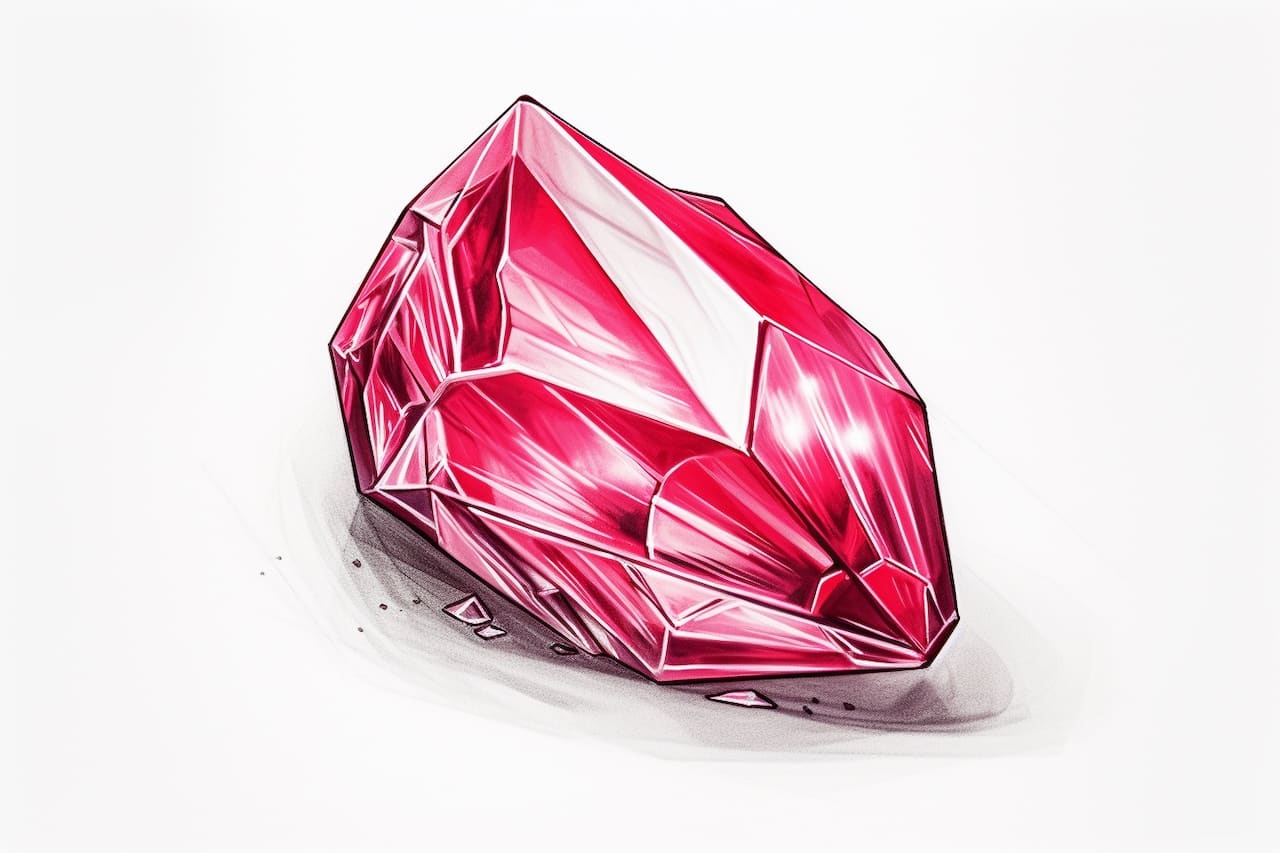
Step 5: Color the Ruby
Start by coloring the facets of the ruby using shades of red, such as bright red, deep red, and pink. Begin with the lightest shade and gradually add darker tones to create depth. Apply the colors lightly at first and build up the intensity gradually. Leave the top portion of each facet lighter to represent the highlights.
Step 6: Blend the Colors
To create a smooth and blended look, use a blending stump or a cotton swab to gently blend the colors together. This will help soften any visible lines and create a realistic appearance. Use light, circular motions to blend the colors smoothly.
Step 7: Add Shading and Highlights
To enhance the realism of the ruby, add shading and highlights. Use a dark red or purple colored pencil or marker to shade the areas between the facets where the shadows would be. Blend the shading gently to create a seamless transition.
Next, use a white colored pencil or marker to add highlights to the top portion of each facet. This will create the illusion of light reflecting off the surface. Remember to blend the highlights softly to give them a natural appearance.
Step 8: Finalize the Details
Take a step back and assess your drawing. Look for any areas that need refinement or additional details. For example, you can add small white dots or lines within the facets to represent sparkle or flaws. Take your time with these details to make your ruby drawing truly shine.
Step 9: Erase the Guidelines
Once you are satisfied with your drawing, use an eraser to gently remove any remaining pencil guidelines. Be careful not to smudge or damage your drawing while erasing.
Conclusion
Congratulations! You have successfully drawn a stunning ruby gemstone. By following these step-by-step instructions and using your creativity, you have created a beautiful work of art. Keep practicing and experimenting with different techniques to further enhance your drawing skills. We hope you enjoyed this tutorial on how to draw a ruby!