Crystals are beautiful and complex structures that can be difficult to draw accurately. However, with the proper guidance and a little practice, anyone can learn to draw a crystal. In this step-by-step tutorial, I will teach you the techniques and methods of how to draw a crystal. So, let’s get started!
Materials Required
Before we begin, gather the following materials:
Now that we have everything we need, let’s dive into the steps.
Step 1: Prepare Your Workspace
Find a clean and well-lit area to work in. Make sure you have enough space to comfortably place your materials. This will ensure that you can work with precision and focus.
Step 2: Familiarize Yourself with Crystals
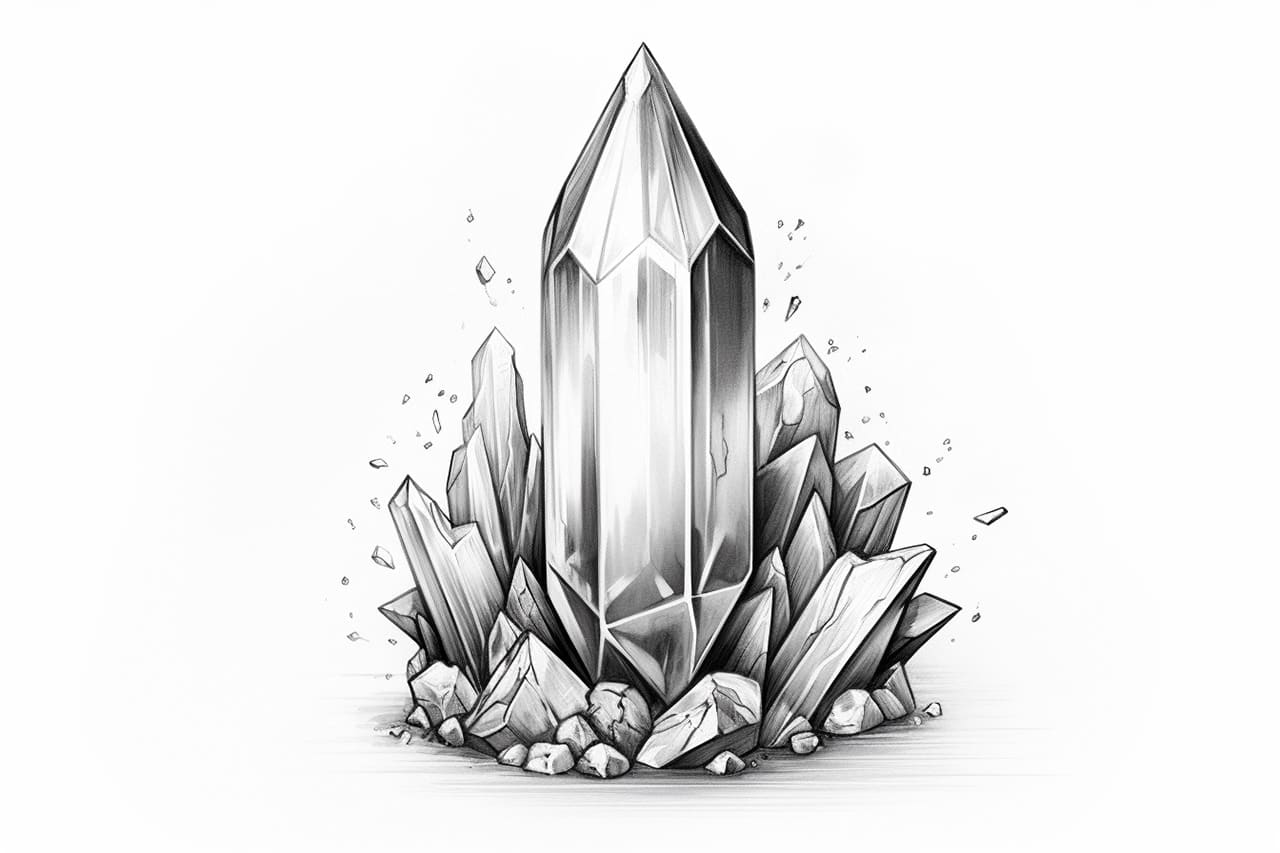
Before attempting to draw a crystal, it’s important to observe and study real crystals. Look for reference images or even real crystals if you have them. Pay attention to their shapes, angles, and patterns. This observation will help you depict the crystal accurately in your drawing.
Step 3: Start with Basic Shapes
Begin by lightly sketching the basic shape of your crystal. Most crystals have geometric shapes like cubes, pyramids, or hexagons. Start with a simple shape that you feel comfortable with. Use your pencil and ruler to create straight lines and well-defined angles.
Step 4: Add Details and Facets
Now it’s time to add details and facets to your crystal. Crystals have multiple flat surfaces called facets that reflect light in different ways. Use your observation skills to determine where these facets should be placed. Remember, each facet should be parallel to the corresponding facet on the opposite side of the crystal.
Step 5: Create Depth and Shadows
To make your crystal drawing look more realistic, it’s important to create depth and shadows. Determine the direction of the light source in your drawing and shade the areas that would be in shadow. Use your pencil to create gradual changes in tone, from light to dark, to give your crystal a three-dimensional appearance.
Step 6: Refine Your Drawing
Take a step back and evaluate your work so far. Look for any areas that need refinement or adjustment. Use your eraser to correct any mistakes or smudges. Pay attention to the overall shape and proportions of your crystal. Make any necessary changes to ensure accuracy.
Step 7: Add Final Touches (Optional)
If you want to add a touch of color to your crystal drawing, now is the time to do so. Use colored pencils or markers to carefully fill in the facets of your crystal. Take note of the color and intensity of light that is being reflected by the crystal. This step is optional, but it can enhance the visual impact of your drawing.
Conclusion
Drawing a crystal may seem daunting at first, but with practice and patience, you can create stunning and realistic crystal artwork. By following the step-by-step instructions outlined in this tutorial, you have learned the techniques and methods to draw a crystal with precision and accuracy. So grab your materials and start creating your own sparkling masterpiece!