Welcome to your ultimate guide on how to draw cheese! This tutorial is perfect for anyone, whether you’re just starting your artistic journey or you’re a seasoned illustrator looking to enhance your skills. Drawing cheese may seem simple, but capturing its unique textures and colors can be a delightful challenge that sparks your creativity.
In the following steps, you’ll learn essential techniques that transform a blank canvas into a mouthwatering representation of cheese. From sketching the initial shape to adding intricate details that mimic the real thing, this guide is designed to help you achieve a realistic and appealing cheese drawing. So gather your art supplies, find a comfy spot, and let’s get those creative juices flowing!
Drawing is not just about putting pencil to paper; it’s a satisfying process that allows you to express yourself while honing your skills. Let’s dive into the world of art, and get ready to make something deliciously beautiful!
Materials Required
Before we dive into the drawing process, make sure you have the following materials:
- Drawing paper: Choose a smooth, heavyweight paper that is suitable for your preferred drawing medium.
- Pencil: Use a mechanical pencil or a set of graphite pencils with different grades (2H, HB, 2B, etc.) to achieve various shading effects.
- Eraser: Have a kneaded eraser or a soft eraser handy for correcting mistakes and refining details.
- Blending tool: A blending stump or a tortillon can be used to soften and blend pencil marks for a smoother texture.
- Reference image: Find a reference photo of cheese that you would like to draw. This will help you visualize the shape and texture while working on your drawing.
Now that you have your materials ready, let’s start drawing!
Step 1: Sketch the Basic Shape
Begin by lightly sketching the basic shape of the cheese using your pencil. Start with an oval shape that will serve as the main body of the cheese. Remember, cheese comes in various forms, so feel free to modify the shape based on the type of cheese you want to depict.
Step 2: Add Texture and Rind
Next, add the texture and rind of the cheese. Take a close look at your reference image and observe the patterns and lines on the surface of the cheese. Use your pencil to create these irregular patterns, making sure to vary the pressure to achieve different levels of darkness and depth.
For the rind, add some rough and uneven edges to the cheese’s outer layer. This will give it a more realistic appearance.
Step 3: Define the Edges and Contours
Now, it’s time to define the edges and contours of the cheese. Use darker pencil grades to add depth and dimension to your drawing. Pay attention to the areas where the light hits the cheese and where shadows are cast. By carefully shading these areas, you can create a three-dimensional effect and make the cheese appear more realistic.
Step 4: Work on the Highlights
To make your cheese drawing truly stand out, you need to add highlights. These are the areas where the light is reflected the most. Leave small sections untouched or lightly shade them to indicate the presence of light. This will give your cheese a shiny and appetizing look.
Step 5: Blend and Soften
To achieve a smooth and realistic look, blend and soften the pencil marks on your drawing using a blending stump or tortillon. This will help create a seamless transition between light and shadow areas, giving your cheese a more polished appearance.
Step 6: Refine Details
Now that the basic structure and shading of your cheese drawing are complete, it’s time to refine the details. Add any additional texture or patterns that you may have missed, paying close attention to the intricacies of your reference image. Take your time to ensure that every detail adds to the overall realism of your drawing.
Step 7: Finalize and Evaluate
Take a step back and evaluate your drawing. Look for any areas that could use further refinement or adjustment. Make any necessary changes to improve the overall composition and accuracy of your cheese drawing.
Conclusion
Congratulations! You have successfully created a realistic cheese drawing. By following these step-by-step instructions and paying attention to details, you can improve your drawing skills and create captivating cheese illustrations. Keep practicing and exploring different types of cheese to further enhance your artistic abilities.
Remember, drawing is about unleashing your creativity and having fun along the way. So, go ahead and enjoy the process of creating your delicious cheese artwork!
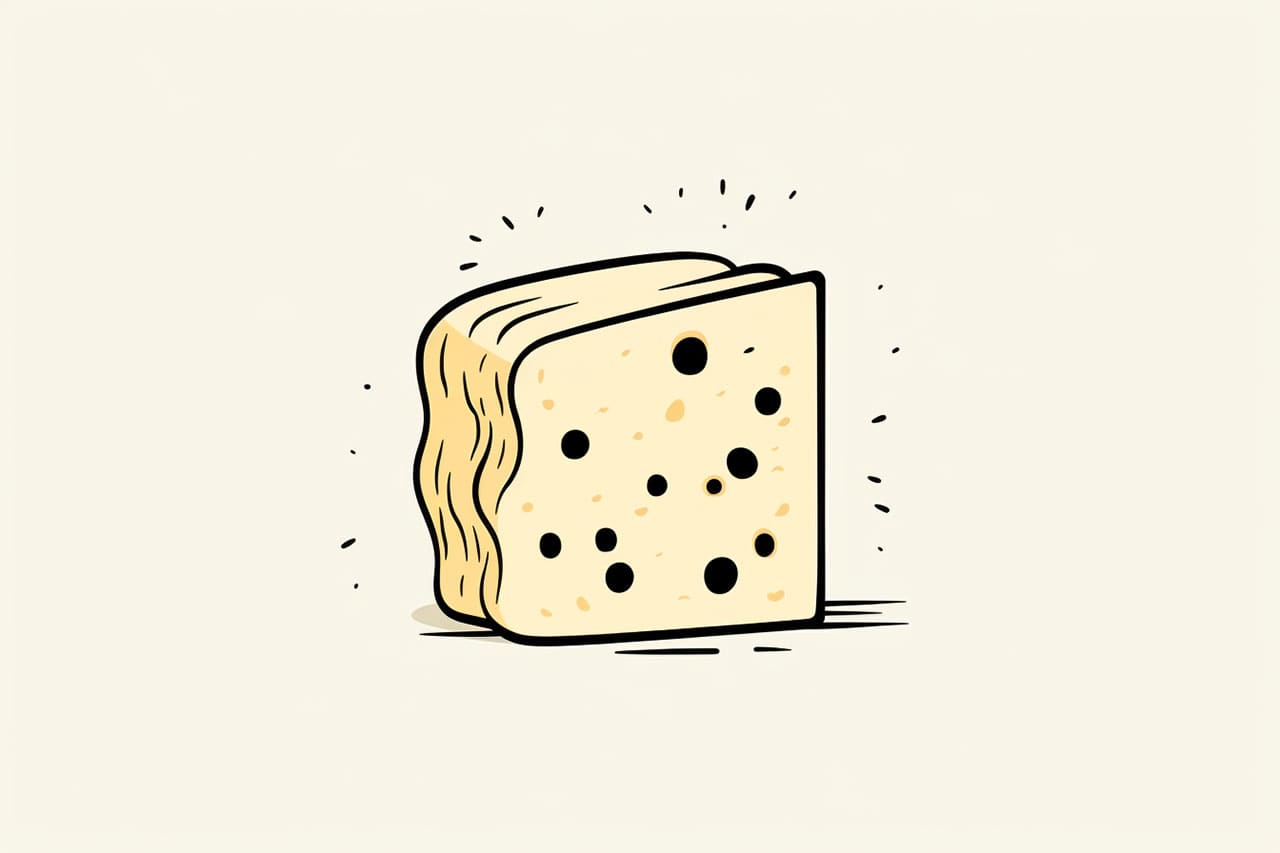
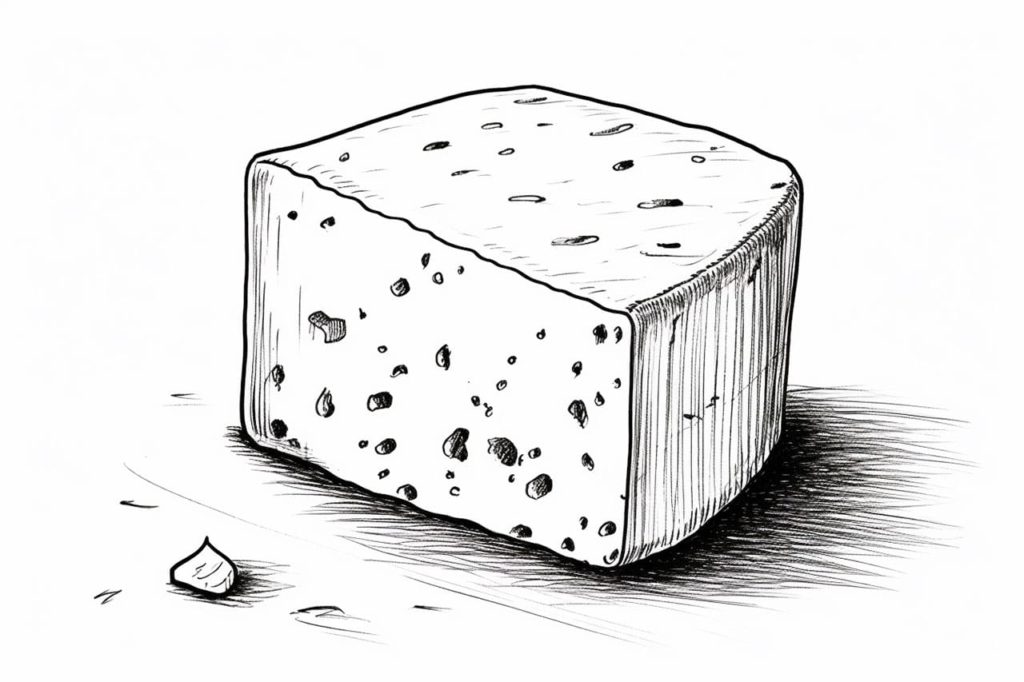
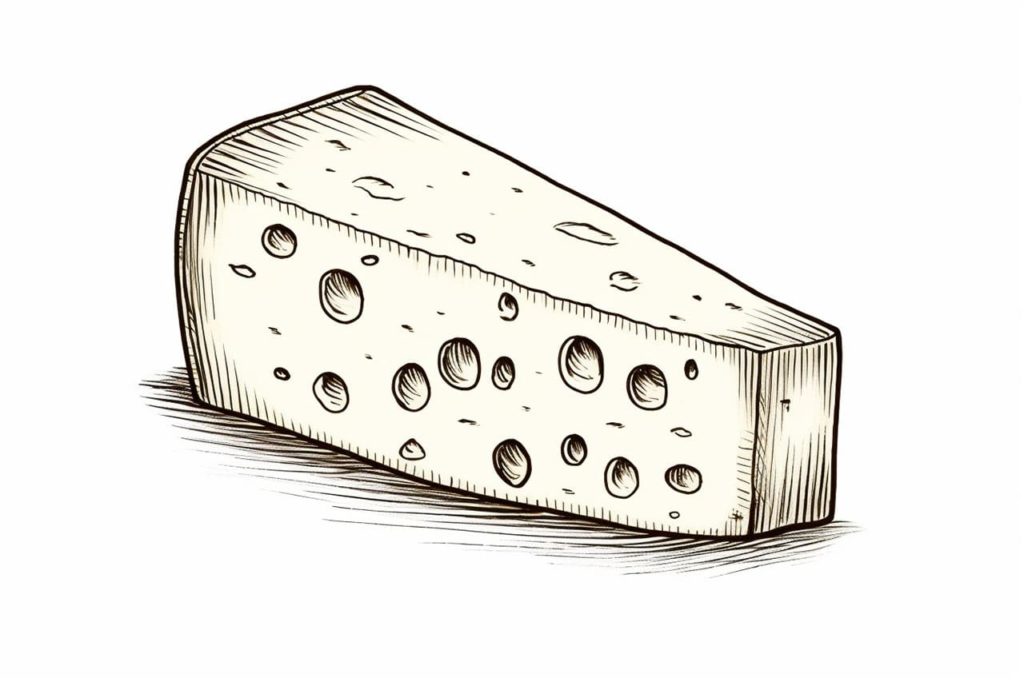
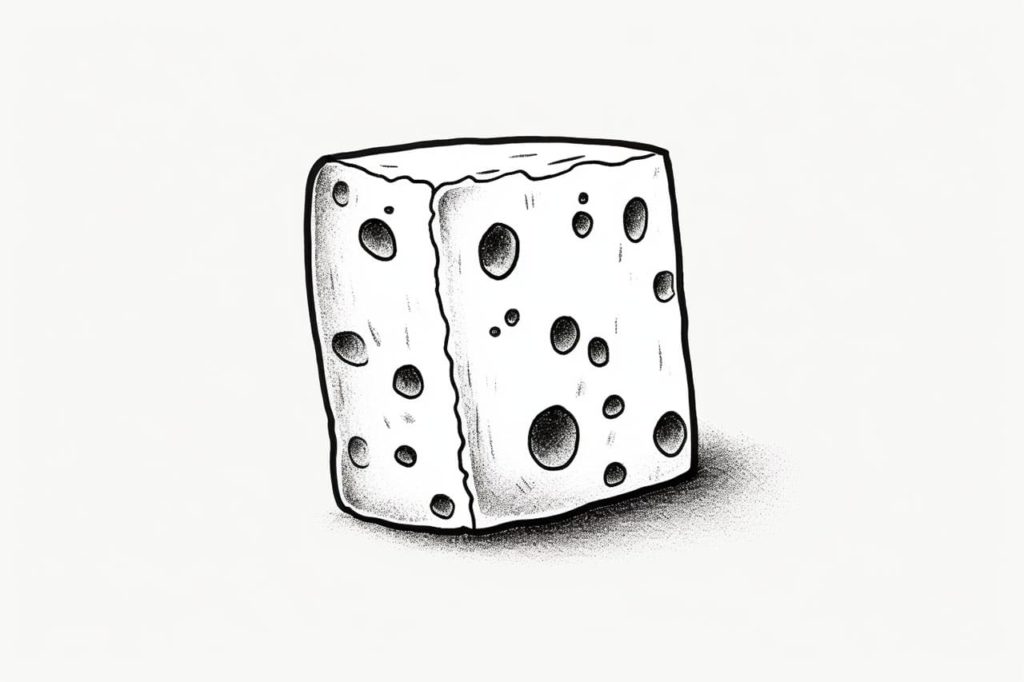
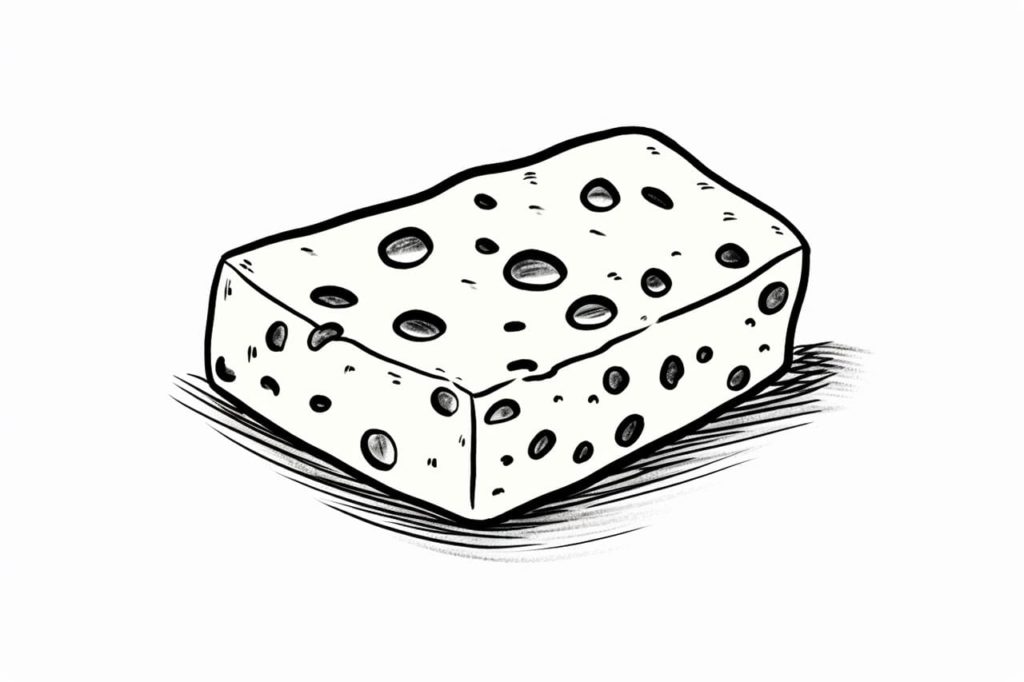
Gallery of Cheese Drawings

Fun Facts About Cheeses
- Cheeses come in a vast array of flavors, textures, and aromas, with thousands of varieties around the world.
- The earliest evidence of cheese-making dates back over 7,000 years, likely originating in the Middle East.
- Cheeses are made from the milk of various animals, including cows, goats, sheep, and even camels and yaks.
- The largest cheese ever made weighed over 57,000 pounds and was displayed at a 1964 New York World’s Fair.
- Cheddar cheese is naturally white; the orange color is typically due to added food coloring from annatto seeds.
- Switzerland’s Emmental cheese is famous for its holes, which are formed by gas-producing bacteria during fermentation.
- Some cheeses, like Roquefort, are aged in caves to develop their distinct flavors and characteristics.
- Mozzarella, originally from Italy, is traditionally made from domestic buffalo milk and is known for its stretchy texture.
- In some cultures, cheese was historically used as currency due to its long shelf life and high value.
- Cheese rolling is an unusual yet popular sport in the UK, where participants chase a wheel of cheese down a steep hill.
Suggestions for Scenes and Settings for Cheese Drawings
- Cheese Board Extravaganza: Illustrate a lavish cheese board with an assortment of cheeses, crackers, fruits, and nuts, artistically arranged.
- Cheese Factory Tour: Depict the interior of a bustling cheese factory with workers crafting wheels of cheese, surrounded by vats of milk.
- Mouse Cheese Feast: Create a whimsical scene of mice enjoying a feast inside a giant wheel of cheese, with tunnels and small tables.
- Cheese Mountain: Envision a majestic landscape where towering mountains are made of different cheese types, with rivers of creamy fondue.
- Cheese Under the Microscope: Draw an abstract, macro view of cheese cells, showcasing their unique textures and patterns under a microscope.
- Cheese in Space: Imagine a space-themed illustration where astronauts explore a floating giant wheel of cheese in zero gravity.
- Cheese Sculptor’s Studio: Capture the creative process of an artist sculpting intricate shapes out of a large block of cheese.
- Historic Cheese Market: Portray an old-world market scene where various cheeses are displayed and traded, with bustling merchants and buyers.
- Cheese as Architecture: Design a fantasy cityscape where buildings are shaped like wedges of cheese and streets lined with cheese graters.
- Aged Cheese Cellar: Illustrate a serene setting inside an ancient cheese cellar, with rows of aging cheeses matured over time.