Chains are a common element in art and design, often symbolizing strength, unity, and connection. While they may seem complex and challenging to draw, by breaking down the process into simple steps, you can easily create realistic and visually appealing chains. In this tutorial, we will guide you through the process of how to draw chains, from understanding the basic structure to adding intricate details. So grab your pencils, paper, and let’s get started!
Materials Required
Before we begin, gather the following materials:
- Drawing paper or sketchbook
- Pencils (preferably a range of hardness from 2H to 6B)
- Eraser
- Ruler (optional)
Having these materials on hand will ensure a smooth drawing experience and allow you to make the necessary adjustments as you progress.
Step 1: Understanding the Structure
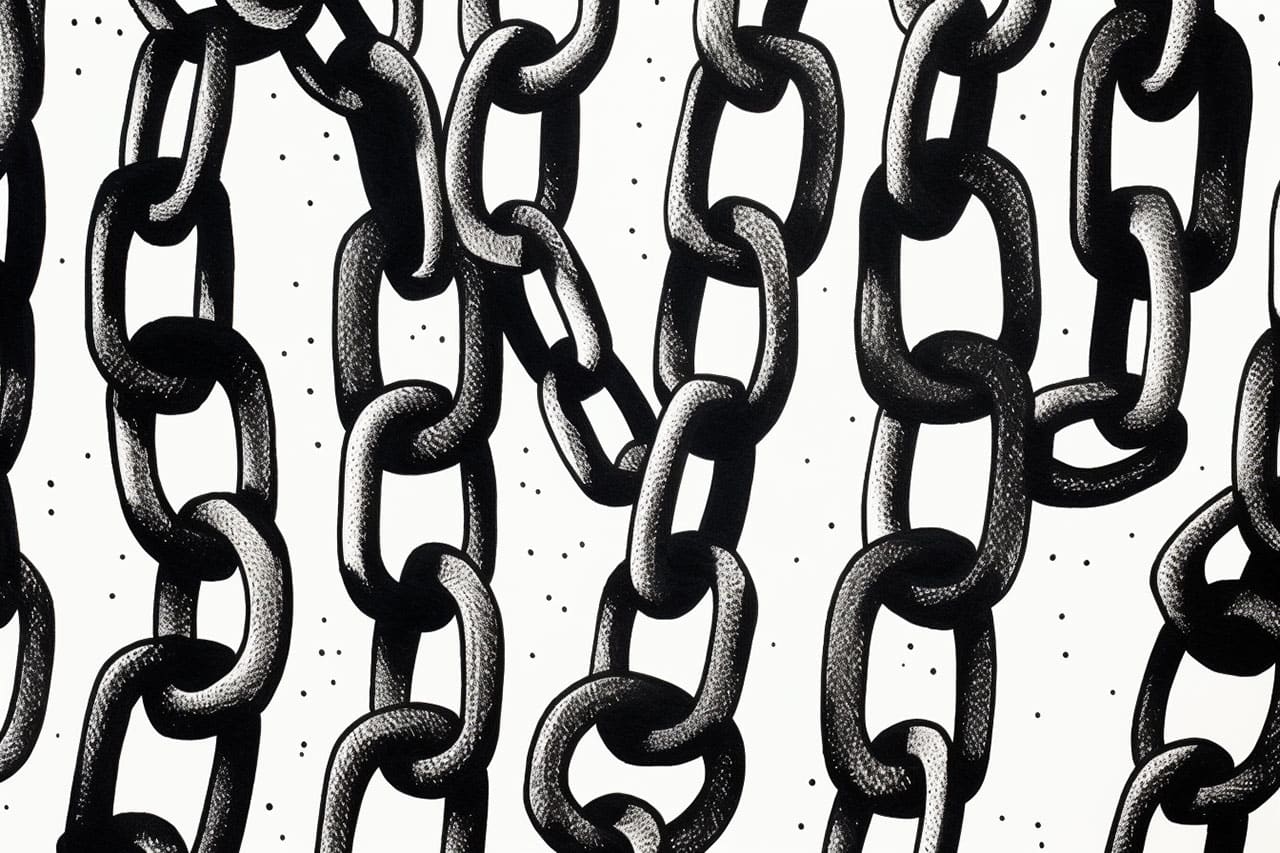
To draw realistic chains, it’s crucial to have a good grasp of their structure. Chains consist of interconnected links that loop together. Each link typically comprises two oval or circular shapes with flatter sides where they join. By understanding this basic structure, you can easily replicate it in your drawing.
Step 2: Sketching the First Link
Begin by lightly sketching a circular or oval shape, which will serve as the first link of the chain. The size and shape of this initial link will determine the overall appearance of the chain. You can experiment with different shapes to achieve the desired effect. Keep in mind that the shape should be slightly elongated and not a perfect circle.
Step 3: Adding Depth to the Link
To make the chain look three-dimensional, add depth to the link. Start by darkening the outer edge of the shape, gradually lightening the pressure towards the center. This will create a subtle shading effect and give the link a rounded appearance. Remember to leave a small highlight area to mimic the reflection of light.
Step 4: Drawing the Second Link
Next, sketch a similar shape adjacent to the first link, ensuring that the two links overlap slightly. The second link should have a similar size and shape as the first but tilted in a way that creates a realistic connection between the two. Again, experiment with different angles to vary the look of your chain.
Step 5: Connecting the Links
To connect the links, draw a curved line from the bottom of the first link to the top of the second link. This represents the part of the chain that holds everything together. Ensure that the curve flows smoothly, mimicking the natural movement of a chain. This connection line should be slightly thinner than the links themselves.
Step 6: Adding Texture and Details
Chains have a textured surface, usually consisting of small bumps or lines that add realism to the drawing. To achieve this effect, lightly sketch short vertical lines or dots across the surface of each link. Be careful not to overdo it; the goal is to create a subtle texture that enhances the overall appearance.
Step 7: Repeating the Process
Continue adding links to your chain by following steps 4 to 6. Each subsequent link should overlap with the previous one, creating a seamless and continuous chain. Remember to vary the shapes and angles of the links to make your chain look more interesting and dynamic.
Step 8: Refining and Adjusting
Once you have drawn several links, take a step back and assess your chain’s overall appearance. This is the perfect time to make any necessary refinements or adjustments. Use an eraser to remove any stray lines or shapes that may distract from the chain’s structure. You can also darken certain areas to enhance depth or add more texture if desired.
Step 9: Adding Shadows and Highlights
To make your chain look even more realistic, add shadows and highlights. Determine the direction of your light source, and imagine where the shadows would fall accordingly. Use a softer pencil to shade in the areas where the links overlap or cast shadows on one another. Conversely, use a harder pencil to add highlights to the exposed areas of the links, mimicking the reflection of light.
Step 10: Final Details
To give your chain that extra level of detail, consider adding small imperfections or variations to each link. Chains are rarely perfectly smooth or identical, so adding subtle irregularities can make your drawing more believable. This could include lightly sketching small dents, scratches, or variations in shape and size.
Conclusion
Drawing chains may seem daunting at first, but by breaking down the process into manageable steps, you can create impressive chains with depth and realism. Remember to start with a good understanding of their structure, and gradually build upon it by adding links, texture, and details. With practice and patience, you’ll be able to confidently draw chains that add visual interest and symbolism to your artwork.
So pick up your pencils and start practicing! With each chain you draw, your skills will improve, and your understanding of form and texture will deepen. Enjoy the process and the satisfaction of creating intricate chains that convey strength and unity in your artwork.