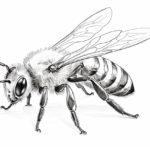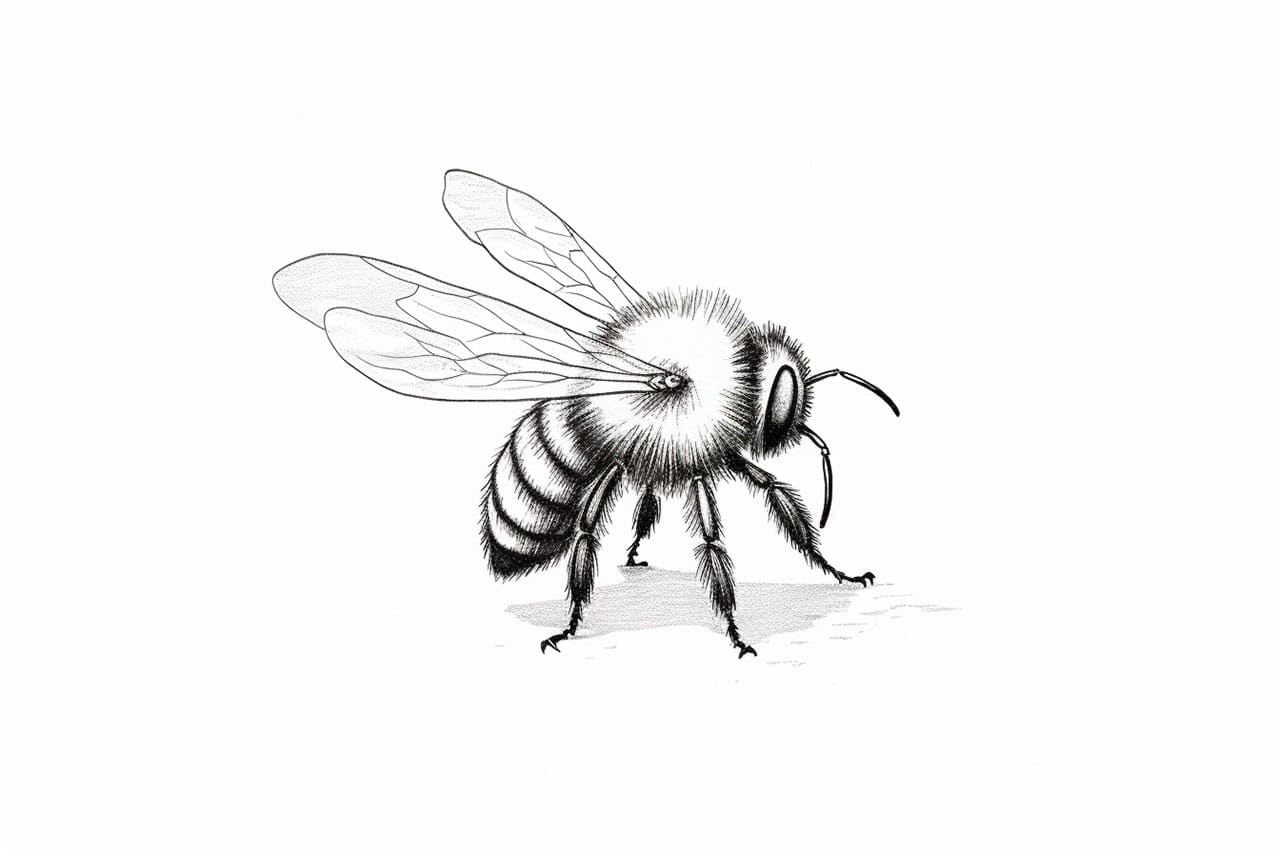
Welcome to this step-by-step tutorial on how to draw a bumblebee. In this guide, I will show you how to create a realistic and detailed representation of this adorable insect. Whether you are a beginner or an experienced artist, you will find these instructions easy to follow and fun to practice.
Materials Required
Before we begin, let’s gather the materials you will need for this drawing:
- Pencil: A standard graphite pencil with a medium-to-soft lead will work perfectly fine for this exercise.
- Paper: Choose a smooth, white drawing paper that is large enough to accommodate your drawing comfortably.
- Eraser: Have a kneaded eraser or a soft vinyl eraser on hand for making corrections.
- Fine-tip Pen: To add some fine details to your finished drawing, you may want to have a black pen with a fine tip.
- Colored Pencils (optional): If you wish to add some color to your bumblebee, have a set of colored pencils ready.
Now that we have all the necessary materials, let’s dive into the step-by-step instructions.
Step 1: Sketch the Basic Shapes
Start by lightly sketching the outline of the bumblebee’s body using your pencil. Begin with an oval shape for the thorax, a larger oval shape for the abdomen, and a small circle for the head. Don’t worry about making it perfect at this stage, as we will refine it later.
Step 2: Add the Wings
On either side of the thorax, draw two long, narrow shapes that slightly curve downward. These will be the bumblebee’s wings. Make sure they are symmetrical and have a slight overlap.
Step 3: Define the Head and Antennae
Refine the shape of the head by adding the eyes, mouth, and an oval shape underneath for the fuzzy texture. Then, extend two curved lines from the top of the head to represent the bumblebee’s antennae.
Step 4: Outline the Body
Now it’s time to give the bumblebee a more defined body. Using the basic shapes as a guide, carefully draw the outline of the thorax, abdomen, and the fuzzy texture between them. Make sure to leave a small gap between the thorax and the abdomen.
Step 5: Draw the Legs
The bumblebee has six legs, so we will draw three on each side. Start by sketching the first pair of legs, which should be slightly curved and attached to the thorax. Follow this by drawing the remaining legs, making sure they are somewhat thinner towards the ends.
Step 6: Add Details to the Wings
To make the wings more realistic, draw some veins running through them. Start by drawing three curved lines on each wing, radiating from the base and following the shape of the wing. Then, add smaller, parallel lines across the larger curves to create the veins.
Step 7: Refine the Body
Now it’s time to add more details to the bumblebee’s body. Draw small, irregular shapes along the abdomen to represent the fuzzy texture. Also, add a few curved lines on the thorax to depict the different segments.
Step 8: Finalize the Face
Give more definition to the bumblebee’s face by adding the eyes and mouth. For the eyes, draw two small ovals on either side of the head, and shade them lightly. Then, outline the mouth with a curved line and add a tiny triangle at the top to represent the mandibles.
Step 9: Fine Details and Shadows
At this point, your bumblebee drawing is almost complete. Use a fine-tip pen to add some fine details, such as dots and lines, to enhance the texture and features of the bee. You can also create shadows by using cross-hatching or shading techniques to give your drawing depth.
Step 10: Optional Coloring
If you would like to add some color to your bumblebee, grab your colored pencils and carefully fill in the desired areas. Typically, bumblebees have yellow and black stripes on their abdomen. Be sure to use light strokes and build up the color gradually for a more realistic effect.
Congratulations! You have successfully learned how to draw a bumblebee from start to finish. With practice, you’ll be able to create even more intricate and lifelike drawings of these fascinating insects.
Conclusion
Drawing a bumblebee may seem challenging at first, but by following these step-by-step instructions, you can create a beautiful representation of this adorable insect. Remember to take your time, be patient, and enjoy the process. Whether you’re a beginner or an experienced artist, this tutorial is designed to help you improve your skills and have fun along the way.
So, grab your pencil and paper, and let’s start drawing a bumblebee today!