Greetings, aspiring artists! In this step-by-step guide, I will show you how to draw a bat wing. Whether you’re a beginner looking to enhance your drawing skills or a seasoned artist searching for inspiration, this tutorial will provide you with the knowledge and techniques needed to create a realistic bat wing illustration. So, let’s get started!
Materials Required:
Before we begin, gather the following materials:
- Pencil (HB or 2B)
- Eraser
- Fine-tip black pen or liner
- Sketchbook or drawing paper
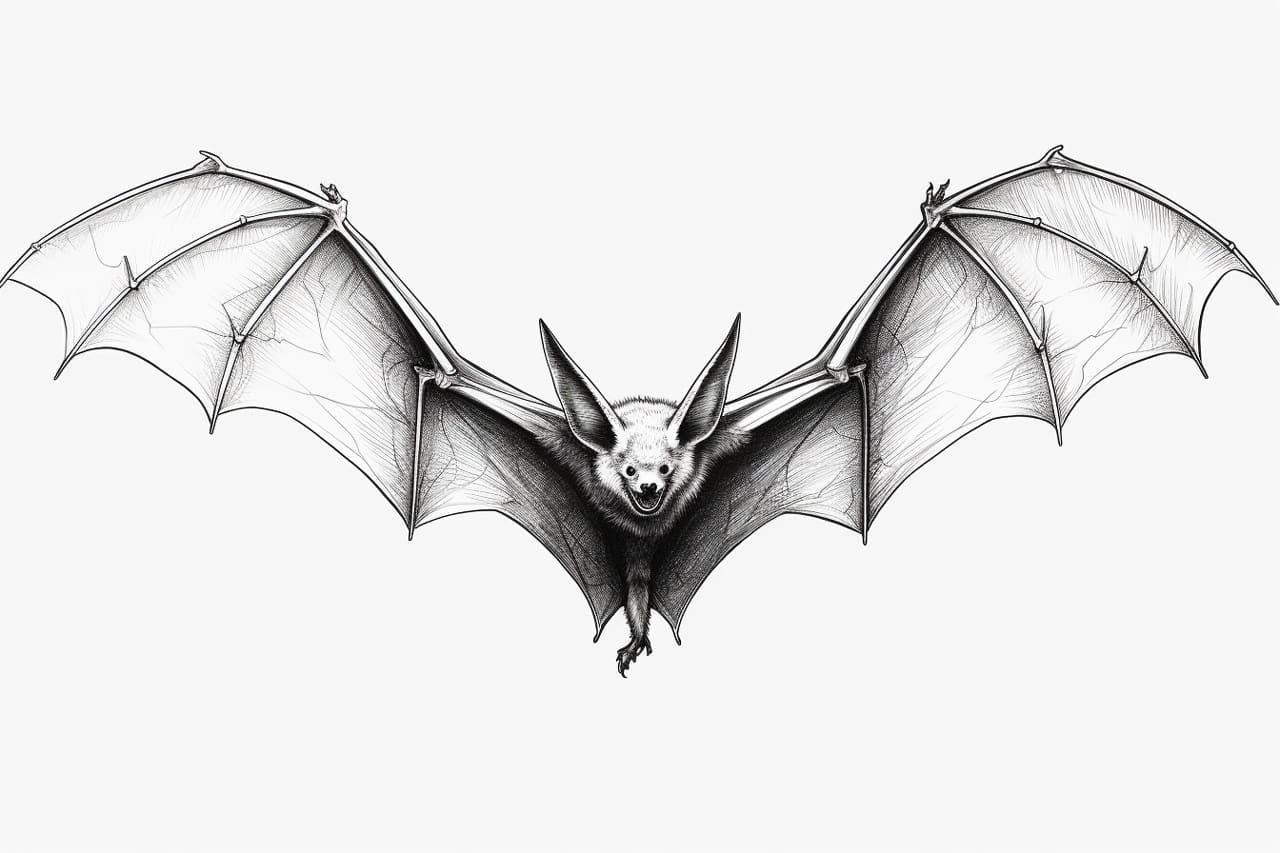
- Reference image of a bat wing (optional)
Now that you have your materials ready, let’s dive into the step-by-step process of drawing a bat wing.
Step 1: Framework
Start by lightly sketching a simple framework to establish the basic shape of the bat wing. Begin with a straight line for the central axis. Then, add two curved lines on either side to create the outer edges of the wing. Remember, at this stage, keep your lines light and loose as we will refine the details later.
Step 2: Primary Structure
Next, using the framework as a guide, start adding the primary structure of the bat wing. Draw the bones and joints of the wing by incorporating long, curved lines following the main shape. Keep in mind that bat wings have elongated fingers that support the wing membrane, so be sure to include those finger-like structures.
Step 3: Secondary Structure
Now that the main structure is in place, it’s time to add the secondary structure of the bat wing. Begin drawing the smaller bones or veins that branch out from the main structure. These veins create a web-like pattern within the wing membrane. Follow the reference image or your creative instincts to achieve a realistic and organic look.
Step 4: Wing Membrane
With the primary and secondary structures complete, it’s time to add the wing membrane. Start by drawing long, curved lines that connect the bones and veins. These lines will represent the thin membrane that stretches between the bones, giving the wing its characteristic appearance. Remember to leave small gaps between the lines to indicate translucency.
Step 5: Detailing the Wing Membrane
To enhance the realism of your bat wing drawing, add intricate details to the wing membrane. Begin by drawing subtle lines within the membrane to represent the texture and folds. These lines should follow the curves of the wing, giving it a sense of depth and dimension. Vary the strength of the lines to create a visually interesting pattern.
Step 6: Shadows and Shading
To bring your bat wing to life, it’s important to add shadows and shading. Locate the areas where the wing overlaps or curves, and darken these regions to create depth. Use your pencil or a shading tool to gently blend and smudge the graphite, creating a smooth transition between light and shadow. Pay close attention to the reference image or observe real bat wings for guidance.
Step 7: Ink the Outline
Once you are satisfied with the pencil sketch, it’s time to ink the outline of your bat wing. Use a fine-tip black pen or liner to carefully trace over the pencil lines, emphasizing the primary and secondary structures. This step will give your drawing a clean and defined look. Take your time and be patient during this stage to ensure accuracy.
Step 8: Erase Guidelines
Now that the ink has dried, use an eraser to remove any remaining pencil guidelines and stray marks. Be gentle while erasing to avoid smudging the inked outline. Take your time to ensure a clean and polished final result.
Step 9: Finishing Touches
With the guidelines erased, take a moment to assess your bat wing drawing. Add any final details or corrections as needed. Consider enhancing the depth and texture by adding additional shading or highlights. Experiment with different techniques to achieve the desired effect.
And there you have it! You’ve successfully drawn a magnificent bat wing. Congratulations on your artistic achievement!
Conclusion
Drawing a bat wing may seem daunting at first, but by following the step-by-step instructions provided in this tutorial, you can create a stunning and realistic illustration. Remember to be patient, practice regularly, and don’t be afraid to experiment and add your personal touch. So grab your materials, let your creativity soar, and enjoy the process of bringing this intriguing creature to life on paper. Happy drawing!