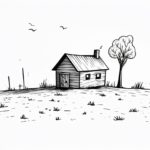
Welcome to this step-by-step guide on how to draw a log cabin! Whether you’re a beginner or an experienced artist, this tutorial will walk you through the process of creating a detailed and realistic log cabin drawing. By following these easy-to-understand instructions, you’ll be able to create a charming log cabin scene on paper in no time. So grab your drawing materials, and let’s get started!
Materials Required
Before we begin, let’s gather the materials you’ll need for this drawing tutorial:
- Drawing paper: Use a clean sheet of paper that is suitable for drawing. A heavier weight paper, such as a sketchbook or drawing pad, is recommended for better results.
- Pencils: Use a range of graphite pencils in different grades to achieve various shades and tones. A set of pencils that includes a 2H, HB, 2B, 4B, and 6B is ideal.
- Eraser: Make sure to have a soft eraser handy for correcting any mistakes or lightening areas of your drawing.
- Ruler: A straight edge ruler will be useful for drawing straight lines and creating precise angles.
- Drawing compass: A compass will come in handy when drawing circular shapes, such as the logs on the cabin.
Now that you have all the necessary materials, let’s dive into the step-by-step process of drawing a log cabin.
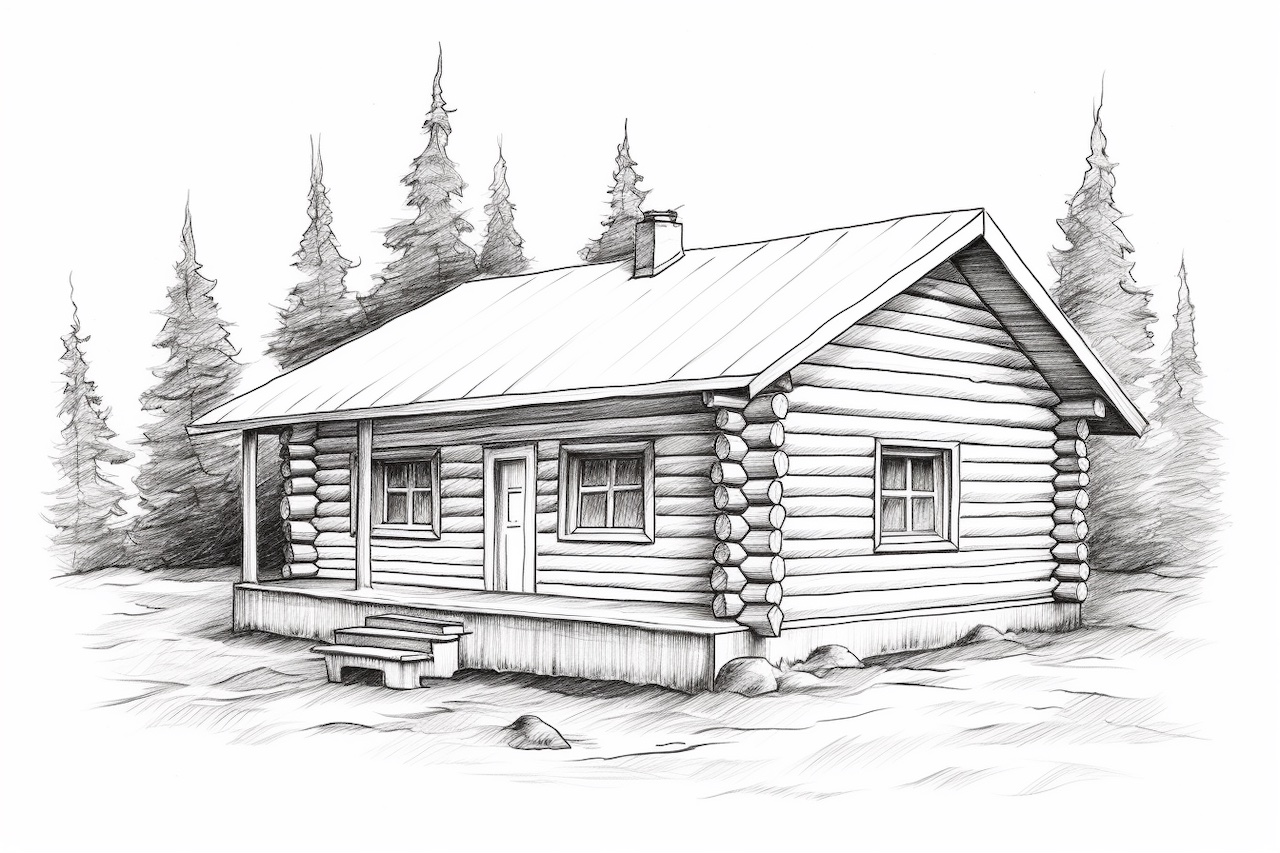
Step 1: Sketch the Basic Outline
To start, lightly sketch a rectangular shape on your paper to represent the base of the log cabin. Use your ruler to make sure the lines are straight and even. This rectangle will serve as the foundation for your cabin.
Step 2: Add the Roof and Chimney
Extend two lines upward from the top corners of the rectangle, meeting at a point to form the roof. Make sure the roof lines are parallel to each other. Next, sketch a rectangular shape on one side of the roof to indicate the chimney. Position the chimney at a slight angle to give your log cabin some character.
Step 3: Draw the Logs
Now it’s time to draw the logs that make up the walls of your cabin. Start at the base of the rectangle and draw horizontal lines across the width of the cabin, spacing them evenly. These lines represent the stacked logs. Use your ruler to keep the lines straight and consistent.
Step 4: Create Depth with Shadows
To add depth and dimension to your log cabin drawing, shade the sides of the logs with your pencils. Start by adding a light layer of shading to create a base tone. Then, gradually build up the layers of shading, darkening the areas closer to the corners and edges of the logs. Use a blending stump or your fingers to blend the shading for a smooth and realistic effect.
Step 5: Add Details to the Cabin
Now that the basic structure of the log cabin is in place, it’s time to add some details. Use your pencils to draw windows, a door, and any other decorative elements you want to include. Pay attention to the perspective and angles of these details to maintain the realistic look of the cabin.
Step 6: Enhance the Roof and Chimney
To give your roof and chimney more texture, add some shading and small lines to represent the individual shingles or stones. This will make them stand out and add a sense of realism to your drawing. Remember to vary the shading to create highlights and shadows.
Step 7: Finishing Touches
Take a step back and assess your drawing so far. Make any necessary adjustments or corrections to ensure that all the elements are proportionate and balanced. If you’re satisfied with your log cabin drawing, you can proceed to finalize it by darkening the lines and adding any additional details or textures.
Conclusion
Congratulations on completing your log cabin drawing! By following these steps, you’ve learned how to create a detailed and realistic log cabin scene. Remember, practice is key to becoming a better artist, so feel free to experiment with different techniques and styles. With time and effort, you’ll be able to create stunning drawings of log cabins and other subjects. Happy drawing!