Welcome to this step-by-step guide on how to draw a tesseract. A tesseract is a four-dimensional shape that is also known as a hypercube. It may sound complex, but with the right approach, you will be able to create a stunning representation of this fascinating geometric form. So, let’s get started!
Materials Required
Before we dive into the drawing process, make sure you have the following materials ready:
- Graph paper or a plain sheet of paper
- Pencils of different hardness (HB, 2B, 4B)
- Eraser
- Ruler
- Compass
- Colored pencils or markers (optional)
Having these materials on hand will help you accurately sketch the tesseract and add depth and dimensionality to your drawing.
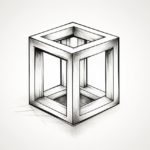
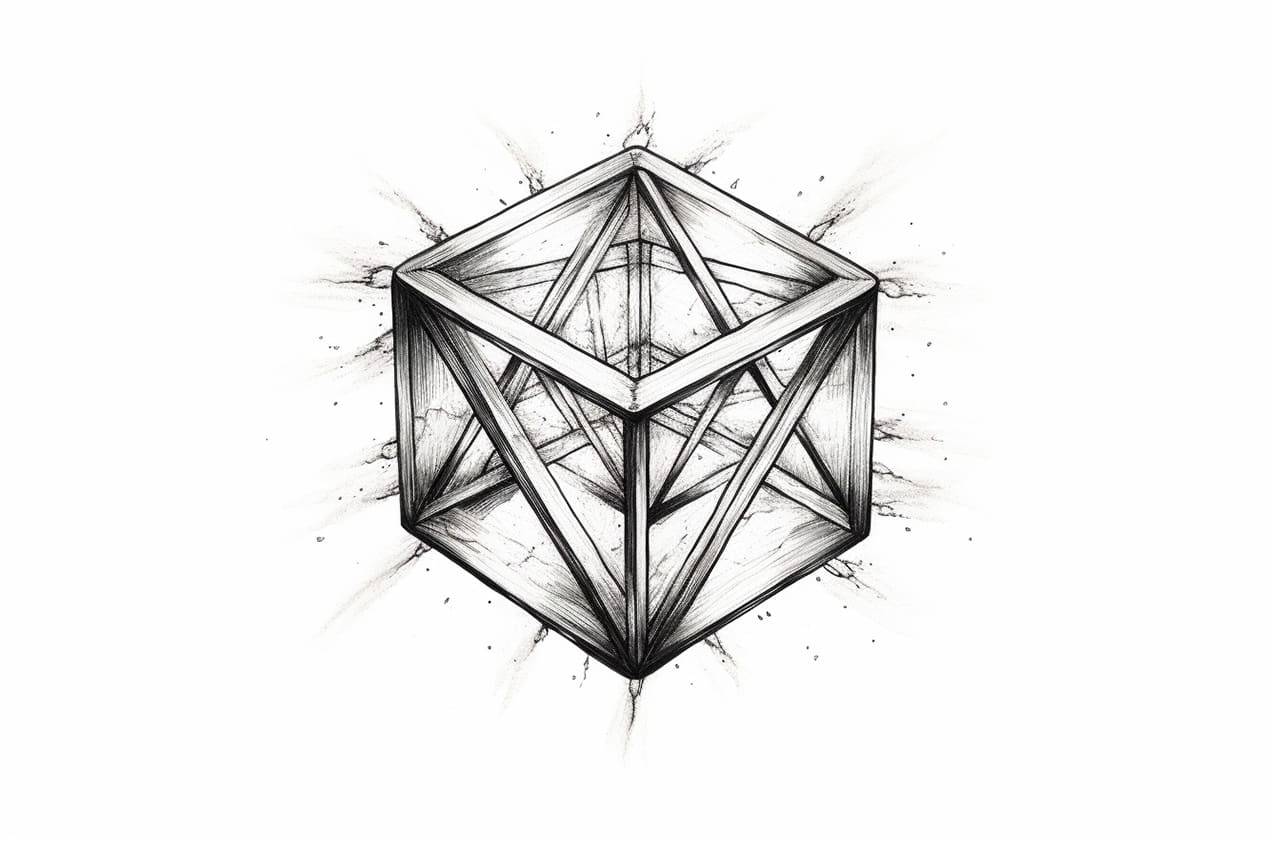
Step 1: Understanding the Tesseract
To begin, it is important to have a clear understanding of what a tesseract is. The tesseract is a four-dimensional analog of a cube, much like a cube is a three-dimensional analog of a square. It consists of eight vertices, twelve edges, six faces, and three-dimensional cubes as its cells. Visualizing these components in your mind will help you immensely throughout the drawing process.
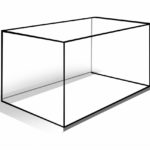
Step 2: Drawing the Initial Cube
Start by drawing a square in the center of your paper. Use a ruler to ensure the lines are straight and equal in length. The size of this square will determine the overall scale of your tesseract, so choose accordingly.
Step 3: Adding Depth to the Cube
Now, extend the edges of the square to form a three-dimensional cube. To achieve this, draw parallel lines on each side of the square, connecting the corners. Make sure the lines are evenly spaced and parallel to the corresponding sides of the square.
Step 4: Creating the Second Cube
At each corner of the initial cube, draw another square of equal size. These squares will represent the faces of the inner cube, which will eventually contribute to the formation of the tesseract.
Step 5: Connecting the Cubes
Using straight lines, connect the corresponding corners of the inner and outer cubes to create additional edges. Make sure the lines are parallel and connected accurately to represent the structure of the tesseract.
Step 6: Drawing the Remaining Cubes
Repeat Step 4 and Step 5 to complete the tesseract. Draw squares at each newly formed corner and connect them with parallel lines to create additional edges. Extend this process until you have a total of eight cubes connected together within the tesseract.
Step 7: Erasing Unnecessary Lines
At this point, you may have multiple lines that are no longer needed. Use your eraser to carefully remove the unnecessary lines and clean up your drawing. Be cautious not to erase any essential lines that define the structure of the tesseract.
Step 8: Adding Shading and Details
To enhance the three-dimensional appearance of your tesseract, you can add shading and details. Determine the direction of the light source in your drawing and shade the sides of the cubes that would be in shadow. This will create depth and bring your tesseract to life. Experiment with different shading techniques to achieve a realistic and visually appealing result.
Step 9: Coloring the Tesseract (optional)
If you wish, you can bring even more vibrancy to your tesseract by coloring it. Use colored pencils or markers to carefully fill in the faces of the cubes with different shades and colors. Consider using complementary colors to make your drawing visually captivating.
Conclusion
Congratulations! You have successfully learned how to draw a tesseract, a captivating four-dimensional shape. By following the step-by-step instructions and using the materials provided, you should be able to create a visually appealing representation of this complex geometric object. Remember to practice and experiment with different techniques to refine your skills further. Enjoy your artistic journey into the realm of hypercubes!