The Wendigo is a mythical creature that originates from the folklore of the Indigenous peoples in the northern forests of North America. It is often depicted as a malevolent spirit that possesses those who partake in cannibalism, transforming them into a monstrous creature with an insatiable hunger for human flesh. Drawing a Wendigo can be a thrilling and challenging artistic endeavor. In this step-by-step guide, we will walk you through the process of how to draw a detailed and captivating representation of this terrifying creature.
Materials Required:
- Pencil
- Eraser
- Paper
- Colored pencils or markers (optional)
Step 1: Research and Reference
Before diving into the drawing process, it’s essential to familiarize yourself with the appearance and characteristics of the Wendigo. Study various depictions of the creature, whether it be through illustrations, sculptures, or descriptions. This research will provide you with inspiration and help you understand the key elements that make up the Wendigo’s appearance.
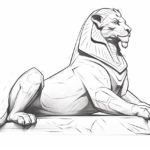
Step 2: Sketch the Basic Shape
Start by lightly sketching a rough outline of the creature’s body. The Wendigo is often portrayed as a tall, emaciated figure with elongated limbs. Focus on capturing the overall proportions and posture of the creature. Pay attention to the head, which should be slightly oversized, and the limbs, which should appear elongated and skeletal.
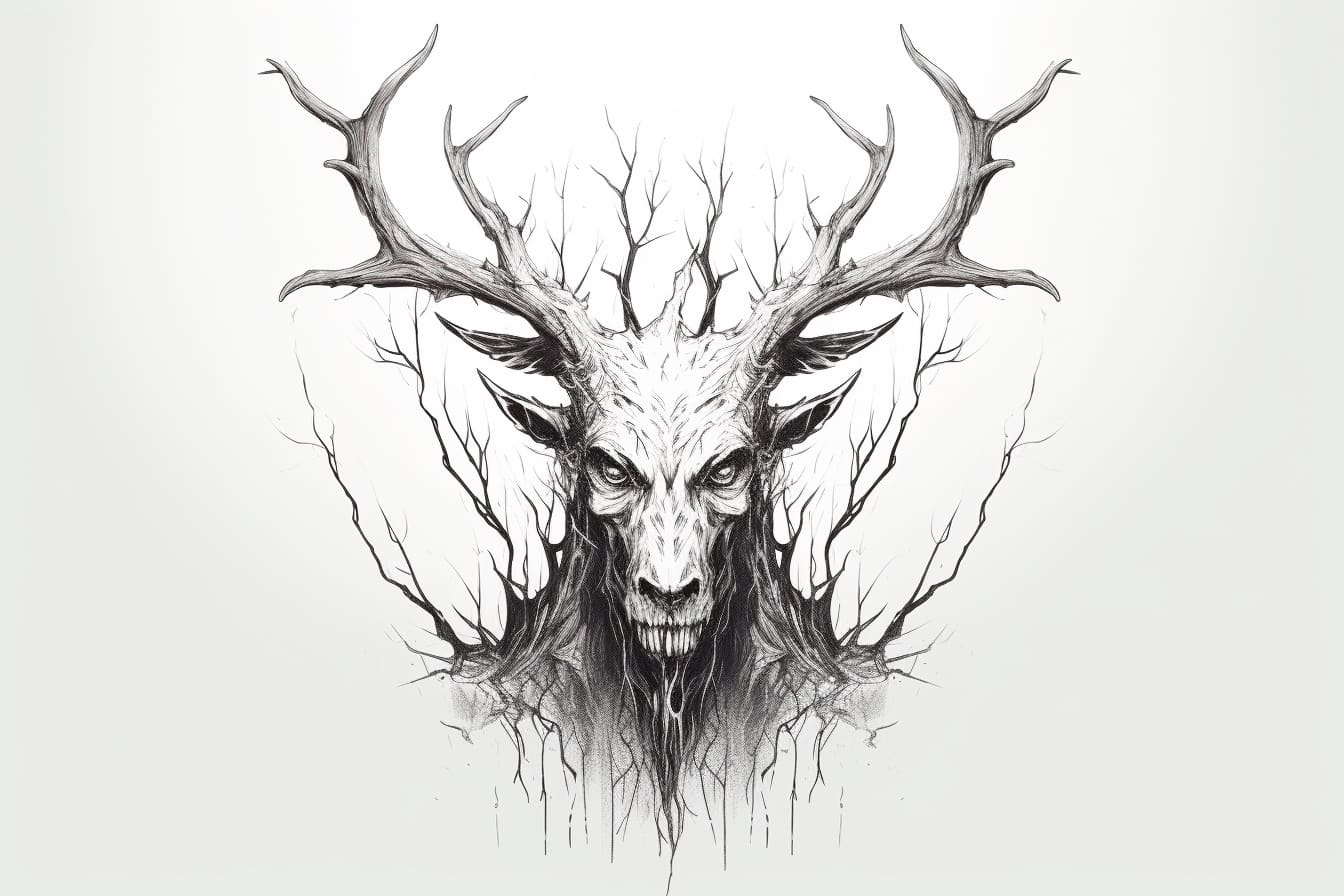
Step 3: Define the Face
Add details to the Wendigo’s face, which is often the most striking and eerie part of its appearance. Begin by sketching the large, sunken eye sockets and the hollow cheekbones. Then, draw a long, thin nose and emphasize the sharp, jagged teeth protruding from its deformed mouth. The Wendigo is often depicted with antler-like growths sprouting from its skull, so make sure to include these as well.
Step 4: Refine the Body
Refine the sketch of the Wendigo’s body by adding more details and defining its skeletal structure. Pay attention to the bony joints and the protruding shoulder blades and ribs. Capture the sense of malnourishment and emaciation by exaggerating these features. Add jagged, torn-looking clothing or scraps of fur to enhance the creature’s menacing appearance.
Step 5: Add Texture and Details
To bring your drawing to life, focus on adding texture and details to the Wendigo’s body. Add thin, wiry hair to the head and limbs, making sure it appears unkempt and wild. Use cross-hatching or shading techniques to create depth and emphasize the creature’s skeletal form. You can also incorporate additional elements such as scars or decaying flesh to enhance the creature’s terrifying nature.
Step 6: Finalize the Line Work
Once you are satisfied with the overall sketch and details, go over the lines with a darker pencil or pen to finalize the drawing. Clean up any stray lines or inconsistencies and refine the contours of the creature’s body. Be mindful of the areas where shadows would naturally fall and use cross-hatching or shading to create depth and dimension.
Step 7: Optional Coloring
If you prefer to add color to your drawing, you can use colored pencils or markers to bring your Wendigo to life. Traditionally, the Wendigo is depicted with pale, sickly skin tones and dark, sunken eyes. Experiment with different shading techniques and color combinations to enhance the menacing and supernatural nature of the creature.
Conclusion
Drawing a Wendigo can be a fascinating and rewarding artistic experience. By following these step-by-step instructions and incorporating your own creative flair, you can create a captivating representation of this mythical creature. Remember to research and reference various depictions of the Wendigo for inspiration, and don’t be afraid to experiment with different techniques and styles. So grab your pencil and paper, and let your imagination roam as you bring the Wendigo to life on the page!