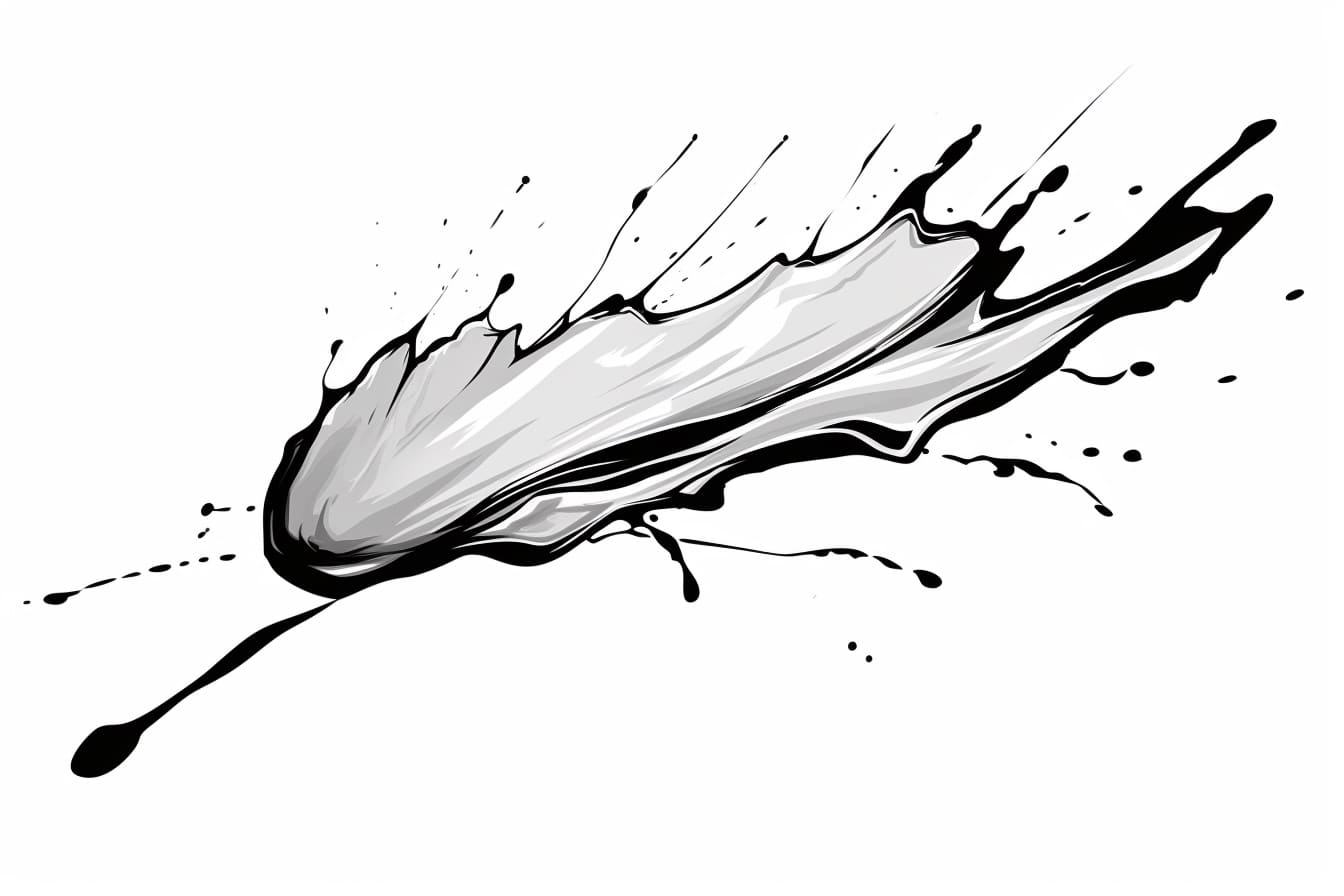
Are you interested in adding a touch of creativity to your artwork? Drawing a splat of paint is a fun and dynamic way to bring your paintings, illustrations, or even doodles to life. With just a few simple steps, you can learn how to create a realistic and vibrant splat of paint on your canvas. In this article, we will guide you through the process, providing clear instructions and helpful tips along the way. So, let’s dive right in and start unleashing your artistic potential!
Materials Required
Before we begin, gather the following materials:
- Drawing paper or canvas
- Pencil
- Eraser
- Acrylic or watercolor paints (in your desired colors)
- Paintbrushes of various sizes
- Palette or mixing tray
- Water cup
- Paper towels or cloth
Now that you have your materials ready, let’s move on to the step-by-step process of drawing a splat of paint.
Step 1: Sketch the Outline
Start by lightly sketching the outline of the splat using a pencil. Consider the shape and size you want the splat to be and draw a rough outline accordingly. Remember, a splat of paint can take various forms, from droplet-like shapes to more irregular and asymmetrical forms. Feel free to experiment and let your imagination guide you.
Step 2: Add Dimension
To make the splat look three-dimensional, add some shading and highlights to your sketch. Imagine where the light source is coming from and determine which parts of the splat would be illuminated and which would be in shadow. Use your pencil to add depth by shading darker areas and leaving lighter sections for highlights.
Step 3: Choose Your Colors
Now it’s time to decide on the colors for your splat of paint. Consider the type of paint you are using (acrylic or watercolor) and choose colors that will stand out and create a vibrant effect. Mixing colors is also an option if you want to achieve unique shades.
Step 4: Mix Your Paints
If you chose to mix colors, prepare your palette or mixing tray. Use your paintbrush to mix the desired colors together, experimenting until you achieve the desired shade. Take this opportunity to explore different combinations and create a range of colors for your splat.
Step 5: Apply the Base Color
Dip your paintbrush into the base color of your splat and start filling in the outline you sketched earlier. Use gentle strokes to apply an even layer of paint, ensuring that you cover the entire area within the outline. If using acrylic paint, you may need to add a little water to achieve a smoother application.
Step 6: Add Texture and Details
To make your splat of paint look more realistic, consider adding texture and details. You can achieve this by using a palette knife, toothbrush, or even a sponge to create interesting patterns and textures within the splat. Additionally, you can add small dots or lines with a fine brush to simulate the look of paint drips or splatters.
Step 7: Highlight and Shadow
Now is the time to enhance the 3D effect of your splat. Use lighter shades of your base color to highlight the areas where light would naturally hit, and darker shades to add shadows. Blend the colors seamlessly to create a smooth transition between the highlights and shadows, giving your splat a more realistic and dynamic appearance.
Step 8: Finishing Touches
After you are satisfied with the overall look of your splat, take a step back and evaluate if any additional touches are needed. You may want to adjust the colors, add more details, or refine certain areas. Don’t be afraid to experiment and make changes until you are completely happy with your creation.
Conclusion
Drawing a splat of paint is an enjoyable and creative way to enhance your artwork. By following these simple steps, you can bring a dynamic element to your paintings, illustrations, or even sketches. So, grab your materials and let your imagination run wild as you explore the world of paint splatters. Happy drawing!


