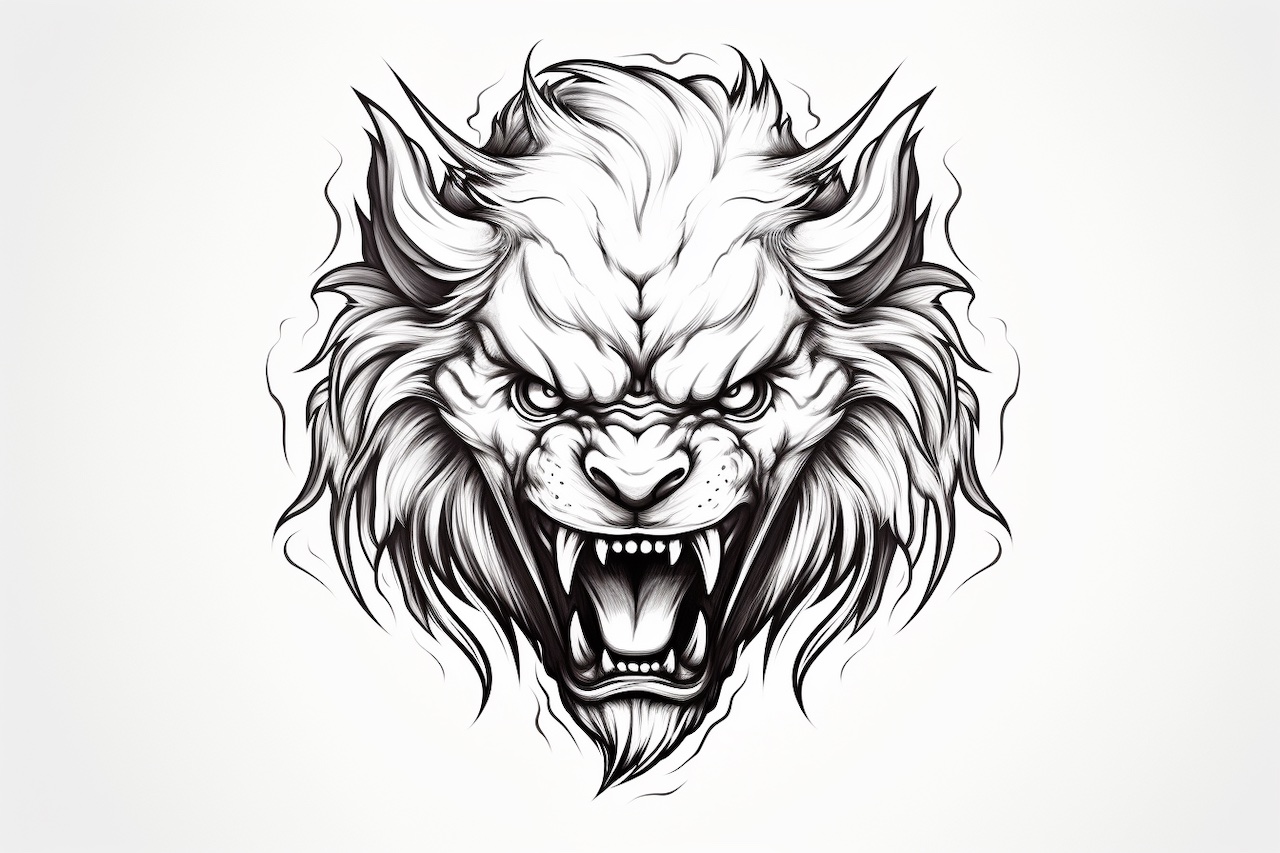
Welcome to this step-by-step tutorial on drawing a Hellcat! Whether you’re a beginner or an experienced artist, this guide will help you create a stunning image of this powerful creature. With clear instructions and helpful tips, you’ll be able to bring this mythical creature to life on paper. So, let’s get started!
Materials Required
Before we begin, let’s gather the materials you’ll need for this drawing:
- Drawing paper
- Pencil (preferably HB or 2B)
- Eraser
- Fine-tip black pen or marker
- Colored pencils or markers (optional)
Now that you have your materials ready, let’s dive into the step-by-step process of drawing a Hellcat.
Step 1: Outline the Basic Shape
Start by lightly sketching the basic shape of the Hellcat. Begin with an oval shape for the body and add a slightly curved line for the spine. Then, sketch a rough circle for the head, keeping it proportionate to the body. Don’t worry about details at this stage, as we’ll refine the sketch later.
Step 2: Add the Facial Features
Next, let’s focus on the Hellcat’s face. Draw two almond-shaped eyes in the center of the head circle, with a small space between them. Add a small triangle for the nose and a slightly curved line for the mouth. Don’t forget to include the sharp fangs on the mouth!
Step 3: Define the Body Proportions
Now, let’s refine the body proportions of the Hellcat. Start by adding two curved lines on either side of the spine to represent the ribcage. Extend lines down from the ribcage for the front legs and another pair for the hind legs. Remember to keep the legs muscular and strong, in line with the Hellcat’s formidable nature.
Step 4: Sketch the Details
In this step, we’ll add more details to the Hellcat’s body. Sketch a series of curved, pointed lines along the spine to represent the spiky fur. Add smaller details, like the tufts of fur on the elbows and ankles, to give the Hellcat a more realistic appearance. Don’t forget to draw the sharp claws on the feet!
Step 5: Refine the Facial Features
Let’s now focus on the details of the Hellcat’s face. Add more definition to the eyes by drawing iris and pupil shapes within them. Darken the outline of the eyes and add eyelashes to make them more expressive. Shade the area around the eyes with light strokes to give the Hellcat a fierce look.
Step 6: Add the Tail
The Hellcat’s tail is an important part of its anatomy. Extend a long, curved line from the lower back and add jagged edges to represent the fur along the tail. Remember to make the tail thick at the base and gradually taper it towards the tip.
Step 7: Finalize the Drawing
Now that we have the main structure and details in place, it’s time to finalize the drawing. Go over your sketch with a fine-tip pen or marker, outlining the main features and erasing any unwanted pencil marks. Take this opportunity to add more depth and dimension to your drawing by adding shading and highlighting with your pencil or colored pencils.
Congratulations! You’ve successfully drawn a Hellcat! Take a moment to admire your artwork and make any final touches if needed.
Conclusion
Drawing a Hellcat may seem challenging, but with the step-by-step instructions provided in this tutorial, it can become an enjoyable and rewarding experience. By following the outlined steps and honing your artistic skills, you now have the ability to create stunning representations of these mythical creatures. So grab your materials and start exploring the world of Hellcat art today!