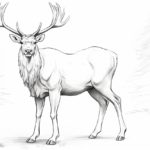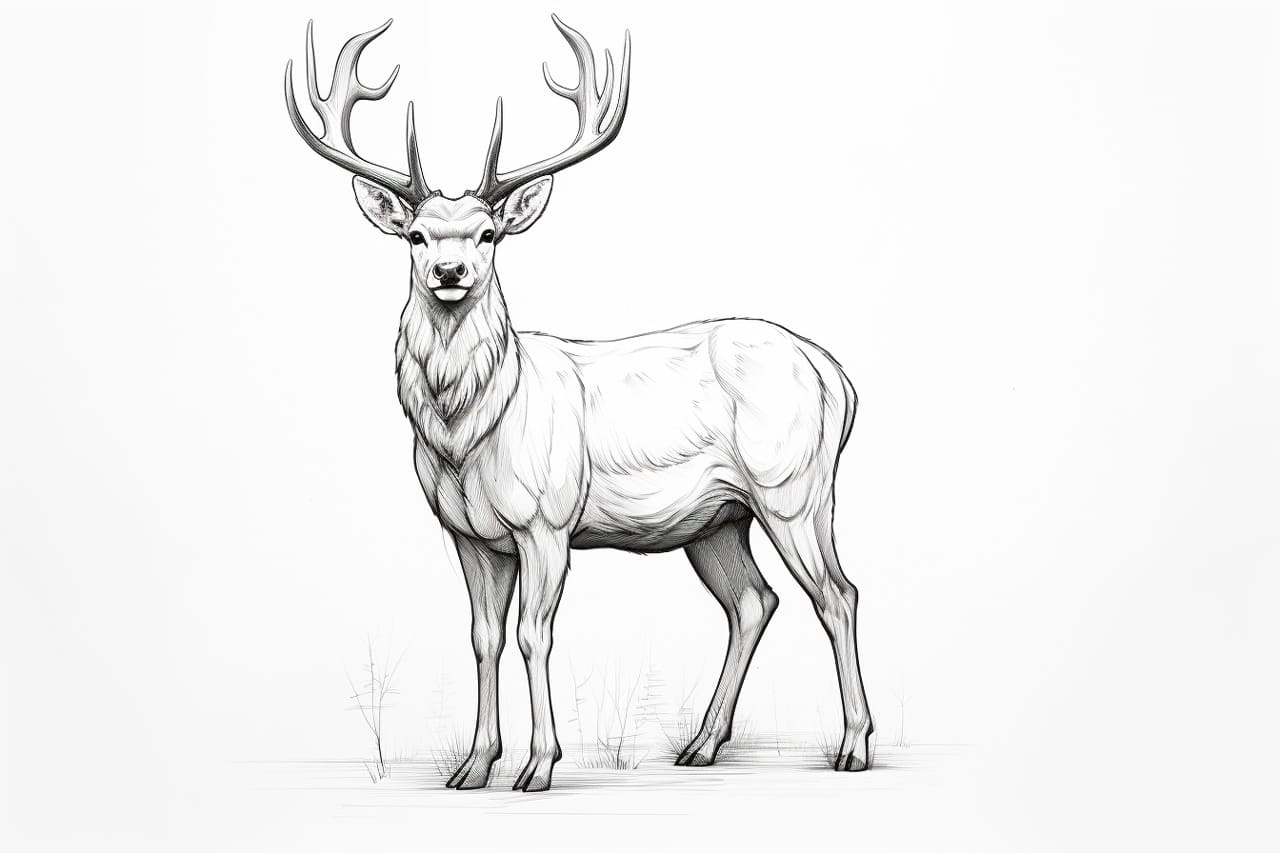
Welcome to this step-by-step guide on how to draw a buck! Whether you’re an aspiring artist or simply looking for a new hobby, drawing wildlife can be a rewarding experience. In this tutorial, I will walk you through the process of drawing a majestic buck, capturing its grace and strength on paper.
To get started, you will need a few materials:
- Pencil: A quality graphite pencil with a range of hardness (HB, 2B, 4B, 6B) will allow you to create different shades and textures.
- Eraser: A kneaded eraser is recommended for its ability to lift graphite without smudging.
- Sketchbook or drawing paper: A smooth and sturdy surface will provide the best results.
- Reference image: It’s helpful to have a photo or a visual representation of a buck to refer to while drawing.
Now that you have your materials ready, let’s begin!
Step 1: Start with Basic Shapes
Begin by lightly sketching a large oval shape for the body of the buck. This will act as a guideline for the overall proportions. Next, add two small circles for the head and a larger oval for the hindquarters. These basic shapes will serve as a foundation for the buck’s body structure.
Step 2: Define the Head and Antlers
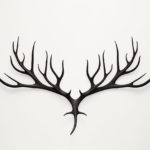
Refine the shape of the head by adding more detail. Pay attention to the placement of the eyes, ears, and muzzle. Remember, a buck’s antlers are a prominent feature, so use long curved lines to sketch their general shape. Focus on capturing the symmetry and balance between the antlers.
Step 3: Outline the Body
Using the basic shapes as a guide, carefully outline the neck, chest, and back of the buck. Pay attention to the contours and muscular structure of the animal. Use light, fluid strokes to maintain flexibility in your drawing. Remember, it’s always easier to darken lines later than to erase heavy lines.
Step 4: Add Details
Start adding finer details to your drawing. Observe the texture and patterns of a buck’s fur, then use light strokes to indicate this texture. Pay attention to the direction in which the fur flows and use reference images to ensure accuracy. Don’t forget to add the hooves and tail, as they complete the overall look of the buck.
Step 5: Shade and Add Depth
Now it’s time to add shading and depth to your drawing. Start by identifying the light source and applying shading accordingly. Use the various grades of your pencil to create different tones and values. Gradually build up the shading, focusing on the areas that are darker and receding into the distance. Take your time with this step and remember to blend the graphite for a smooth transition.
Step 6: Refine and Enhance
Take a step back and assess your drawing. Look for any areas that need refinement or additional detail. You can use your eraser to lift graphite and create highlights. Pay attention to the nuances of the buck’s features, such as its eye, nose, and antlers. Take your time to capture these intricate details, as they will add depth and realism to your drawing.
Step 7: Finalize the Drawing
Finish off your drawing by refining any remaining details and adding any additional shading or highlights. Ensure that the proportions are accurate and that the overall composition is pleasing to the eye. Once you’re satisfied with your work, carefully erase any remaining construction lines.
Congratulations! You have successfully completed your drawing of a buck. With practice, you’ll continue to improve your skills and develop your own unique style.
Conclusion
Drawing a buck allows you to appreciate the beauty of nature while honing your artistic abilities. I hope this step-by-step guide has provided you with the necessary guidance to create a stunning representation of this majestic animal. Remember to be patient, practice regularly, and most importantly, have fun with your art!