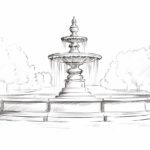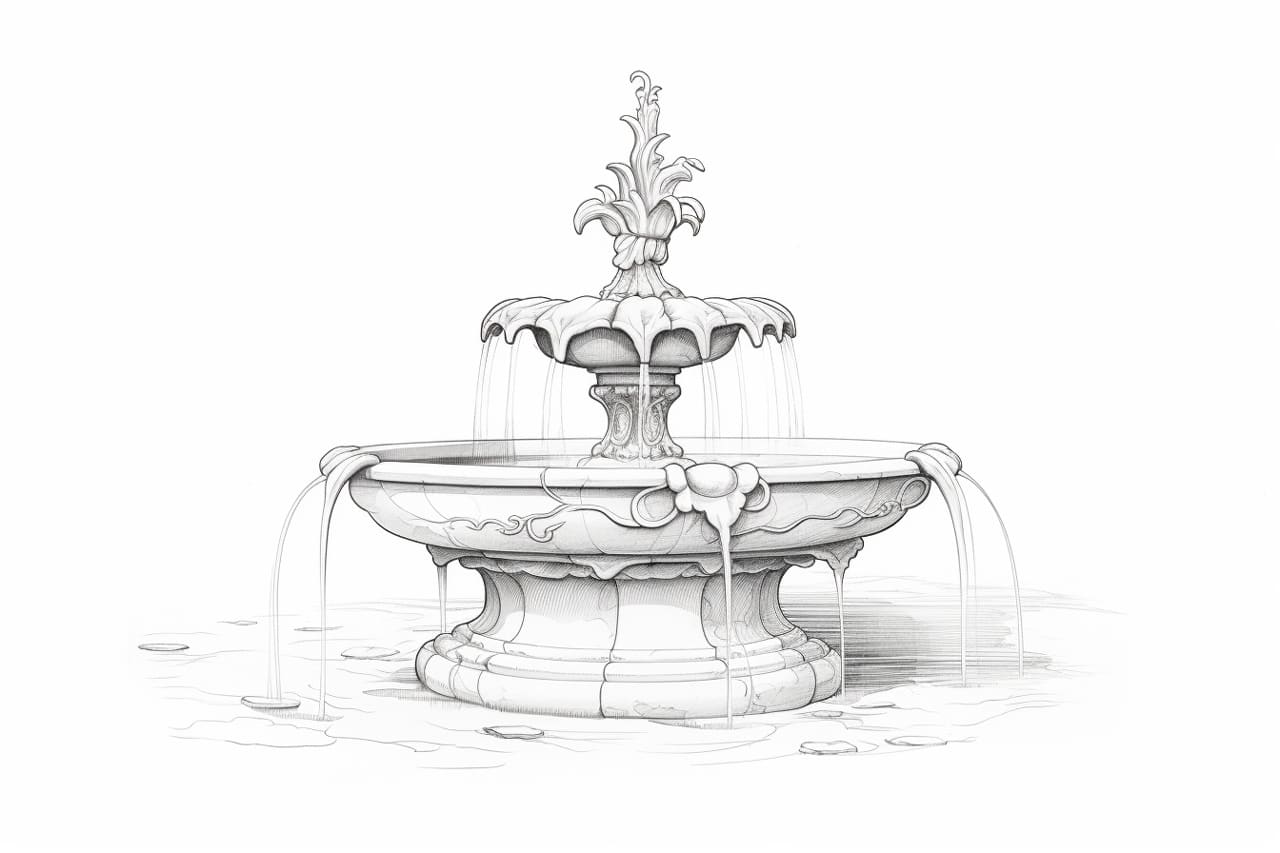
Whether you are an aspiring artist or simply looking to explore your creative side, learning how to draw a water fountain can be a fun and rewarding experience. Water fountains are beautiful structures that can add a sense of tranquility and elegance to any setting. In this step-by-step guide, we will walk you through the process of drawing a water fountain, from start to finish. So grab your pencils and let’s get started!
Materials Required
Before we begin, gather the following materials:
- Drawing paper or sketchbook
- Pencils (ranging from HB to 4B)
- Eraser
- Fine-tip marker or pen
Step 1: Determine the Position and Size
First, decide where you want the water fountain to be positioned on your paper. Once you have chosen the spot, lightly sketch a rectangle or any other shape that represents the base of the fountain. This will determine the overall size and placement of your drawing.
Step 2: Draw the Base
Next, start by drawing the base of the water fountain. A typical water fountain base is often a combination of geometric shapes, such as squares or rectangles. Keep your lines light and loose, as we will refine them later.
Step 3: Add Pillars or Columns
Now, it’s time to add the pillars or columns to your fountain. These structures can vary in design and height, so feel free to get creative. Start by drawing two parallel lines on either side of the base, extending upwards. Once you have the basic framework, add details such as decorative elements or patterns.
Step 4: Sketch the Water Source
In this step, we will sketch the water source of the fountain. This can be represented by a central spout or multiple smaller spouts. Begin by drawing a simple shape to indicate the opening from which the water will flow. You can make it round, oval, or even abstract, depending on the style you prefer.
Step 5: Add Details to the Base
Now that we have the main structure in place, it’s time to add details to the base of the fountain. This can include intricate patterns, carvings, or any other decorative elements you envision. Take your time and focus on creating clean and precise lines. Remember, the details are what make the fountain truly unique.
Step 6: Draw the Water Flow
To depict the flowing water, start by drawing curved lines extending from the water source and cascading down the fountain’s structure. These lines should follow a natural flow and give the illusion of movement. You can also add splashes or droplets to further enhance the effect.
Step 7: Refine the Shape and Proportions
At this stage, take a step back and assess your drawing as a whole. Look for any areas that may need adjustments in terms of shape or proportions. Refine the curves, straighten the lines where necessary, and make any other refinements to ensure a well-balanced composition.
Step 8: Add Shading and Depth
Now it’s time to add shading to your water fountain drawing. Start by identifying the light source in your composition. This will determine where the shadows fall. Use your pencils to create gradations, from light to dark, to give the drawing depth and dimension. Pay close attention to the subtle variations in tone, especially in the areas where light reflects off the water or hits the different surfaces of the fountain.
Step 9: Define the Details
In this step, focus on defining the details and textures of the fountain. Use your fine-tip marker or pen to create crisp, clean lines. Outline important features, such as the edges of the base and pillars, as well as any intricate designs or patterns. Be patient and take your time to ensure each line is well-defined and adds to the overall visual appeal of the drawing.
Step 10: Erase Guidelines
Once you are satisfied with the shading and details, carefully erase any remaining pencil guidelines or construction lines. Use an eraser that doesn’t smudge or leave marks on the paper. Be gentle and take your time to avoid damaging any of the work you have done so far.
Conclusion
Congratulations on completing your water fountain drawing! By following these step-by-step instructions, you have learned how to capture the beauty and elegance of a water fountain on paper. Remember, practice makes perfect, so don’t hesitate to experiment with different styles and techniques. With time and dedication, you will continue to improve your artistic skills. So keep drawing and exploring the world of art!