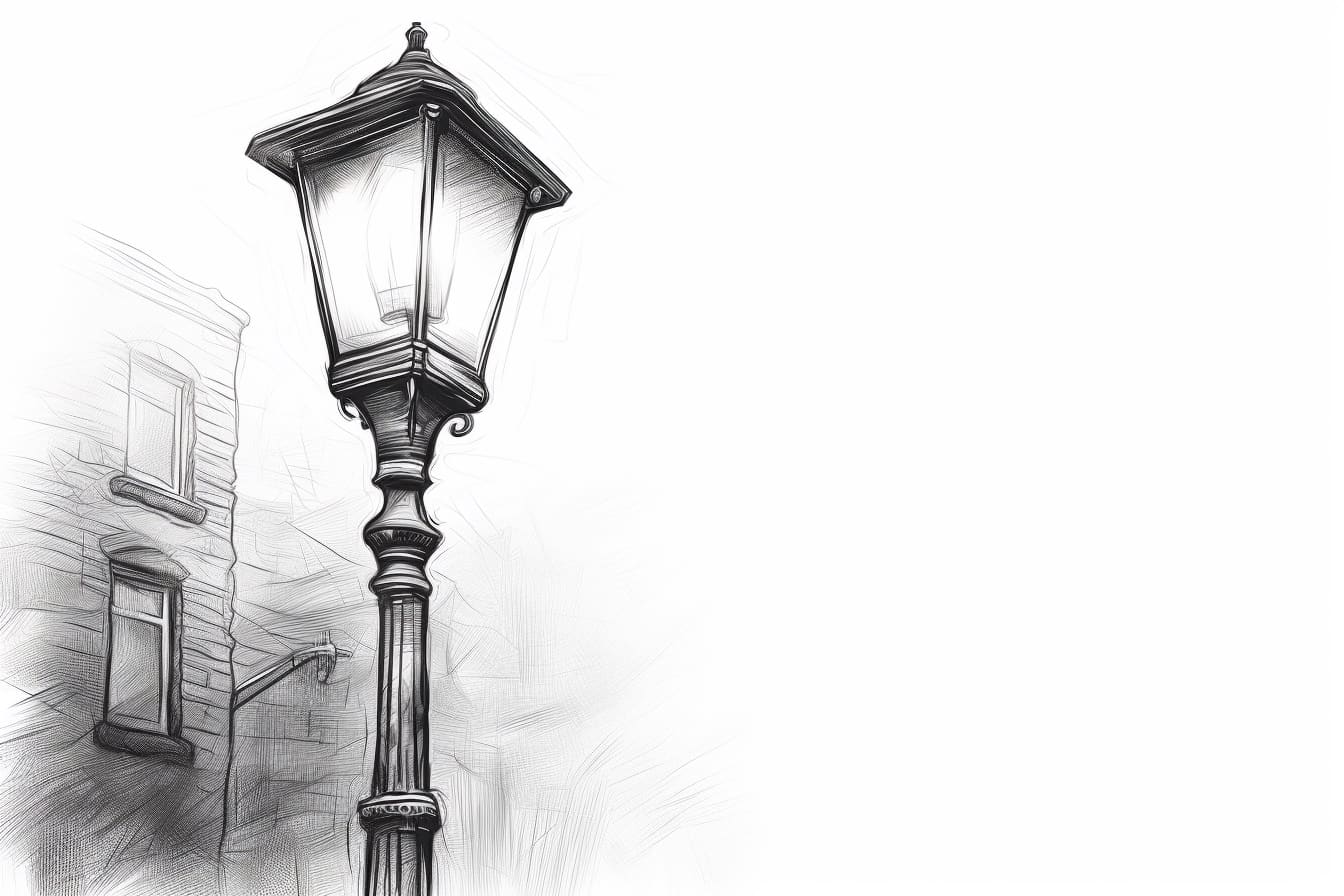
Welcome to this step-by-step guide on how to draw a streetlight! Whether you are an aspiring artist or simply looking to explore your creative side, this tutorial will provide you with the techniques and instructions you need to create a realistic and captivating streetlight drawing. By following these simple steps, you will be able to create a stunning piece of artwork that showcases your artistic abilities.
Materials Required
Before we begin, let’s gather the materials you will need to complete this drawing:
- A sketchbook or drawing paper
- Pencil and eraser
- Fine-tip markers or pens
- Ruler or straightedge
- Colored pencils or markers (optional)
Once you have gathered these materials, find a comfortable and well-lit workspace where you can focus on your drawing without any distractions. Let’s get started!
Step 1: Sketch the Basic Shapes
Begin by lightly sketching the basic shapes that make up the streetlight. Start with a vertical line to represent the lamp post, and then draw a circle at the top to indicate the lamp itself. Add a rectangular shape at the bottom to represent the base of the streetlight. Remember, these initial sketches are meant to be loose and light, as they will serve as guides for your final drawing.
Step 2: Refine the Lamp Post
Next, use your pencil to add details and refine the shape of the lamp post. Add curves and contours to mimic the metal construction of the post, making it appear three-dimensional. Take your time with this step, as it will set the foundation for the rest of your drawing. Once you are satisfied with the shape of the post, proceed to the next step.
Step 3: Add Details to the Lamp
Now, shift your focus to the lamp itself. Use your pencil to add intricate details such as lines or patterns to simulate the metal or glass texture of the lamp. Pay attention to the light source and shadows to create a realistic effect. Feel free to refer to reference images or observe nearby streetlights for inspiration and accuracy. Once you have added these details, move on to the next step.
Step 4: Define the Base
In this step, add details to the base of the streetlight. Use your pencil to create a pattern or texture that resembles the material the base is made of, such as stone or concrete. Add small cracks or imperfections to make it look more realistic. Don’t forget to consider the perspective and angle of the base as it connects to the lamp post. Once you are satisfied with the base, proceed to the next step.
Step 5: Refine the Outline
Now that the major details of the streetlight are complete, it’s time to refine the outline. Use a fine-tip marker or pen to trace over the pencil lines, making them bolder and more defined. Consider adding variation in line weight to create depth and dimension. Be careful and take your time to ensure the lines are smooth and confident. When you are finished, let the ink dry before erasing any remaining pencil marks.
Step 6: Add Shadows and Highlights
To make your streetlight drawing more realistic, it’s important to add shadows and highlights. Use your markers or colored pencils to add shading to the various parts of the streetlight, considering the direction of the light source. Add darker shades to areas that would be in shadow and lighter shades or highlights to areas that would be hit by direct light. This contrast will bring your drawing to life and make it more visually appealing.
Step 7: Finalize the Details
In this step, take a step back and observe your drawing as a whole. Are there any details that need to be refined or added? Are there any areas that require additional shading or highlights? Use this time to make any necessary adjustments and add the finishing touches to your streetlight drawing. Take pride in your work and trust your artistic instincts.
Conclusion
Congratulations! You have successfully completed your drawing of a streetlight. By following these step-by-step instructions, you have learned how to sketch the basic shapes, add details, define the outline, and incorporate shading and highlights. Remember that practice makes perfect, so don’t be discouraged if your first attempt doesn’t turn out exactly as expected. Keep refining your skills and experimenting with different techniques to further enhance your artistic abilities.
Drawing streetlights can be a great way to explore different artistic elements such as light, shadow, and perspective. So, grab your sketchbook and start drawing your own unique streetlight designs. With time and practice, you will be amazed at the progress you can make.