Wrestling is a dynamic and physical sport that showcases the strength and agility of its athletes. If you are a fan of wrestling or just want to learn how to draw a wrestler, this step-by-step guide will help you capture the energy and intensity of these amazing athletes. In this tutorial, we will cover the basic techniques and principles of drawing a wrestler, highlighting their muscular physique and powerful poses. So grab your paper and pencil, and let’s get started!
Materials Required
To begin drawing a wrestler, you’ll need the following materials:
- Pencil: A regular pencil or a mechanical pencil with a variety of lead hardness (2B, 4B, and 6B) will be handy for sketching and adding details.
- Eraser: A kneaded eraser is recommended as it can be easily shaped and doesn’t leave residues.
- Paper: Use a smooth surface paper, such as drawing paper or sketch paper, which will allow you to blend and shade more easily.
- Reference Image: Find a high-quality reference image of a wrestler that you would like to draw, either from a magazine, online, or take a picture of your favorite wrestler.
Now that we have the necessary materials ready, let’s dive into drawing our wrestler!
Step 1: Establish the Basic Proportions
Start by lightly sketching a stick figure to establish the overall posture and basic proportions of your wrestler. Use simple lines to indicate the head, shoulders, spine, arms, and legs. This step will serve as a foundation for the rest of your drawing, so take your time to get the proportions right.
Step 2: Outline the Body Shape
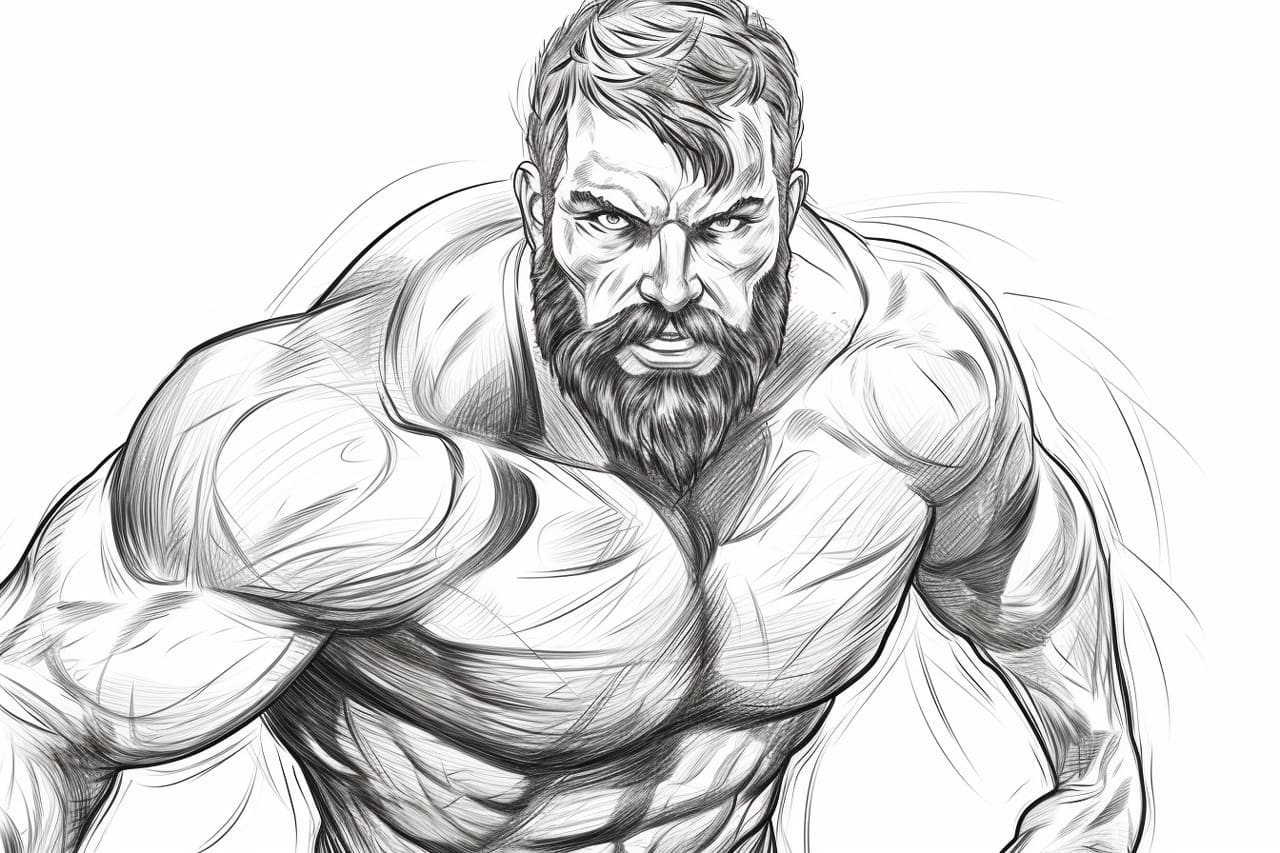
Using the stick figure as a guide, start outlining the wrestler’s body shape. Pay attention to the muscular anatomy, emphasizing the well-defined chest, shoulders, biceps, triceps, and legs. Wrestlers often have well-developed muscles, so take your time to observe the reference image and capture the right shapes and proportions.
Step 3: Add Facial Features
Next, draw the wrestler’s facial features. Begin with the eyes, nose, and mouth, considering the angle and expression of your chosen reference image. Wrestlers often have intense expressions, showcasing their determination and focus in the ring. Don’t forget to add the eyebrows, ears, and any facial hair if applicable.
Step 4: Hair and Headgear
Now, add the wrestler’s hair or headgear. Pay attention to the hairstyle, whether it’s short, long, or styled in a particular way. If your wrestler wears a headgear, make sure to draw its shape and straps accurately. Remember to refer to your chosen reference image to capture the details and texture of the hair or headgear.
Step 5: Refine the Body Details
With the basic outline complete, it’s time to refine the body details of your wrestler. Add more definition to the muscles, paying attention to the curves and contours. Wrestlers often have prominent veins and defined abdominals, which add to their athletic appearance. Observe your reference image closely and incorporate these details into your drawing.
Step 6: Add Clothing and Accessories
If your wrestler wears any clothing or accessories, now is the time to incorporate them into your drawing. This could include wrestling singlets, knee pads, elbow pads, or wristbands. Take note of the folds and creases in the fabric, as they help add realism and dimension to your drawing.
Step 7: Refine Facial Features
Go back to the facial features and refine them further. Add more depth and detail to the eyes, nose, and mouth. Pay attention to the shadows and highlights, which will enhance the three-dimensional look of your wrestler’s face. Remember to take your time and refer to your reference image for accuracy.
Step 8: Shading and Textures
To bring your wrestler to life, it’s essential to add shading and textures. Use your pencil to create light and dark areas, emphasizing the muscles, clothing, and accessories. Pay attention to the direction of the light source in your reference image, as it will determine where the highlights and shadows fall. Use smooth, controlled strokes to blend the shading and create a realistic appearance.
Step 9: Final Details
In the final step, add any remaining details and refine your drawing. This could include small wrinkles in the clothing, additional muscle definition, or any other features that will enhance the overall look of your wrestler. Take a step back, evaluate your drawing, and make any necessary adjustments to ensure accuracy and completeness.
Conclusion
Congratulations on completing your drawing of a wrestler! By following these step-by-step instructions, you should now have a dynamic and realistic representation of a wrestler. Remember, practice makes perfect, so continue honing your skills by drawing different wrestling poses and styles. Keep experimenting with shading techniques, textures, and expressions to further develop your artistic abilities. Enjoy the process and have fun capturing the energy and strength of these incredible athletes!


