Welcome to this step-by-step guide on how to draw a wand. Whether you’re an aspiring artist or simply looking to enhance your drawing skills, this tutorial will help you create a magical wand on paper. With a few materials and some patience, you’ll be able to create a wand that will transport you to the enchanting world of wizards and witches. So, let’s get started!
Materials Required
Before we dive into the drawing process, let’s gather the materials you’ll need:
- A pencil – preferably a HB or 2B pencil for flexible shading.
- Paper – choose a sheet of plain white paper or sketch paper, preferably in A4 size.
- Eraser – for correcting any mistakes along the way.
- Fine-tipped black pen – for inking and adding details (optional).
- Colored pencils or markers – for coloring the wand (optional).
Now that we have everything we need, let’s begin the artistic journey of drawing a wand.
Step 1: Sketch the Basic Shape
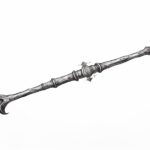
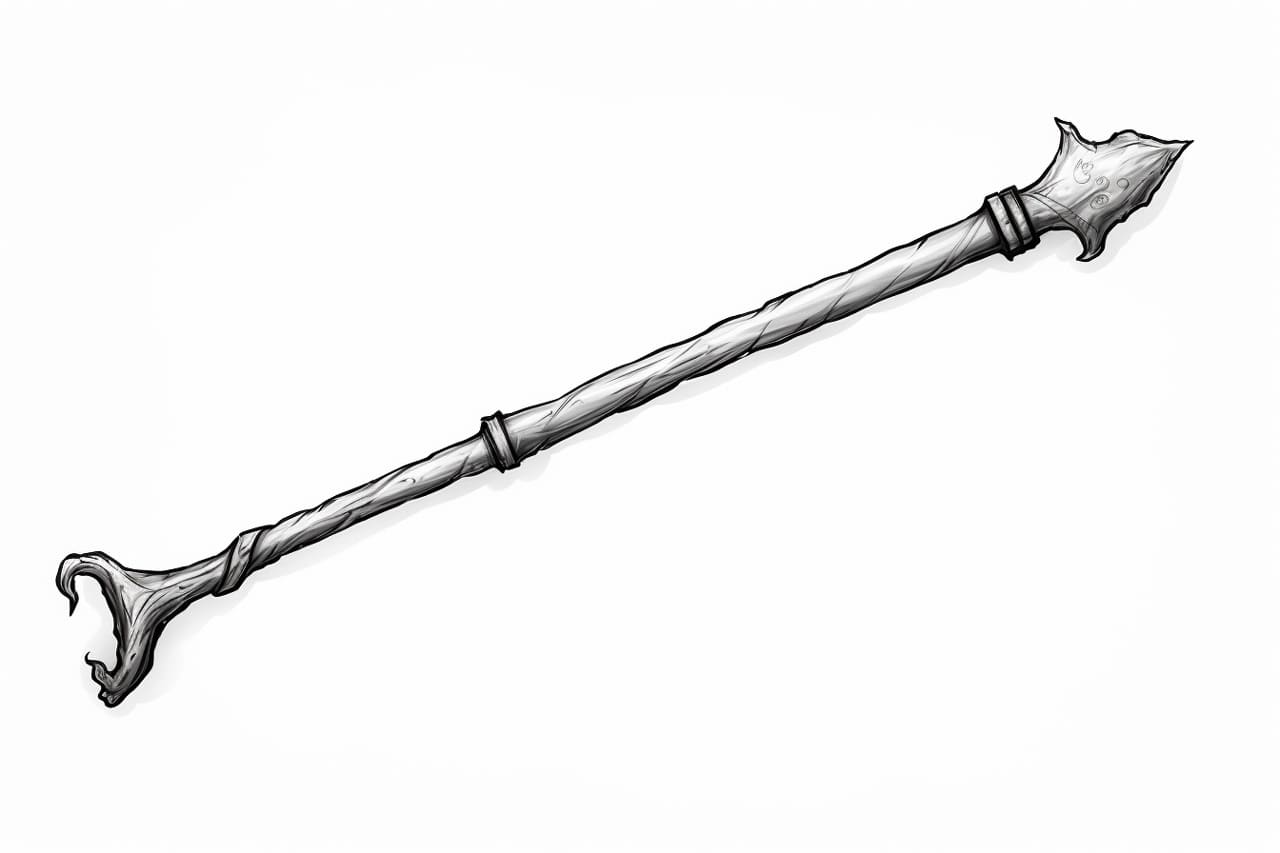
Start by lightly sketching the basic shape of the wand. Since wand designs can vary, there are no strict rules here. However, a common wand shape resembles a narrow and elongated rectangle with a curved handle. Begin by drawing a vertical line for the wand’s body and a curved line at the top for the handle. Don’t worry about perfection at this stage – we’ll refine the shape in later steps.
Step 2: Refine the Shape
Once you have the basic shape in place, it’s time to refine it. Use your pencil to round the corners of the rectangle and create a more organic appearance. Pay attention to the curves of the handle and ensure it flows smoothly from the wand’s body. Take your time and make any necessary adjustments until you’re satisfied with the overall shape.
Step 3: Add Details to the Handle
Now, let’s add some details to the wand’s handle. Start by drawing small lines across the handle to create a textured appearance. These lines can be straight or slightly curved, depending on the design you prefer. Additionally, you can embellish the handle with swirls, curls, or any other intricate pattern that suits your imagination. Be creative and experiment with different patterns until you find one that you love.
Step 4: Decorate the Body
Next, let’s decorate the body of the wand. Again, the options here are endless, so feel free to let your creativity run wild. You can add simple patterns such as dots or dashes for a minimalist look, or go for more elaborate designs like vines, stars, or even engraved symbols. It’s your wand, so make it unique to your style!
Step 5: Refine and Ink
Now that you have the basic outline and details, it’s time to refine the drawing. Take a moment to erase any unnecessary lines or mistakes using your eraser. Once you’re satisfied with the clean look, you can choose to ink your drawing for a more defined outline. Use a fine-tipped black pen or marker to carefully trace over the pencil lines. Be patient and steady as you go, ensuring that the lines are smooth and confident.
Step 6: Color Your Wand (Optional)
If you want to add some color to your wand, now is the time to do so. Grab your colored pencils or markers and let your imagination guide you. Consider the overall theme of your wand and choose colors that complement each other. You can stick to traditional wood tones for a classic look or experiment with vibrant shades for a magical touch. Remember, it’s your wand, so there are no right or wrong choices!
Step 7: Final Touches
To complete your wand drawing, take a moment to add any final touches. You can add shading to create depth and dimension, especially around the handle and body. Use your pencil to gently darken certain areas, creating a sense of light and shadow. Additionally, you can add highlights with an eraser, carefully lifting off some graphite to create a reflective effect. These subtle touches can make a significant difference in bringing your wand drawing to life.
Conclusion
Congratulations on successfully drawing a wand! By following this step-by-step guide, you have learned the art of creating a magical wand on paper. Remember, drawing takes practice, so don’t hesitate to experiment and explore different designs. With time and patience, your wand drawing skills will continue to improve. Now, grab your materials and let your creativity soar as you craft wands that are fit for wizarding adventures!