Whether you’re a Harry Potter fan looking to recreate the magic or simply enjoy drawing fantasy objects, learning how to draw a Harry Potter wand can be a fun and rewarding experience. The wand is an iconic symbol from the Harry Potter series and represents the power and skill of the wizard who wields it. In this step-by-step guide, I will walk you through the process of drawing a Harry Potter wand, from the basic outline to the intricate details. So grab your pencils and let’s get started!
Materials Required
Before we begin, make sure you have the following materials ready:
- Drawing paper
- Pencils (HB and 2B)
- Eraser
- Ruler
- Fine-tip pen or marker (optional, for outlining)
Now that we have everything we need, let’s dive into the steps of drawing a Harry Potter wand.
Step 1: Basic Shape
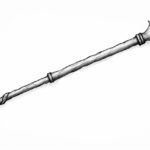
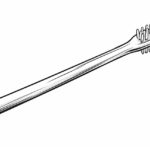
Start by drawing a straight vertical line in the center of your paper. This will serve as the core of the wand. Next, draw a small circle at the top of the line to represent the handle of the wand. This circle should be slightly larger than the thickness of the wand itself.
Step 2: Wand Length
Decide on the length of your wand and draw a slightly curved line starting from the bottom of the handle and extending downwards. This line will be the main body of the wand. You can make the wand as long or as short as you like, but keep in mind that proportional length often looks more aesthetically pleasing.
Step 3: Handle Details
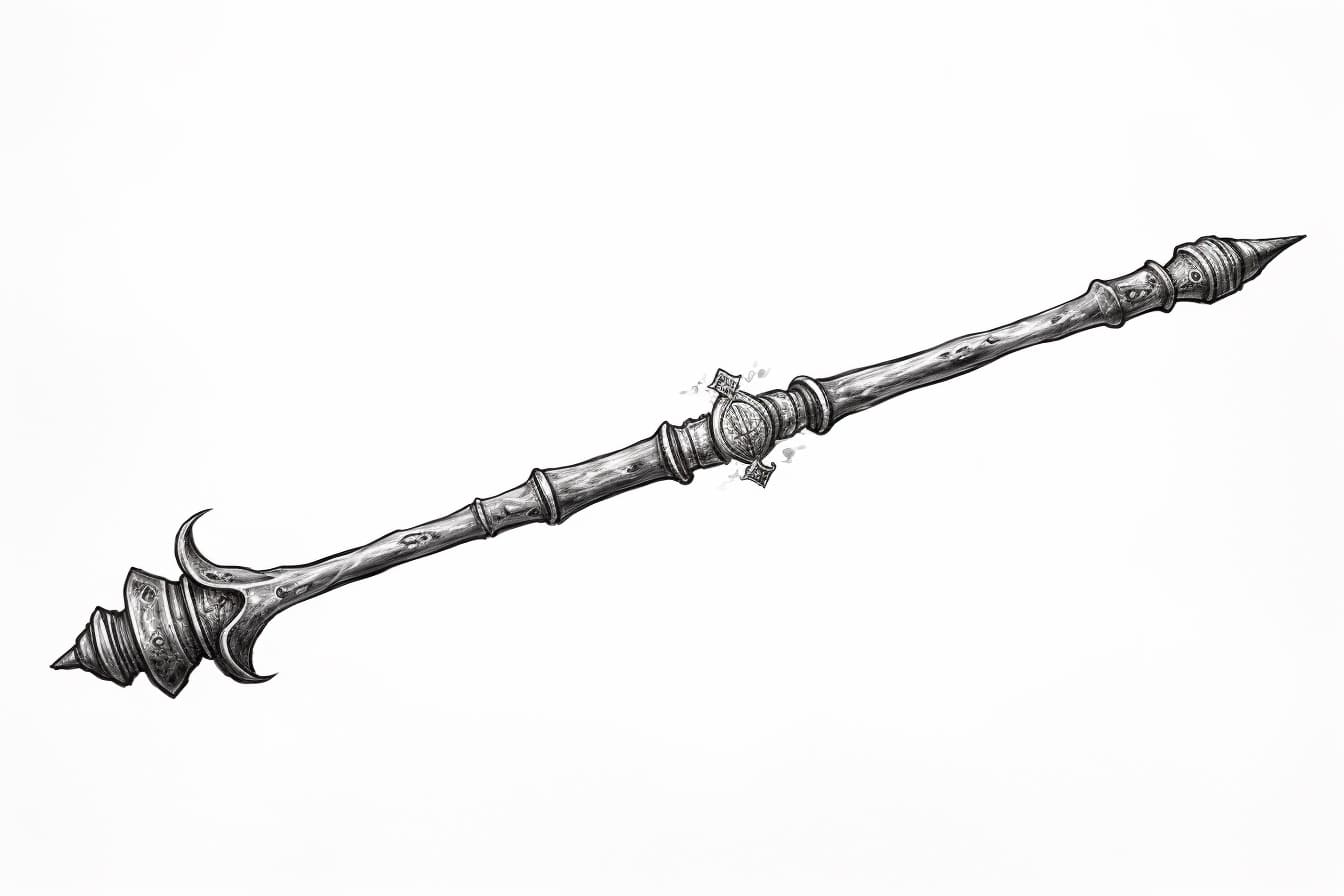
Add some details to the handle of the wand to make it more interesting. You can draw small lines, dots, or patterns to give it texture and depth. Experiment with different shapes and designs until you find one you like.
Step 4: Additional Details
Add some more intricate details to the body of the wand. You can draw thin lines, swirls, or even small symbols to give your wand a unique look. Remember, the wand is a reflection of the wizard’s personality, so feel free to get creative!
Step 5: Shadows and Shading
To add depth and dimension to your wand, it’s important to incorporate shadows and shading. Start by identifying the light source in your drawing. Imagine where the light is coming from and use your pencil to shade the opposite side of the wand accordingly. This will create a sense of volume and make your drawing appear more realistic.
Step 6: Finalizing the Outline
Once you are satisfied with the shape and details of your wand, go over the lines with a fine-tip pen or marker to finalize the outline. This step is optional but can give your drawing a clean and polished look. Allow the ink to dry completely before erasing any pencil marks.
Step 7: Color and Texture
Now comes the fun part – adding color and texture to your wand! You can use colored pencils, markers, or even watercolors to bring your drawing to life. Consider the materials your wand is made of and choose colors accordingly. Wood textures can be achieved by layering different shades of brown, while metallic wands can be given a shiny appearance with silver or gold accents.
Step 8: Finishing Touches
Take a moment to step back and assess your drawing. Are there any areas that need refinement or additional details? Make any necessary adjustments until you are satisfied with the final result. Remember, drawing is a process of continuous improvement, so don’t be afraid to experiment and make mistakes along the way.
Conclusion
Drawing a Harry Potter wand allows you to unleash your creativity and pay homage to the beloved series. By following these step-by-step instructions, you can create a wand that reflects your own artistic style and imagination. Remember to have fun with the process and embrace any imperfections as part of your unique creation. So grab your pencils and embark on a magical journey as you bring your very own Harry Potter wand to life!