Drawing is a wonderful way to express your creativity, and one common subject that many artists like to tackle is a suitcase. Whether you’re working on a travel-themed project or simply want to add a suitcase to your artwork, learning how to draw one can be a valuable skill. In this article, we will guide you through the step-by-step process of how to draw a suitcase, so grab your drawing materials and let’s get started!
Materials Required
Before we dive into the drawing process, let’s gather the materials you will need:
- Pencil
- Eraser
- Paper
- Ruler
- Colored pencils or markers (optional)
Now that we have everything ready, let’s begin!
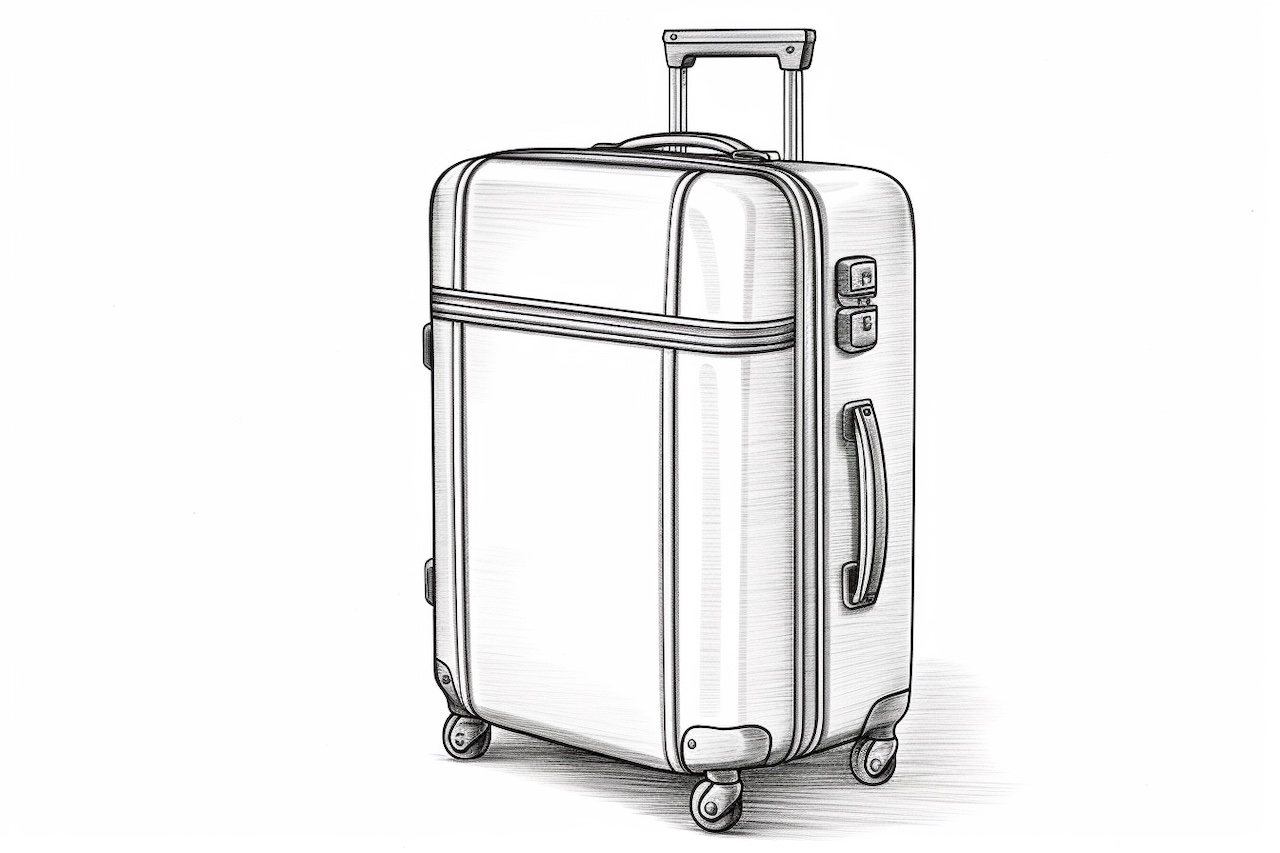
Step 1: Draw the Basic Shape
Start by drawing a rectangle in the center of your paper. This will be the main body of the suitcase. Use your ruler to ensure the sides are straight and the corners are square. Feel free to adjust the size of the rectangle to your liking.
Step 2: Add the Handle
Next, draw a smaller rectangle on the top center of the main body. This will serve as the handle of the suitcase. Make it slightly curved to give it a realistic look. The handle should be approximately one-third the width of the main body.
Step 3: Draw the Latches
On the front of the suitcase, draw two small squares or rectangles, one on each side of the main body. These will be the latches that secure the suitcase. Position them vertically in the middle of the body, leaving some space between each latch and the edges.
Step 4: Sketch the Details
Now it’s time to add some details to make your suitcase look more realistic. Draw a horizontal line across the middle of the main body, about one-third of the way down. This line will serve as the seam where the suitcase opens. Add some zigzag lines on either side of the handle to represent the stitching.
Step 5: Outline the Suitcase
Using a darker pencil or pen, carefully outline the entire drawing, including the main body, handle, latches, and details. Make sure to refine any uneven lines and erase any unnecessary guidelines or construction lines.
Step 6: Add Texture and Shadows (Optional)
To add depth and texture to your drawing, you can create shading and shadows. Determine the direction of the light source, then lightly shade one side of the suitcase to create a sense of dimension. You can also use cross-hatching or stippling techniques to create a textured appearance.
Step 7: Color your Drawing (Optional)
If you prefer a colored suitcase, you can use colored pencils or markers to bring it to life. Select the desired colors and carefully fill in the different parts of the drawing, taking note of light and shadow areas. Use lighter shades for the highlights and darker shades for the shadows.
Conclusion
Drawing a suitcase may seem daunting at first, but with these step-by-step instructions, you’ll be able to create a realistic and detailed representation. Remember to take your time, practice, and most importantly, have fun with your artwork. Whether you’re an experienced artist or just starting out, mastering the art of drawing a suitcase will open new creative possibilities. So grab your drawing materials and start creating your own suitcase masterpiece!