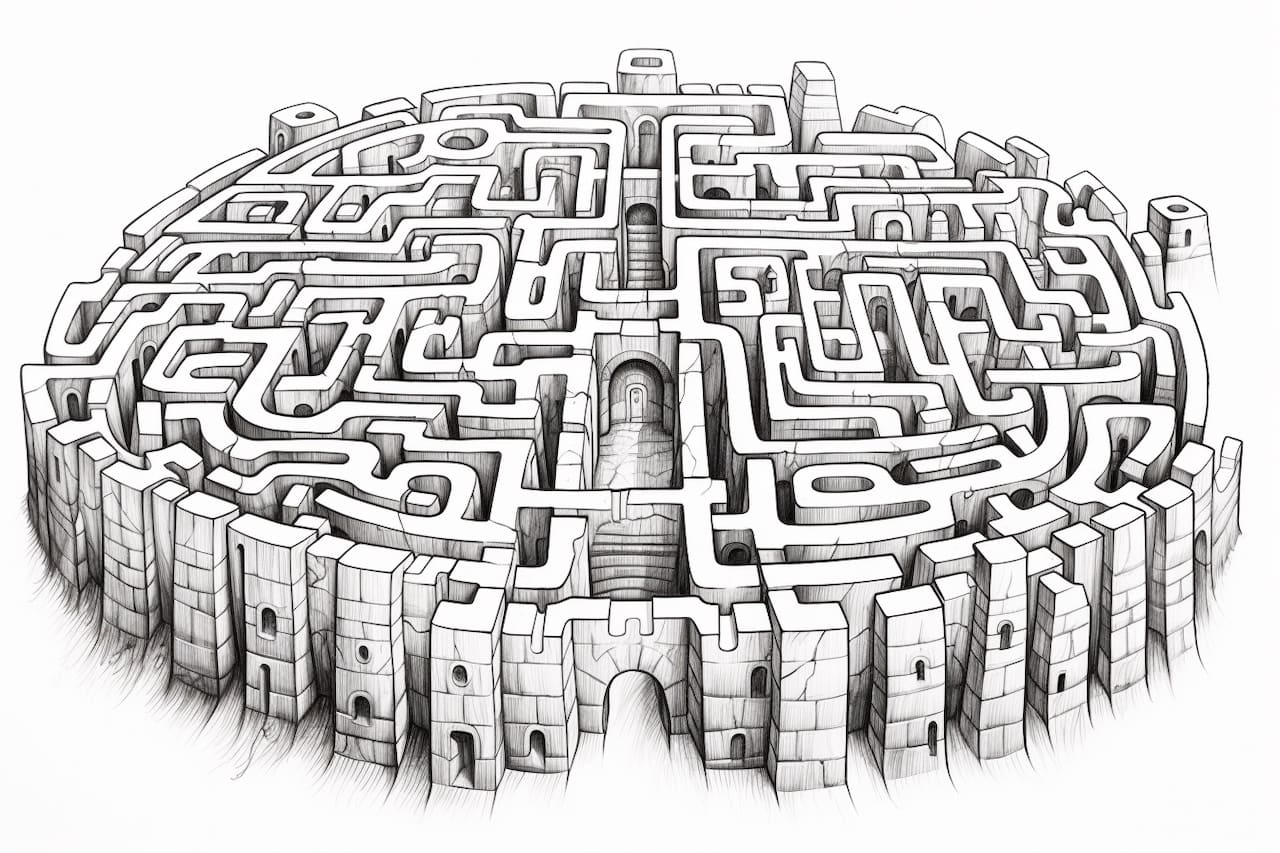
Welcome to this step-by-step guide on how to draw a labyrinth. Labyrinths have captured the imagination of artists and thinkers for centuries. These intricate designs have a beautiful aesthetic appeal and can also be used as a tool for meditation and relaxation. Whether you’re a beginner or an experienced artist, this tutorial will help you create your very own labyrinth masterpiece. So, let’s get started!
Materials Required
Before we dive into the step-by-step instructions, let’s gather the materials you’ll need for this project:
- Paper: Choose a sturdy paper that can withstand your drawing tools. A sketch pad or a sheet of drawing paper will work well.
- Pencil: A regular graphite pencil or a mechanical pencil will be perfect for sketching out your design.
- Eraser: Keep a good quality eraser handy to correct any mistakes or adjust your drawing.
- Ruler: A straight-edge ruler will help you create straight lines and maintain symmetry in your labyrinth.
- Compass: A compass is essential for drawing the curved paths of your labyrinth. If you don’t have a compass, a round object like a bottle cap or a small plate can serve as a substitute.
- Fine-tipped pens or markers (optional): Once you’re satisfied with your pencil sketch, you may want to outline your labyrinth and add some color using pens or markers.
Now that we have our materials ready, let’s move on to the step-by-step process of drawing a labyrinth.
Step 1: Start with a Grid
To create a symmetrical labyrinth, begin by drawing a simple grid on your paper. Use your ruler to draw horizontal and vertical lines that intersect at regular intervals. The size of your grid will depend on how large you want your labyrinth to be. Remember to leave some space around the edges of your paper for any decorative elements or additional details you might want to add later.
Step 2: Sketch the Basic Shape
Now that you have your grid, it’s time to sketch the basic shape of your labyrinth. Start by drawing a straight vertical line near the center of your grid. This will serve as the backbone of your design. Next, draw an identical line below it, parallel to the first line. These two lines will be the main paths of your labyrinth.
Step 3: Create the Side Paths
To create the intricate paths of your labyrinth, we will add side paths that connect the main lines. Starting from the top, draw shorter vertical lines that connect the top main line to the bottom main line. These lines will serve as the side paths of your labyrinth. Space them evenly along the length of your main lines.
Step 4: Add Curved Elements
Now that you have the basic structure of your labyrinth, it’s time to add some curved elements. Using your compass or a round object, draw semicircles at the end of each side path, connecting them to the main lines. These semicircles will give your labyrinth a more organic and flowing appearance.
Step 5: Refine the Design
With the main structure in place, take a moment to step back and assess your drawing. Make any necessary adjustments to ensure that the paths are evenly spaced and symmetrically aligned. Use your eraser to remove any unwanted lines or mistakes.
Step 6: Add Decorative Elements
To enhance the visual appeal of your labyrinth, consider adding decorative elements. These can include intricate patterns, symbols, or even small illustrations within the spaces created by the paths. Let your imagination run wild and make the labyrinth truly your own.
Step 7: Outline and Color (optional)
If you wish to give your labyrinth a finished look, you can outline your pencil sketch using fine-tipped pens or markers. Once you’re done outlining, you can add color to your labyrinth using the same pens or markers. Experiment with different color combinations to create a visually striking design.
Conclusion
Congratulations! You have successfully completed your very own labyrinth drawing. Creating a labyrinth requires focus, patience, and attention to detail, but the end result is truly rewarding. Labyrinths have a timeless quality that continues to captivate and inspire artists and enthusiasts alike. So, keep exploring and experimenting with different designs to create your own unique labyrinths.
Remember, drawing labyrinths is a form of artistic expression and meditation. Enjoy the process and let your creativity guide you. We hope this step-by-step guide has been helpful in bringing your labyrinth to life. Happy drawing!