Drawing can be incredibly fulfilling, allowing you to express your creativity and hone your artistic skills. If you’ve ever been fascinated by nature’s intricate beauty, capturing a vine’s elegance can serve as a perfect subject for your next drawing project. This tutorial will guide you through the process of how to draw a vine illustration, regardless of your skill level.
In this step-by-step guide, you’ll find detailed instructions to help you every step of the way. We will break down each element from the initial sketch to the final touches, making it accessible and enjoyable for beginners and seasoned artists. So, whether you want to improve your drawing technique or engage in a delightful artistic endeavor, this tutorial is designed just for you.
So gather your drawing materials and prepare to explore the art of vine drawing. With a bit of practice and patience, you’ll be amazed at how you can transform a simple blank sheet of paper into a beautiful representation of nature! Let’s embark on this creative journey together!
Materials Required
Before we begin, gather the following materials:
- Pencil
- Paper
- Eraser
- Fine-tip pen (optional)
- Colored pencils or markers (optional)
Having these materials ready will ensure you have everything you need to complete your vine drawing.
Step 1: Sketch the Main Stem
Start by drawing a slightly curved line on your paper to represent the main stem of the vine. This line will serve as the foundation for your drawing. Make the line thin and light, as we will be adding more details later on.
Step 2: Add Branches
Next, add some branches extending from the main stem. These branches can be curved or straight, depending on the look you want to achieve. Remember that vines tend to grow in all directions, so feel free to experiment with different shapes and sizes.
Step 3: Draw Leaves
Now it’s time to draw the leaves. Start by sketching a small oval shape at the end of each branch to represent a leaf. Vary the size and shape of the leaves to make your drawing more interesting. You can also add some jagged edges to mimic the texture of real leaves.
Step 4: Add Veins to the Leaves
To make the leaves look more realistic, add veins to each one. Draw thin lines starting from the center of the leaf and extending towards the edges. These veins will give your drawing depth and detail.
Step 5: Create a Texture on the Stem
To add texture to the stem, draw some small lines along its length. These lines should be slightly curved and can be drawn in different directions. This will give the illusion of a rough and gnarled vine.
Step 6: Add More Details to the Branches
Now it’s time to add more details to the branches. Draw smaller branches sprouting from the main branches, extending in various directions. These smaller branches will add complexity to your vine drawing.
Step 7: Erase Unnecessary Lines
Take your eraser and carefully remove any unnecessary lines that may still be visible. This will help clean up your drawing and make it look more polished.
Step 8: Enhance the Drawing (Optional)
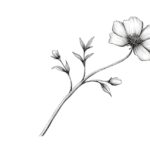
If you want to take your vine drawing to the next level, you can enhance it with additional elements. For example, you can draw small flowers or berries on the branches, or even add a background to create a more complete composition. Feel free to use colored pencils or markers to bring your drawing to life.
Conclusion
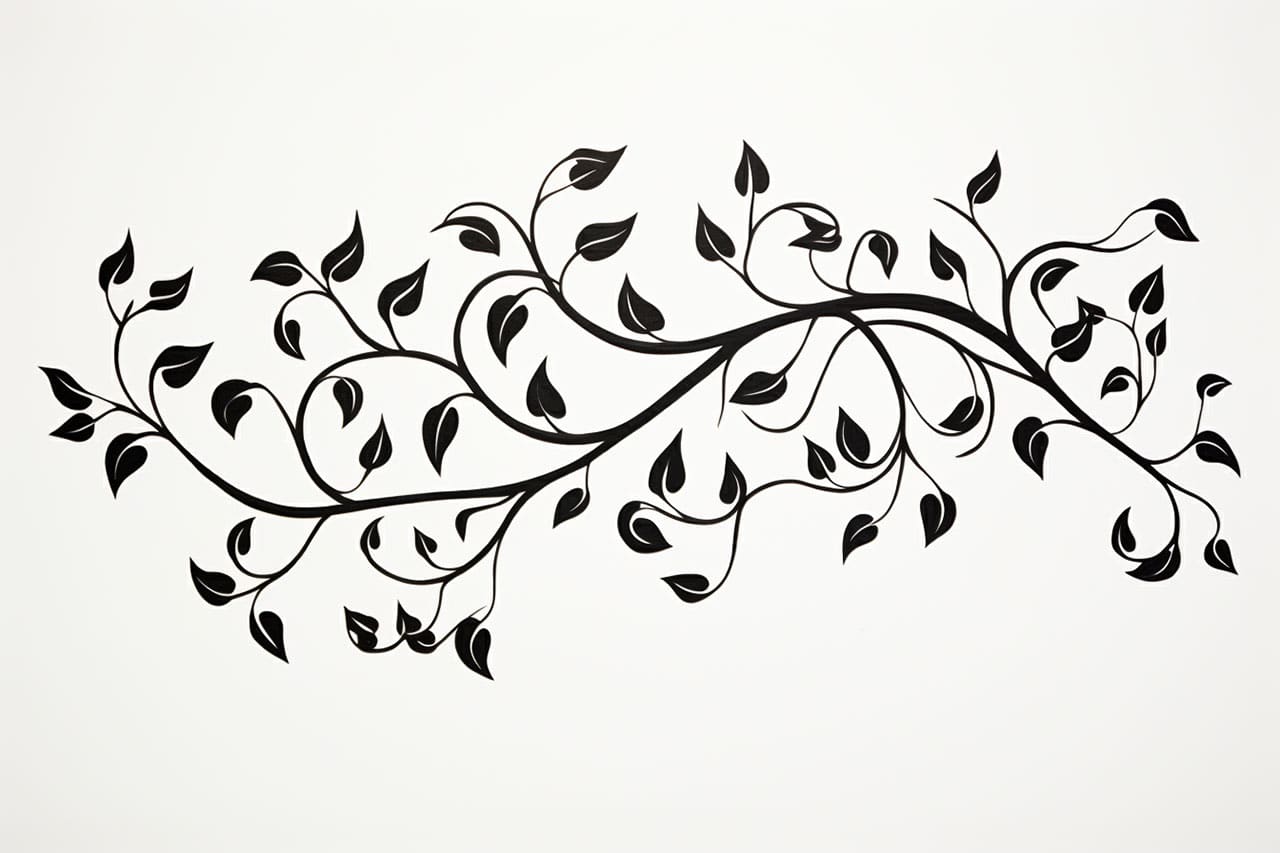
Congratulations! You have successfully learned how to draw a vine. By following these step-by-step instructions, you have created a realistic and visually appealing vine drawing. Remember to practice regularly to improve your skills and experiment with different techniques and styles. Have fun exploring the world of drawing!
Fun Facts About Vines
- Vines are plants with stems that either climb, twine, or sprawl across surfaces to reach sunlight.
- The world’s tallest flowering plant is a towering species of eucalyptus, but when it comes to climbing height, some vines can ascend several trees.
- Vines like grapevines and hops have been cultivated for centuries for food and beverage production.
- Some vines are known for their rapid growth, so much so that they can cover large areas in a short time, such as kudzu, which grows up to a foot per day.
- The specialized shoots or tendrils of vines allow them to grip onto structures as they grow upward.
- Morning glory vines produce beautiful trumpet-shaped flowers that bloom during the morning and close in the afternoon!
- Venus flytraps, a type of carnivorous plant, are often seen growing near vine-covered bogs in the wild.
- Certain vine species support wildlife significantly by providing habitats and food sources.
- In urban settings, vines are sometimes used on buildings for aesthetic purposes and to help with insulation.
- The concept of “social” vines extends to their ecological role, where they can help stabilize ecosystems.
Suggestions for Scenes and Settings for Vine Drawings
- Enchanted Forest: Illustrate a magical forest scene where vines weave across ancient trees, creating natural arches and pathways.
- Vintage Garden Arch: Design a romantic garden setting with vines elegantly adorning a rustic wooden archway, complete with blooming flowers.
- Tropical Jungle Wildlife: Capture the vibrant life of a jungle where a monkey swings from vine to vine, surrounded by lush vegetation.
- Vine-Draped Castle: Envision an old castle with stone walls completely draped in thick, green vines, hinting at history and mystery.
- Urban Green Space: Draw a city rooftop garden where vines cascade down the walls, transforming steel and concrete into a verdant oasis.
- Ancient Ruins: Create an archaeological scene with ruins overtaken by vines, speaking of forgotten cultures and natural reclamation.
- Vine-Covered Pergola: Illustrate a serene patio under a shaded pergola, where vines filter the sunlight and birds nest among the leaves.
- Fantasy Treehouse: Picture a whimsical treehouse perched in a vine-covered tree, where ladder-like vines offer a natural staircase.
- Botanical Greenhouse: Depict a lush indoor setting with vines artfully trained along beams and pillars in a warm, humid greenhouse.
- Vine Chandelier: Imagine an ornate chandelier made entirely of intertwining vines, casting a natural glow over a banquet table.