How to Draw a Triangular Pyramid
Learn how to draw a triangular pyramid step-by-step in this easy-to-follow drawing tutorial. Create a 3D illusion on paper with simple materials and techniques.
Materials You'll Need
- Pencil
- Paper
- Eraser
The triangular pyramid, or tetrahedron, is an intriguing three-dimensional shape comprised of four triangular faces, four vertices, and six edges. Its elegant, geometric simplicity makes it a popular subject in both mathematical studies and artistic explorations. Understanding how to draw a triangular pyramid not only helps you develop your spatial reasoning and perspective skills, but also allows you to appreciate the fundamentals of geometry in art. This shape frequently appears in architecture, sculpture, and design, making it a valuable addition to any artist's repertoire.
Learning to draw a triangular pyramid can benefit artists of all skill levels. Beginners will find that this exercise strengthens their ability to visualize and construct basic forms, while more experienced artists can use this knowledge as a foundation for more complex structures and compositions. The process involves breaking down the pyramid into simple lines and shapes, followed by applying perspective techniques and shading to create the illusion of three-dimensionality on a flat surface. Whether you're practicing technical drawing, preparing for a school project, or simply looking to expand your creative toolkit, mastering this geometric form is both rewarding and practical.
In this step-by-step tutorial, we'll guide you through every stage of how to draw a triangular pyramid, from sketching the basic framework to adding realistic details and depth. Don't worry if you're new to geometric drawing—patience and practice are key! So gather your materials, get comfortable, and let's embark on this artistic journey together. By the end, you'll have a striking 3D shape that you can use as a building block for countless creative projects.
Materials Required
To draw a triangular pyramid, you will need the following materials:
Now that we have gathered our materials, let's dive into the drawing process.
Step 1: Drawing the Base Triangle
Start by drawing a large equilateral triangle on your paper. To do this, follow these steps:
- Place the ruler horizontally on the paper to serve as the baseline for your triangle.
- Determine the length of the triangle's sides. For example, let's assume each side is 5 centimeters long.
- Measure and mark the midpoint of the baseline. This will be the center of your triangle.
- Position the compass at the center point and draw a circle with a radius equal to the length of the triangle's side.
- Without changing the compass radius, place the compass on one of the marks on the baseline and draw an arc that intersects the circle.
- Repeat the previous step for the other mark on the baseline.
- Connect the two arc intersections to complete the equilateral triangle.
Congratulations! You have successfully drawn the base triangle of the triangular pyramid.
Step 2: Constructing the Pyramid
Now, it's time to turn our base triangle into a pyramid by adding the remaining triangular faces. Follow these steps:
- Extend each side of the base triangle outward using a ruler. Each extension should be of equal length and meet at a single point above the triangle.
- Connect the three extended lines to the point above the triangle, forming three additional triangles.
- Erase the portion of the base triangle that is hidden by the newly added triangles, leaving only the visible portion.
You should now have a complete triangular pyramid, consisting of four symmetrical triangular faces.
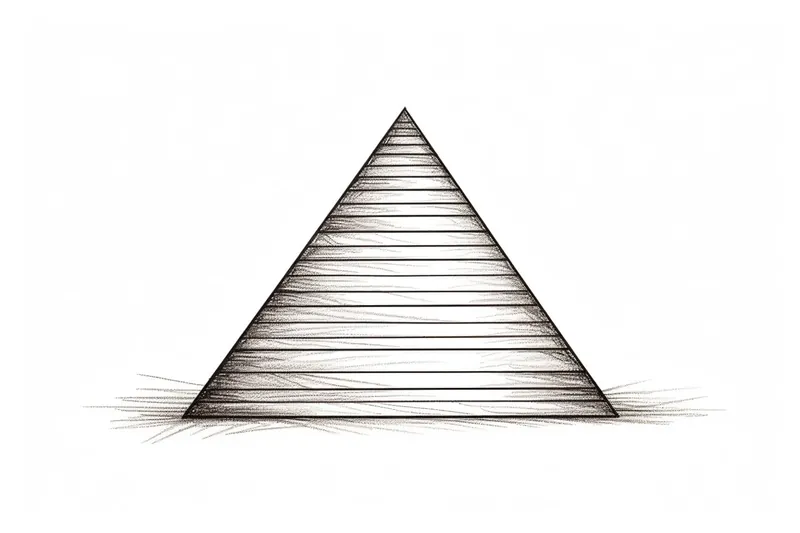
Step 3: Adding Depth and Shadows
To enhance the three-dimensional appearance of your triangular pyramid, we can add depth and shadows. Follow these steps:
- Choose a light source direction. This will determine the placement of shadows on the pyramid.
- Shade the sides of the pyramid facing away from the light source, gradually darkening the tone as you move away from the light.
- Leave the sides of the pyramid facing the light source lighter or even unshaded, representing the illuminated areas.
- Use your pencil or shading tools to blend the tones smoothly, creating a more realistic effect.
With these shading techniques, you can bring your triangular pyramid to life, giving it a sense of depth and dimension.
Tip: To effectively draw a triangular pyramid, start by lightly sketching an equilateral triangle for the base, ensuring all sides are equal to maintain symmetry. Once you have the base, find the center point of the triangle and draw a vertical line upwards to establish the apex, which should be equidistant from each vertex of the base. Use a ruler to connect the apex to each corner of the triangle, creating the edges of the pyramid; this will help maintain clean, straight lines. Remember to use light pencil strokes at first, allowing you to easily erase and adjust as needed before finalizing the outlines with a darker pencil or ink. Finally, practice shading the sides differently to represent light and shadow, which will enhance the three-dimensional effect of your drawing.
Conclusion
Drawing a triangular pyramid may seem challenging at first, but by following these step-by-step instructions, you can create an impressive three-dimensional shape on a two-dimensional surface. Remember to take your time, use the necessary materials, and experiment with shading techniques to add depth and realism to your drawing. So grab your pencil, paper, and start creating your very own triangular pyramid masterpiece!
Fun Facts About Triangular Pyramid
- The triangular pyramid is also known as a tetrahedron, the simplest of all polyhedra.
- All four faces of a regular triangular pyramid are equilateral triangles.
- A triangular pyramid has four vertices and six edges.
- The triangular pyramid is the only polyhedron with all faces congruent and all vertices identical in a regular form.
- It is one of the five Platonic solids in geometry.
- The volume of a triangular pyramid can be calculated using the formula V = (1/3) × base area × height.
- Triangular pyramids are found in nature, such as in the methane molecule (CH₄), which has a tetrahedral shape.
- In architecture, the triangular pyramid's structure provides exceptional strength and stability.
- The triangular pyramid is the only convex polyhedron with fewer than five faces, making it unique among polyhedra.
- Its symmetry group is the tetrahedral group, which has 12 rotational symmetries.
Suggestions for Scenes and Settings for Triangular Pyramid Drawings
- Draw a futuristic cityscape where buildings are shaped like triangular pyramids, reflecting sunlight in different directions.
- Create a crystal cavern filled with glowing tetrahedral gems clustered on the cavern floor and walls.
- Illustrate a sci-fi spacecraft landing on an alien planet, with its main structure based on a triangular pyramid form.
- Design a minimalist landscape with giant triangular pyramids rising from a desert, casting dramatic shadows at sunset.
- Imagine a surreal scene where floating triangular pyramids hover above a forest canopy, interacting with beams of light.
- Depict a tabletop still life featuring a tetrahedral sculpture surrounded by various geometric objects.
- Sketch a playground where the climbing structure is a large, colorful triangular pyramid with children playing around it.
- Draw an underwater scene with tetrahedral coral formations and exotic sea creatures swimming among them.
- Compose a fantasy map where mountain ranges are stylized as rows of triangular pyramids.
- Illustrate an ancient civilization's temple constructed from stacked triangular pyramids, surrounded by lush jungle.