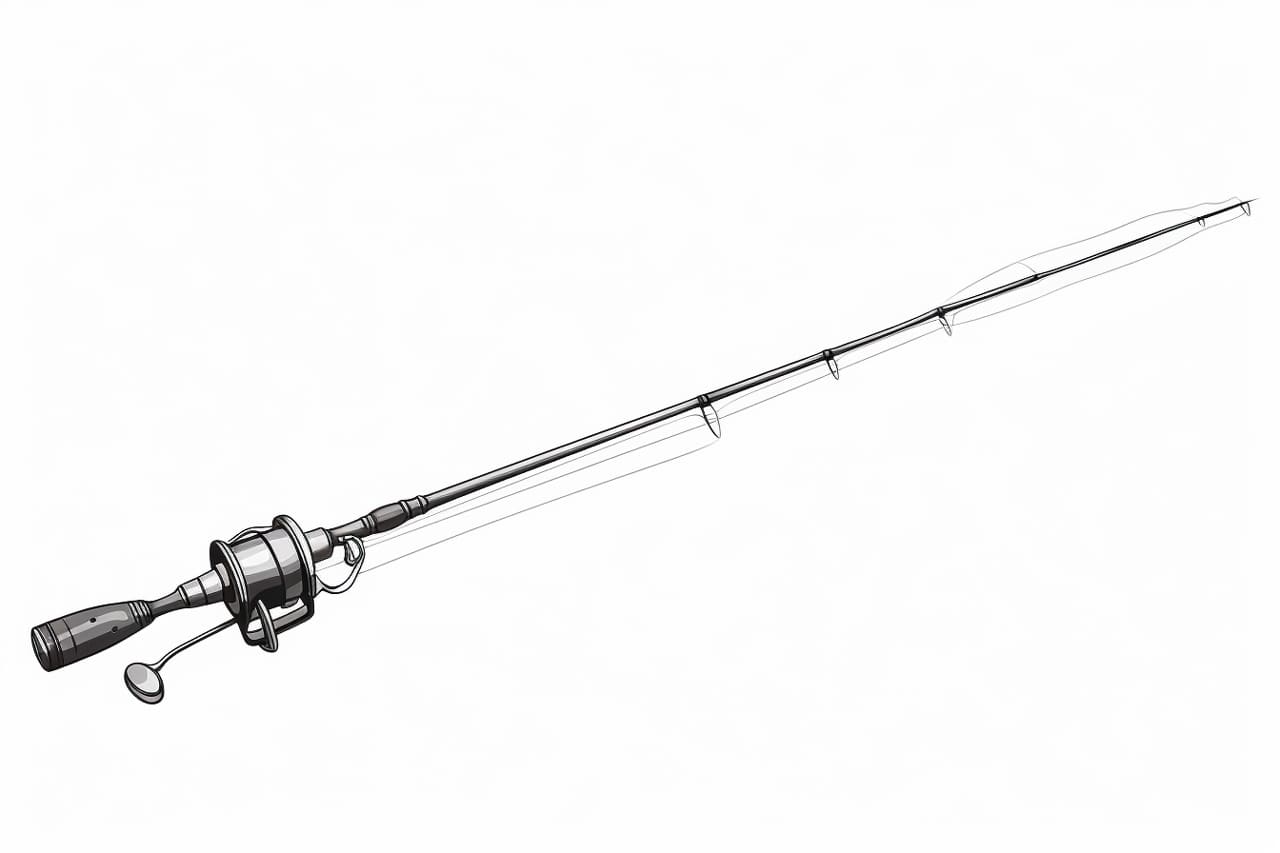
In this tutorial, we will learn step-by-step how to draw a fishing pole. Whether you’re an aspiring artist or simply looking for a fun and creative activity, this guide will help you create a realistic and detailed drawing of a fishing pole. So grab your pencil, and let’s get started!
Materials Required
Before we begin, gather the following materials:
- Drawing paper
- Pencil
- Eraser
- Ruler
- Compass
- Protractor
- Colored pencils or markers (optional)
Now that you have all the necessary materials, we can dive into the exciting process of drawing a fishing pole.
Step 1: Draw the Base Line
Start by drawing a straight horizontal line across the middle of your paper. This line will serve as the base for the fishing pole.
Step 2: Add the Reel Seat
On the left side of the base line, draw a small rectangle. This rectangle represents the reel seat of the fishing pole.
Step 3: Sketch the Handle
From the right side of the reel seat, draw a slightly curved line downwards. This line represents the handle of the fishing pole. Make sure the line is not too long; it should be proportionate to the reel seat.
Step 4: Add the Grip
At the bottom of the handle, draw another curved line upwards to form the grip. The grip should be thicker than the handle and extend slightly below the base line.
Step 5: Draw the Fishing Line
On the right side of the base line, draw a slightly curved line upwards. This line represents the fishing line. The length of the line can vary depending on personal preference.
Step 6: Create the Fishing Rod
To create the fishing rod, draw a straight vertical line from the top of the reel seat to the top of the grip. Make sure the line is aligned with the center of the reel seat and handle.
Step 7: Add the Guides
Using your ruler, draw evenly spaced diagonal lines across the fishing rod. These lines represent the guides that help control the fishing line. Start from the top of the fishing rod and stop just above the grip.
Step 8: Sketch the Reel
On the top of the reel seat, draw a circle or an oval-shaped figure. This will represent the fishing reel. Add small details like buttons or knobs to make it more realistic.
Step 9: Add Details to the Reel
Inside the reel, draw circular shapes to represent the various components. You can also add a handle and a fishing line coming out of the reel. Be creative and add as much detail as you like.
Step 10: Erase Unnecessary Lines
Carefully go over your drawing and erase any unnecessary lines, such as the base line and the lines from the fishing line to the reel. This will give your drawing a cleaner and more refined look.
Step 11: Add Color (optional)
If you want to add a touch of color to your drawing, now is the time to do so. Use colored pencils or markers to bring your fishing pole to life. You can choose realistic colors or get creative with vibrant hues.
Conclusion
Congratulations! You have successfully drawn a fishing pole. By following these step-by-step instructions and using your creativity, you have created a realistic and detailed representation of a fishing pole. Drawing is a wonderful way to express your artistic abilities and relax. So keep practicing and exploring different subjects to draw.
With this tutorial, you’ve learned how to draw a fishing pole. Remember to gather all the necessary materials and follow each step carefully. Whether you’re drawing for fun or aiming to improve your artistic skills, enjoy the process and have fun bringing your imagination to life.