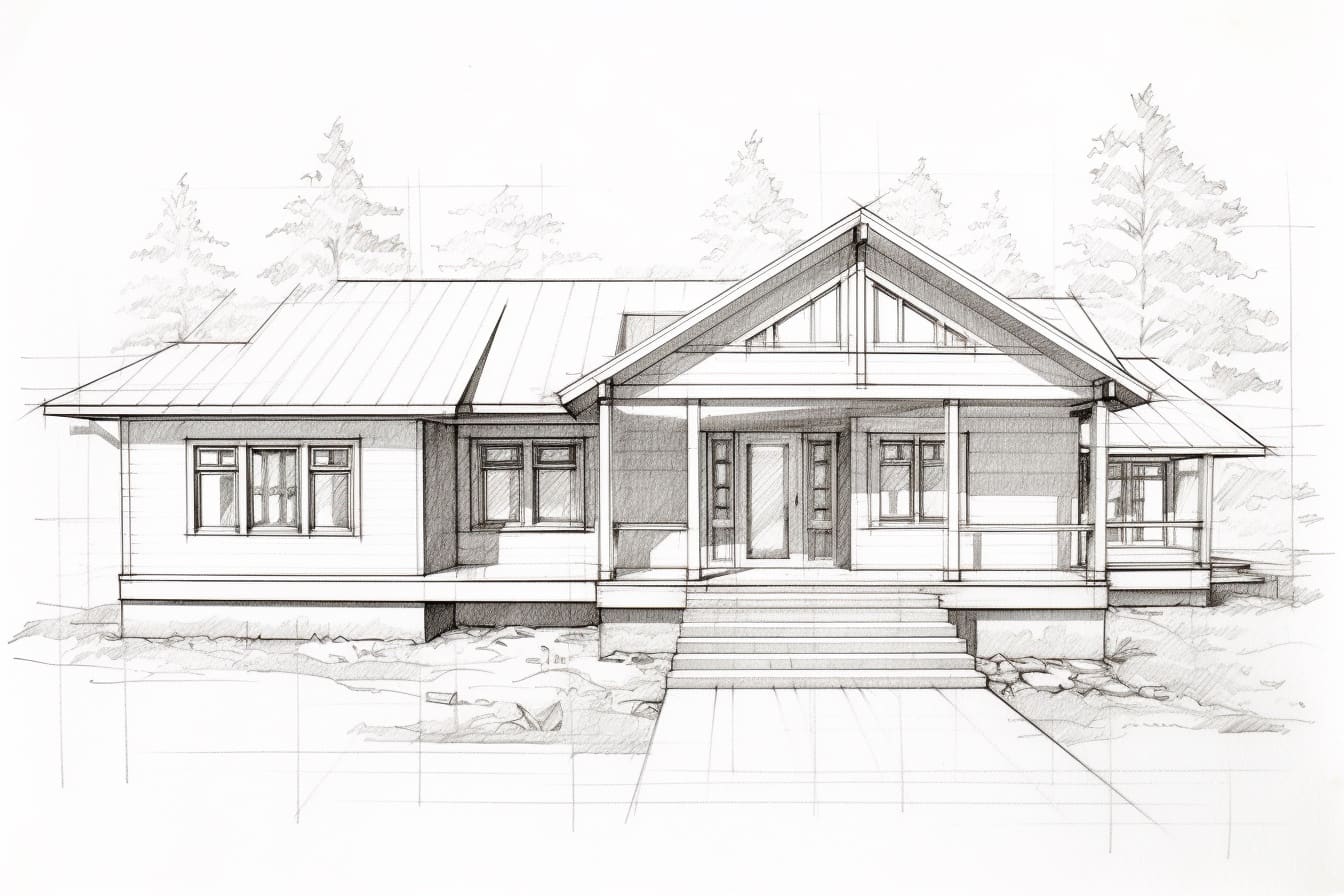
Are you interested in designing and visualizing your dream house? Creating a blueprint is an essential step in the architectural process. A blueprint not only serves as a guide for the construction team but also allows you to experiment with different layouts and designs before finalizing your plans. In this article, we will guide you through the process of how to draw a blueprint of a house, step by step. So grab your drawing tools, and let’s get started!
Materials Required
Before we begin, gather the following materials:
- Drawing paper or a sketchbook: Choose a larger size to accommodate the details of your house.
- Graph paper: This will help you maintain accurate proportions and measurements.
- Pencils: Invest in different grades of pencils (2H, HB, 2B, etc.) for shading and detailing.
- Erasers: A kneaded eraser for delicate corrections and a regular eraser for larger areas.
- Rulers: Have both a straight ruler and a T-square for precise lines.
- Architectural scale ruler: This specialized ruler makes it easier to draw to scale.
- Compass: Useful for drawing circles and arcs.
- Protractor: For accurate angles and measurements.
- Optional – Colored pencils or markers: These can be used to add depth and visual appeal to your blueprint.
Step 1: Gather Inspiration
Before diving into the technical aspects of blueprint drawing, gather inspiration for your house design. Look for architectural magazines, online resources, or even take a stroll through your neighborhood to gather ideas. Keep in mind your personal preferences, the size of your property, and any specific requirements you may have.
Step 2: Measure and Map
Start by accurately measuring the dimensions of your property. Use a measuring tape to determine the length, width, and any irregularities or obstacles present. Then, using the graph paper, make a rough sketch of your property outline, keeping the scale in mind. This will serve as the foundation for your blueprint.
Step 3: Establish the Scale
To ensure your blueprint accurately represents your house’s proportions, establish a scale for your drawing. You can use the architectural scale ruler for this purpose. For example, if you choose a 1:100 scale, every inch on your blueprint will represent 100 inches in reality. Apply this scale consistently throughout your drawing.
Step 4: Start with the Outer Walls
Use a straight ruler to draw the outer walls of your house on the graph paper, following the property outline you sketched earlier. Begin by drawing the outline of the ground floor, ensuring that the walls are straight and aligned with the grid lines of the graph paper. Then, if your house has multiple floors, continue drawing the walls for each level.
Step 5: Add Interior Walls and Features
Once the outer walls are in place, it’s time to add interior walls and features. Consider the layout and functionality of your house, and sketch in the walls that divide various rooms and areas. Don’t forget to include essential features such as doors, windows, and staircases. Remember to maintain proper scale and alignment throughout.
Step 6: Incorporate Measurements and Labels
To make your blueprint more informative, add measurements and labels to your drawing. Use your architectural scale ruler to measure the lengths of walls, the widths of doors and windows, and other dimensions. Write these measurements directly on your blueprint, and label each room or area accordingly.
Step 7: Include Electrical and Plumbing Layouts
If you have the expertise or knowledge, it’s helpful to include the electrical and plumbing layouts in your blueprint. This step is essential for accurately planning the placement of outlets, switches, and plumbing fixtures. Consult appropriate resources or consult with professionals to ensure accuracy in your drawings.
Step 8: Refine and Shade
Now that your basic blueprint is complete, it’s time to refine your drawing and add some depth. Use different grades of pencils to shade areas that need distinction or to create a sense of depth. Add texture and details to doors, windows, and other architectural elements. Don’t hesitate to use your creativity to bring your blueprint to life.
Step 9: Optional – Add Color
If you want to take your blueprint to the next level, consider adding color to your drawing. Colored pencils or markers can be used to differentiate various rooms, highlight important features, or simply add visual appeal. Experiment with different shades and hues to achieve the desired effect.
Conclusion
Drawing a blueprint of a house is an exciting and rewarding process. By following the step-by-step instructions outlined in this article, you can create a blueprint that accurately represents your dream home. Remember to gather inspiration, measure and map your property, establish a scale, and meticulously add all the necessary elements. Don’t forget to refine your drawing with shading and consider adding color for that extra touch. Happy blueprint drawing!


