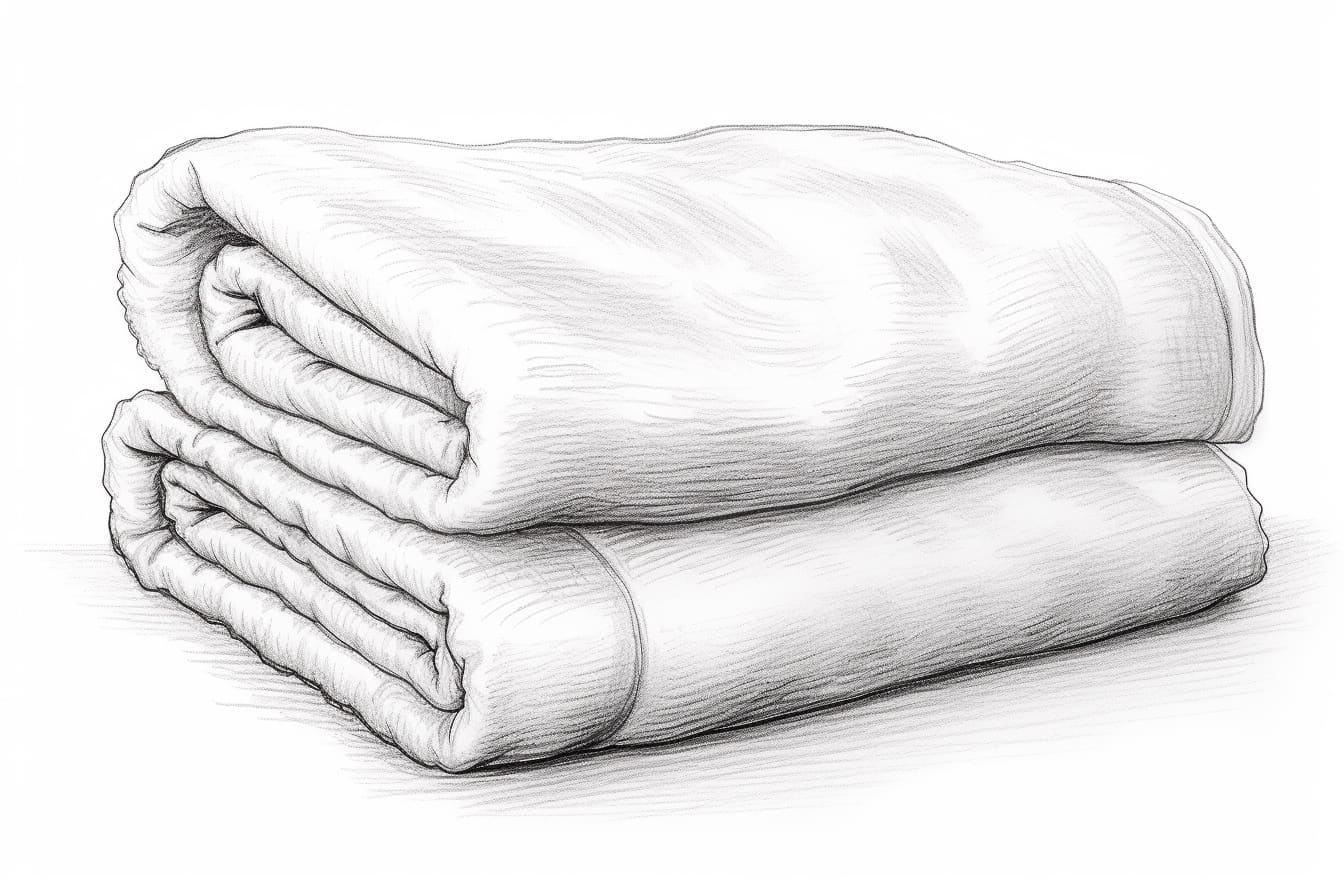
As an artist, drawing everyday objects can be a great way to practice your skills and improve your understanding of shapes, shading, and textures. In this tutorial, we will walk you through the step-by-step process of how to draw a towel. Whether you are a beginner or an experienced artist, this guide will help you create a realistic and detailed drawing of a towel. So let’s get started!
Materials Required
Before we begin, make sure you have the following materials ready:
- Drawing paper
- Pencil (preferably a soft graphite pencil like 2B or 4B)
- Eraser
- Blending stump or cotton swabs (optional, for shading and blending)
Having these materials ready will ensure a smooth drawing process and give you more control over the details of your artwork.
Step 1: Outline the Shape of the Towel
Start by lightly sketching the basic shape of the towel on your drawing paper. The shape of a towel is typically rectangular, but it can also have rounded corners or irregular edges depending on how it is laid out. Use light and loose pencil strokes to create the outline, as you can make adjustments later on.
Step 2: Add the Folds and Wrinkles
Towels often have folds and wrinkles due to their soft and malleable nature. To make your drawing look more realistic, carefully observe the towel and add these folds by drawing curved lines along the outline. Keep the lines loose and fluid, as towels tend to have soft and gradual folds.
Step 3: Define the Texture
Towels are made of woven fabric, which gives them a distinctive texture. To capture this texture in your drawing, lightly shade the entire towel using horizontal lines. Make sure the lines are parallel and evenly spaced, mimicking the appearance of woven threads. You can increase or decrease the darkness of the shading to create depth and dimension.
Step 4: Darken the Shadows
Identify the areas of the towel that are in shadow and use a slightly darker pencil or increase the pressure on your pencil to darken those areas. Shadows are essential for creating a sense of volume and three-dimensionality in your drawing. Pay close attention to where the folds overlap and where the towel might be pressed against a surface. The darkest shadows will typically be found in these areas.
Step 5: Add Highlights and Reflections
To make your drawing look more realistic, add highlights and reflections to the towel. Towels are generally made of absorbent material, which means they can catch and reflect light. Use your eraser to carefully lift off some of the shading in areas where light would hit the towel directly. This will create highlights and give your drawing a sense of depth and sheen.
Step 6: Refine and Detail
Take a step back and assess your drawing so far. Look for areas that need refinement or additional details. Use your pencil to add more definition to the folds and wrinkles, and to enhance the texture of the towel by adding more shading or crosshatching. Remember to observe the reference towel closely and try to capture its unique characteristics.
Step 7: Finalize
Once you are satisfied with your drawing, take a moment to go over it and make any necessary adjustments. Clean up any stray pencil lines or smudges with your eraser, and refine the shading and highlights to achieve the desired effect. Don’t be afraid to experiment and take your time to achieve the desired outcome.
Conclusion
Drawing a towel may seem like a simple task, but paying attention to the details can elevate your artwork and help you improve your skills. By following these step-by-step instructions, using the right materials, and observing the texture and form of the towel closely, you can create a realistic and detailed drawing. Remember, practice makes perfect, so don’t be discouraged if your first attempt is not exactly as you envisioned. With time and practice, you will continue to grow as an artist.
So grab your materials and start drawing a towel today. Enjoy the creative process, and don’t forget to have fun!


