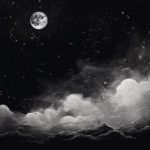
Creating a beautiful starry sky can be a breathtaking addition to any drawing or painting. Whether you’re an experienced artist or just starting out, this step-by-step guide will teach you how to draw a starry sky in a clear and concise manner. So let’s get started and bring the magical night sky to life on your creative canvas!
Materials Required
Before we begin, let’s gather the materials you’ll need to complete this drawing:
- Drawing paper or canvas
- Pencil
- Eraser
- Black ink pen or fine-tip marker
- White gel pen or white paint
- Watercolors or colored pencils (optional)
Now that you have all the necessary supplies, let’s dive into the steps to create your stunning starry sky.
Step 1: Sketching the Background
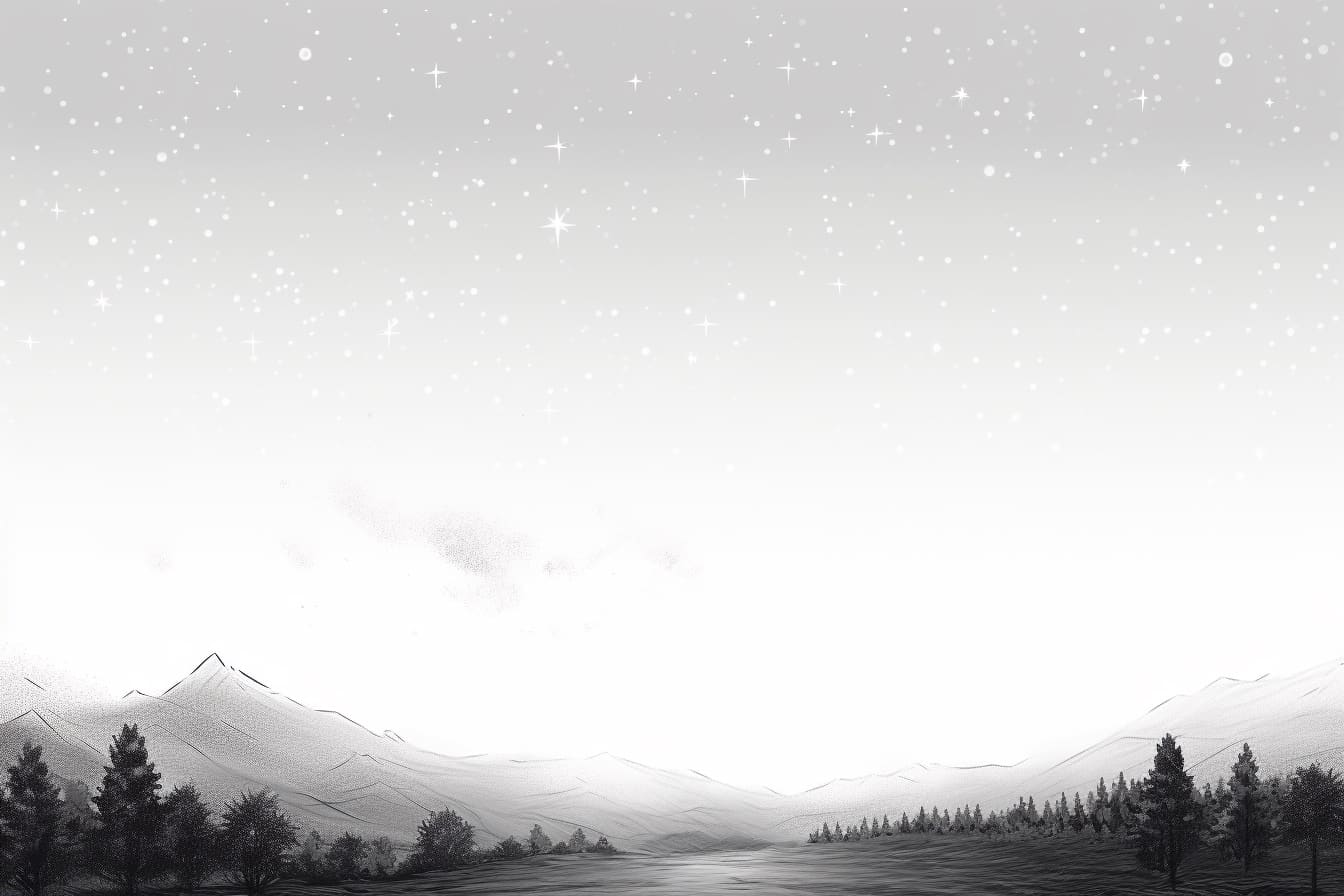
Start by lightly sketching the basic outline of your sky. Decide on the composition and placement of the stars. You can create a simple horizon line or leave it blank for a sense of infinity. Experiment with different shapes and sizes for the stars to add variety.
Step 2: Darkening the Sky
Using your pencil, shade the sky area with a light layer of graphite. Apply more pressure gradually to create a gradient effect, making the sky darker towards the top and lighter towards the horizon. This will establish a sense of depth to your starry sky.
Step 3: The Starry Constellations
Now it’s time to add the stars! Using your ink pen or fine-tip marker, carefully draw dots of various sizes all over the sky. Consider referencing real constellations or create your own imaginary designs. Remember to vary the size and spacing of the stars to make it look more natural.
Step 4: Adding Details
To make your starry sky more realistic, add some finer details. Use your white gel pen or white paint to create tiny dots or lines around the stars to represent their sparkling glow. Be mindful of the size and placement of these details, as they can greatly enhance the overall effect.
Step 5: Shining Stars
Now, let’s make some of the stars shine brighter than the others. Choose a few stars and carefully outline them with your white gel pen or white paint. You can also add a little highlight to the stars by drawing small lines or circles around them.
Step 6: Optional: Adding Colors
If you want to add a touch of color to your starry sky, watercolors or colored pencils can be used. Decide on the color scheme you want to incorporate and lightly apply the colors in a gradient or blend them together for a dreamy effect. Remember to be gentle and subtle with the colors, as the focus should still be on the stars.
Step 7: Final Touches
Take a step back and examine your starry sky drawing. Make any necessary adjustments or add additional details if you feel it’s needed. Once you’re satisfied with the overall result, let the ink dry completely before erasing any remaining pencil lines.
And there you have it! You’ve successfully drawn a beautiful starry sky. Whether you choose to keep it as a standalone piece or use it as a background in a larger drawing or painting, this technique will surely add a touch of enchantment to your artwork.
Conclusion
Drawing a starry sky can be a mesmerizing experience, allowing you to bring the beauty of the night sky to your artistic creations. By following the step-by-step instructions in this guide, you can create your very own star-studded masterpiece. So grab your materials, let your imagination take flight, and enjoy the process of creating a magical starry sky on paper or canvas.