Drawing a rectangular prism can be a fun and rewarding experience. Whether you are an aspiring artist or simply looking to improve your drawing skills, this step-by-step guide will help you create a realistic and proportional rectangular prism. In this article, we will go through the materials needed, followed by detailed instructions on how to draw a rectangular prism. So grab your pencils, paper, and let’s get started!
Materials Required
Before we begin, let’s gather the materials needed for this drawing tutorial. Here’s what you’ll need:
- Paper: Choose a smooth, heavyweight paper that can handle different drawing techniques.
- Pencils: Have a range of graphite pencils available, such as HB, 2B, and 4B. These will help you achieve varying levels of shading and depth.
- Eraser: Select a good quality eraser that can easily remove unwanted lines without smudging.
- Ruler: A straight ruler will assist you in drawing straight and accurate lines.
- Optional: Colored pencils or markers if you wish to add color to your drawing.
Once you have gathered these materials, find a quiet and well-lit space where you can focus on your drawing.
Step 1: Draw the Front and Back Faces
To begin, let’s draw the front and back faces of the rectangular prism. Start by lightly sketching a vertical line. This line will serve as the height of your rectangular prism. Next, draw two parallel horizontal lines below the vertical line. These lines will represent the width of the prism.
Step 2: Add the Side Faces
Next, we will add the side faces of the prism. Draw two vertical lines extending from the top and bottom corners of the front face. These lines should be perpendicular to the horizontal lines we drew earlier. Ensure that the length of these lines is equal to the height of the prism.
Step 3: Connect the Side Faces
Now, we will connect the side faces with horizontal lines. Start by drawing a line between the top corners of the front and back faces. Then, draw a parallel line between the bottom corners. These lines should be perpendicular to the vertical lines we drew in the previous step.
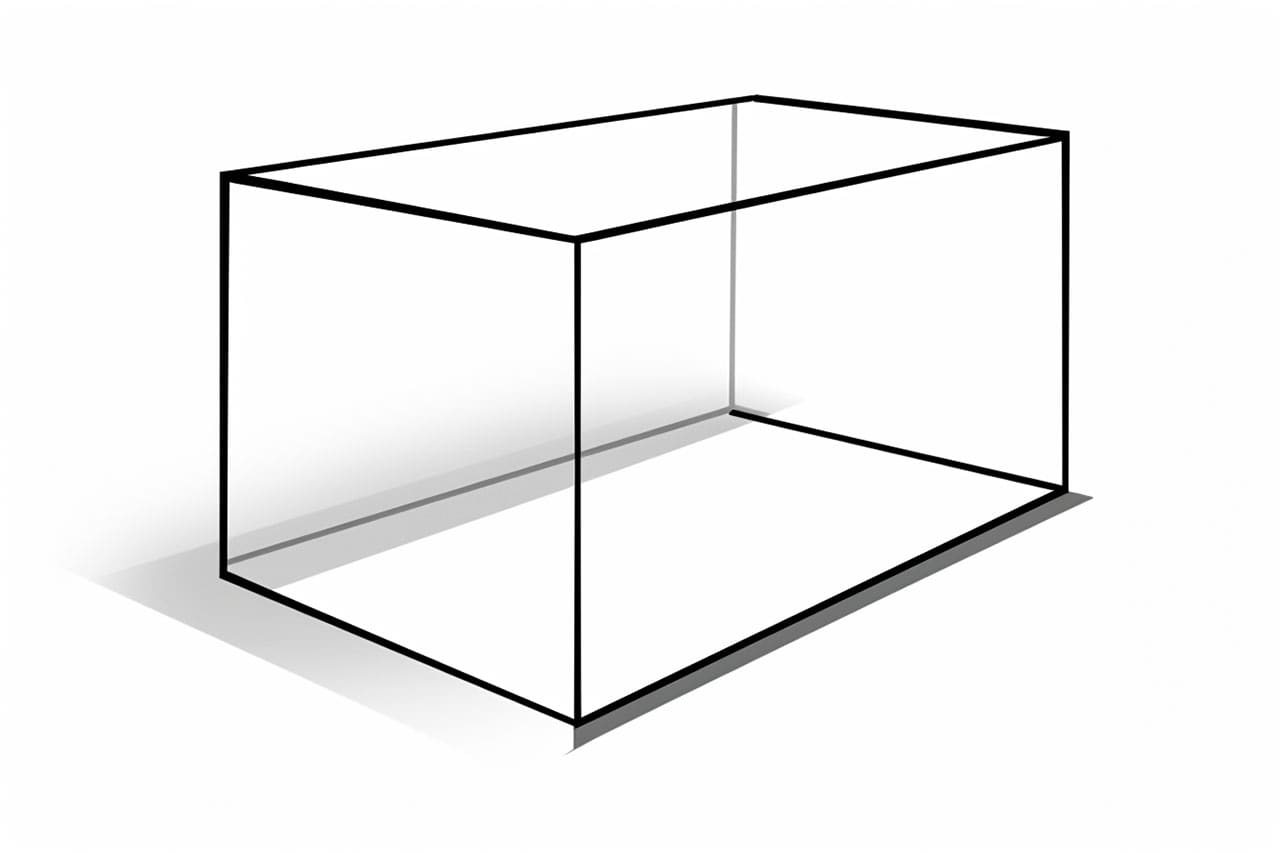
Step 4: Complete the Rectangular Prism
To complete the rectangular prism, draw lines connecting the remaining corners. These lines should be parallel to the front and back faces. Make sure the lines are straight and meet at the appropriate points to maintain the shape of the prism.
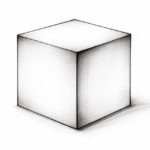
Step 5: Add Depth and Shadows
Now that you have drawn the basic shape, it’s time to add depth and shadows to make your rectangular prism appear three-dimensional. Start by determining the light source’s direction to establish where the shadows will fall. Shadows are typically seen on the opposite side of the light source.
Using your pencils, shade the areas of the prism that are facing away from the light source. Apply light pressure with your pencil to create a subtle shading effect. Gradually increase the pressure to darken the shaded areas, especially in the corners and along the connecting edges.
Conclusion
Drawing a rectangular prism may seem challenging at first, but with practice and following these step-by-step instructions, you can achieve impressive results. Remember to take your time, be patient, and pay attention to details. By practicing regularly, you will improve your skills and develop your own unique style.
We hope this guide has been helpful and insightful in teaching you how to draw a rectangular prism. With the right materials, careful observation, and a little creativity, you can create stunning drawings of rectangular prisms. So, grab your pencils, put on your artistic hat, and start drawing!