Welcome to this step-by-step guide on how to draw a puzzle piece! Whether you’re an aspiring artist, a puzzle enthusiast, or simply looking to enhance your drawing skills, this tutorial will help you create a realistic and detailed puzzle piece. With clear instructions and easy-to-follow steps, you’ll be able to master the art of drawing a puzzle piece in no time.
Materials Required
To get started, you’ll need the following materials:
- A blank sheet of paper
- Pencils (HB, 2B, and 4B)
- Eraser
- Ruler
- Compass
- Protractor
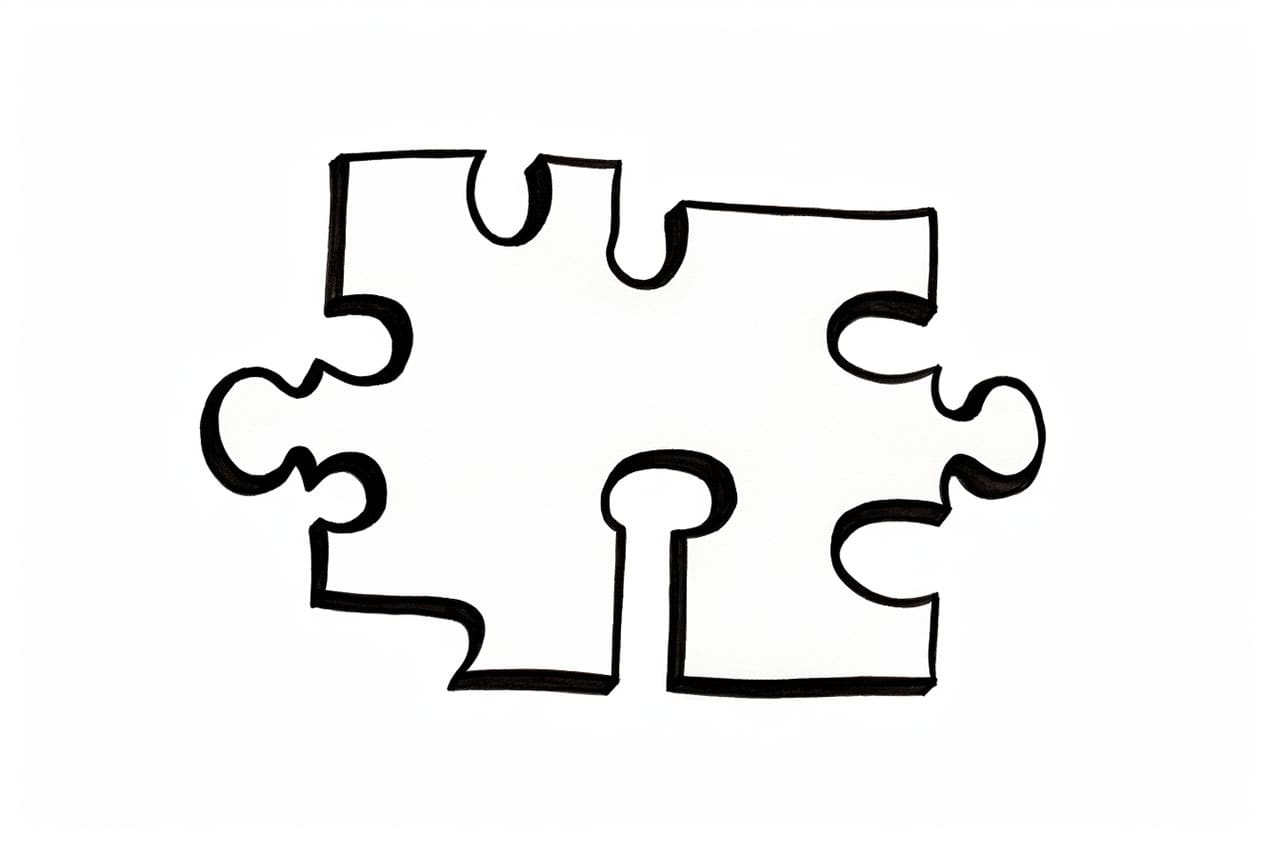
Step 1: Draw the Outline
Begin by drawing a square shape in the center of your paper. Use a pencil and a ruler to create straight lines for each side of the square. Make sure the lines are light, as you may need to erase them later on.
Step 2: Divide the Square
Next, divide the square into multiple smaller squares. The number of smaller squares will depend on how intricate you want your puzzle piece to be. Use a ruler and mark equally spaced divisions along each side of the square.
Step 3: Draw the Puzzle Shape
Using a compass, draw a curve connecting the corner points of each smaller square. This will create the puzzle shape. Start from one corner of the square and gently draw the curve until you reach the opposite corner. Repeat this process for all the smaller squares.
Step 4: Refine the Shape
Now, it’s time to refine the puzzle shape and make it more realistic. Use a 2B pencil to darken the outline of the puzzle piece and add more definition. Pay attention to the curves and angles, making sure they are smooth and symmetrical. Erase any unnecessary lines from the initial sketch.
Step 5: Add Texture
To give your puzzle piece a three-dimensional look, add some texture. Use a 2B or 4B pencil to lightly shade the puzzle piece, focusing on the areas where shadows would naturally fall. Start by shading along the edges and gradually work your way towards the center. This will create a sense of depth and dimension.
Step 6: Enhance the Details
Now, let’s enhance the details of the puzzle piece. Use a 4B pencil to outline the individual smaller squares within the puzzle piece. Pay attention to the corners and edges, as they may have slightly rounded or beveled shapes. Darken the lines to make them more prominent.
Step 7: Create a 3D Effect
To make the puzzle piece appear three-dimensional, add shading and highlights. Use a 4B pencil to shade the areas that are in shadow, such as the bottom part of the puzzle piece. Gradually blend the shading using a blending stump or your fingers to create a smooth transition from light to dark.
Next, use an eraser to lighten the areas that would catch the light, such as the top edges and corners of the puzzle piece. This will create highlights and make the puzzle piece look more realistic.
Step 8: Final Touches
Now that your puzzle piece is taking shape, take a moment to review and refine any areas that need tweaking. Use your eraser to clean up any smudges or stray marks. Step back and observe the overall composition to ensure it looks balanced and visually appealing.
Conclusion
Congratulations! You have successfully completed the step-by-step guide on how to draw a puzzle piece. By following these instructions and using your creativity, you have learned how to create a realistic and detailed puzzle piece. Keep practicing and experimenting with different shapes and textures to further develop your drawing skills.
Remember, drawing is a skill that improves with time and practice. Don’t be discouraged if your first attempt doesn’t turn out exactly as expected. Embrace the process and enjoy the journey of creating art.
So grab your pencils and start drawing your own puzzle pieces today!