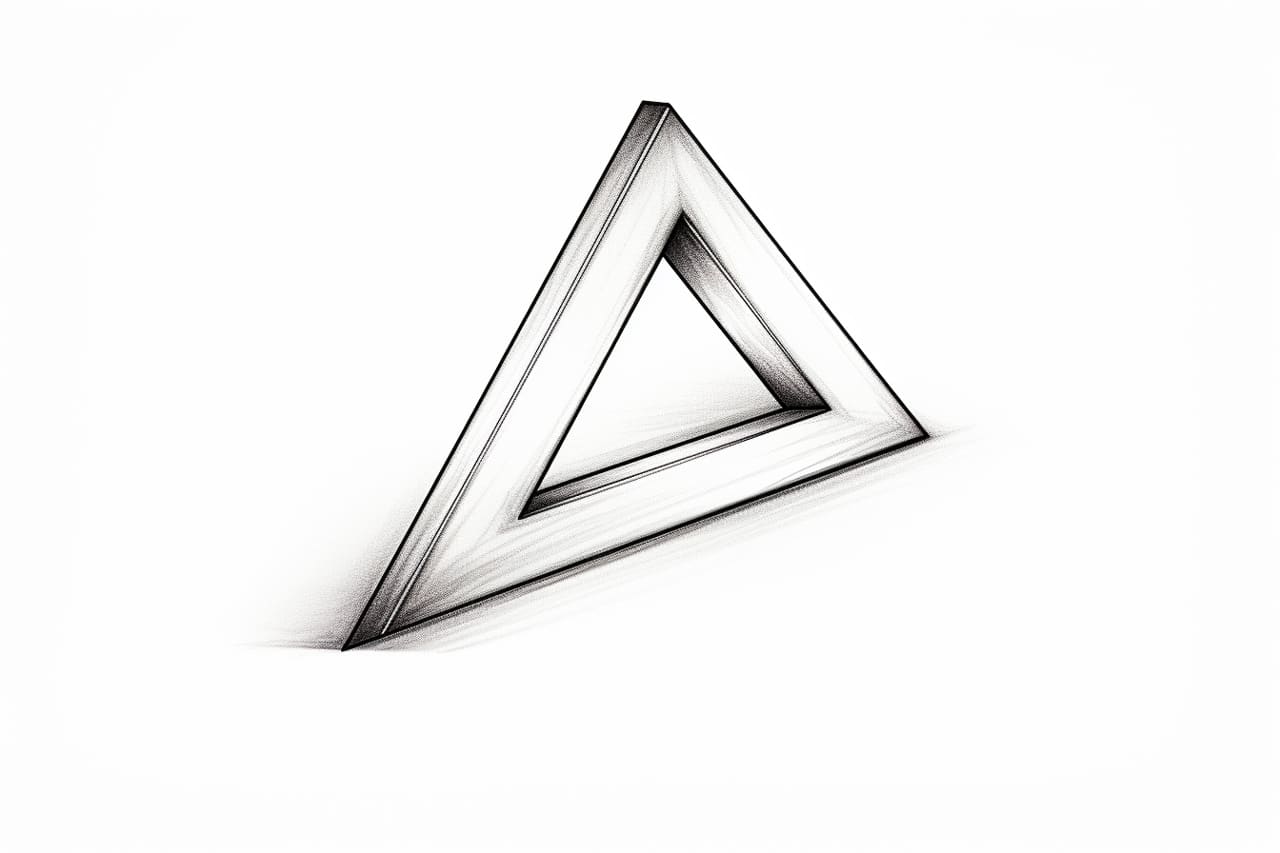
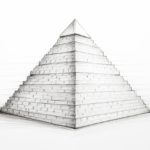
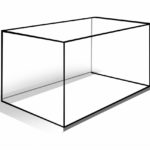
Drawing three-dimensional shapes can be both challenging and rewarding. If you’re looking to add depth and dimension to your artwork, drawing a 3D triangle is a great place to start. In this step-by-step guide, we will walk you through the process of creating a 3D triangle from start to finish. So grab your materials and let’s get started!
Materials Required
Before we begin, make sure you have the following materials ready:
- Paper
- Pencil
- Ruler
- Eraser
- Coloring materials (optional)
Having these materials on hand will ensure that you can follow along easily and achieve the best results.
Step 1: Draw the Base Triangle
Start by drawing a regular triangle on your paper. Use a ruler to ensure straight lines and equal angles. Begin by lightly sketching a horizontal line. Next, draw two lines slanting upwards from the ends of the horizontal line, meeting at a point above the horizontal line. This will form the base triangle of your 3D shape.
Step 2: Add Depth to the Base Triangle
To make the triangle appear three-dimensional, you need to add depth to it. To do this, draw two more lines extending downwards from the top corners of the triangle, converging at a point below the base. These lines will create the sides of your 3D triangle, giving it a sense of depth and volume.
Step 3: Sketch the Top Triangle
Now, it’s time to create the top triangle of your 3D shape. Using your ruler, draw a triangular shape above the base triangle, making sure the top corners align with the downward lines you drew in the previous step. This top triangle should be slightly smaller than the base triangle to create the illusion of perspective.
Step 4: Connect the Corners
To complete the 3D effect, connect the corresponding corners of the base and top triangles with straight lines. Start with the top left corner of the base triangle and draw a line to the top left corner of the top triangle. Repeat this process for the remaining corners, ensuring that your lines are straight and parallel to each other.
Step 5: Add Details and Shadows
Now that you have the basic structure of your 3D triangle, you can add some details to make it more realistic. Start by refining the outlines and corners of the triangle, making them more defined and crisp. Then, introduce shadows to give your triangle depth and dimension. Shade the areas that would be in shadow, considering the light source’s direction and intensity. This will enhance the three-dimensional illusion of your drawing.
Step 6: Color Your 3D Triangle (Optional)
If you want to take your drawing to the next level, consider adding color to your 3D triangle. Choose a color palette that suits your style and the overall composition of your artwork. You can use colored pencils, markers, or even paint to bring your triangle to life. Experiment with shading and blending techniques to add depth and realism to your creation.
Conclusion
Drawing a 3D triangle may seem challenging at first, but with the right guidance and practice, it can become an enjoyable and rewarding artistic endeavor. By following these step-by-step instructions, you can create a visually stunning 3D triangle that will impress both yourself and others. Remember, mastering any skill takes time and patience, so don’t be discouraged if your first attempt isn’t perfect. Keep practicing, and soon enough, you’ll be able to draw three-dimensional shapes with ease.
So grab your materials, let your creativity flow, and start exploring the world of three-dimensional drawing. Happy creating!

