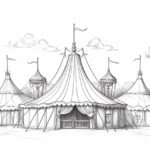
Do you want to learn how to draw a circus tent? Drawing a circus tent can be a fun and exciting activity that allows you to unleash your creativity. In this step-by-step guide, I will walk you through the process of drawing a circus tent, from the basic shapes to adding in the intricate details. So grab your paper and pencils, and let’s get started!
Materials Required
Before we begin, make sure you have the following materials:
- A piece of paper
- Pencils (HB, 2B, and 4B)
- Eraser
- Ruler
Now that you have your materials ready, let’s start drawing our circus tent.
Step 1: Draw the Base Shape
Start by drawing a rectangle shape that will serve as the base of the tent. Use your ruler to create straight and even lines. You can make the rectangle as big or as small as you like, depending on how large you want your circus tent to be.
Step 2: Add the Tent Poles
Next, draw two vertical lines inside the rectangle, one at each end. These lines will represent the tent poles that hold up the tent. Make sure the lines extend slightly beyond the top of the rectangle to create the illusion of height.
Step 3: Create the Tent Top
Now, it’s time to create the top part of the tent. Start by drawing a curved line connecting the two tent poles at the top. This line should be slightly curved inwards to give the tent its distinctive shape. Then, connect the curved line to the sides of the rectangle, creating a triangular shape.
Step 4: Sketch the Tent Details
To make your circus tent look more realistic, add some details to the sketch. Draw diagonal lines across the tent top to represent the creases in the fabric. Add small vertical lines to indicate the tent poles’ texture. You can also add a thicker line at the bottom of the tent to give it more depth.
Step 5: Outline the Tent
Now that you have your initial sketch, it’s time to outline the tent using a darker pencil, such as a 2B or 4B. Start by outlining the rectangle shape, making sure to follow the edges of the paper. Then, carefully outline the tent poles and the curved line connecting them. Finally, trace over the details you added in the previous step, such as the creases and the texture of the tent poles.
Step 6: Add Shadows and Shading
To give your circus tent depth and dimension, add some shadows and shading. Start by identifying the light source, which will determine where the shadows fall. Shade the areas on the tent that are away from the light source, such as the sides and the bottom. Use a softer pencil, like a 4B, to create gradients and smooth transitions between the shaded and non-shaded areas.
Step 7: Finalize the Details
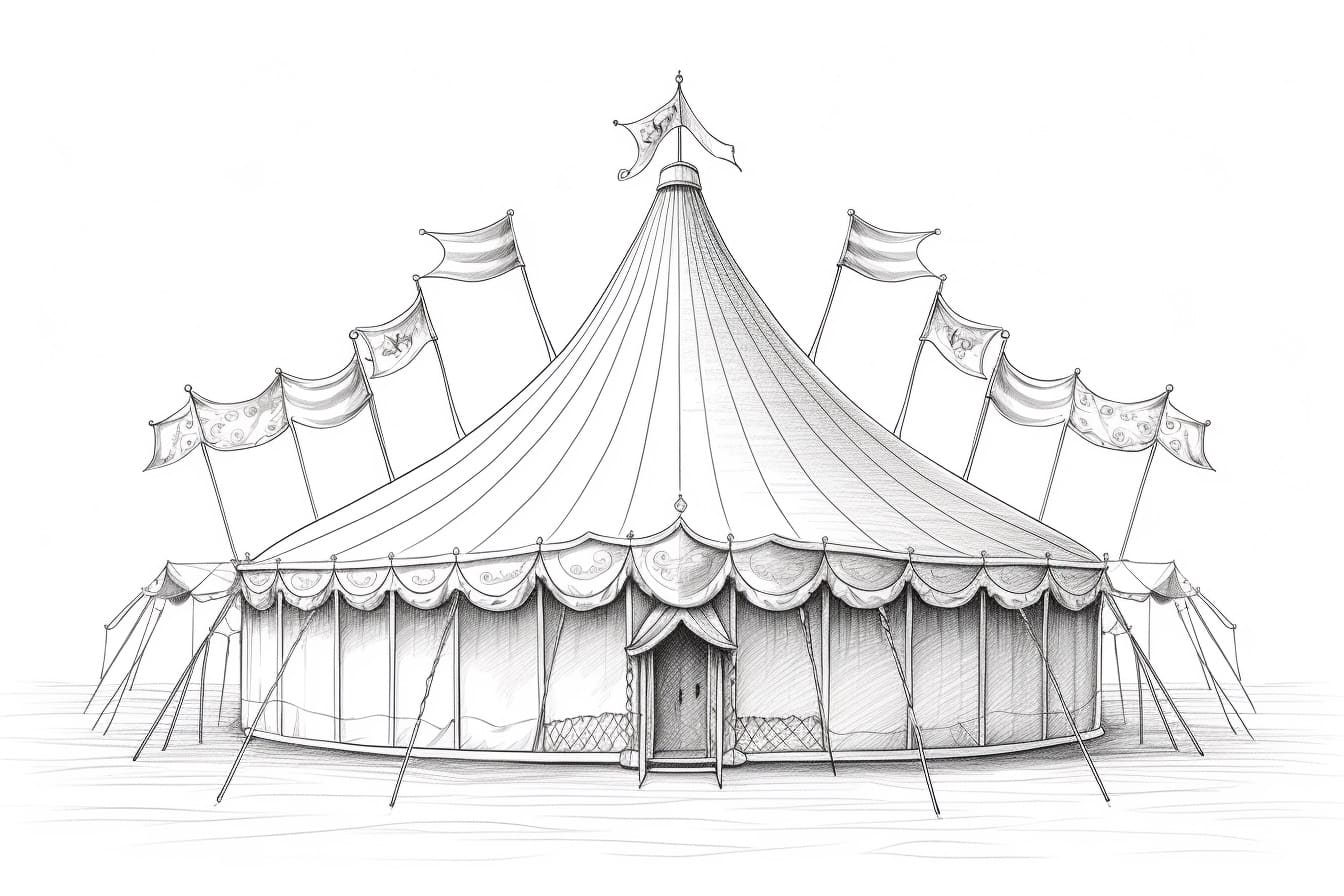
Now, take a step back and look at your drawing as a whole. Are there any details that need refining or enhancing? Take this opportunity to add any additional elements, such as flags or decorations on the tent, to make your drawing truly unique. Use lighter strokes for the details to make them stand out without overpowering the rest of the drawing.
Conclusion
Congratulations! You have successfully learned how to draw a circus tent. Drawing is a fantastic way to express your creativity and relax. By following these step-by-step instructions, you can create your very own circus tent masterpiece. So grab your drawing materials, let your imagination run wild, and have fun creating your circus scene!