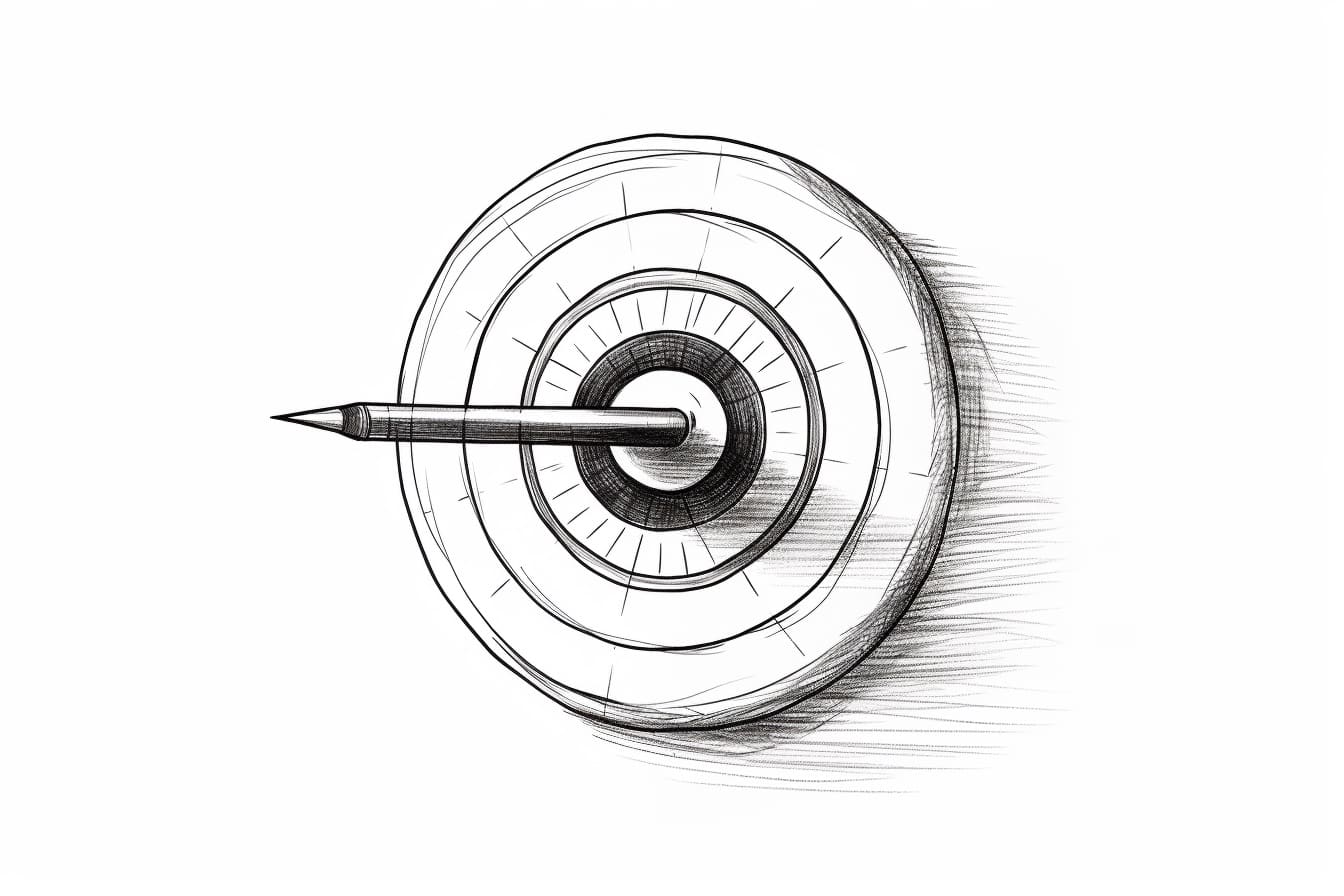
Have you ever wanted to learn how to draw a target? Whether you’re looking to create a custom logo, a fun illustration, or simply improve your drawing skills, knowing how to draw a target can come in handy. In this step-by-step guide, I will walk you through the process, providing clear instructions so you can create a perfectly symmetrical and eye-catching target. So grab your drawing supplies and let’s get started!
Materials Required
To draw a target, you will need the following materials:
- Drawing paper or sketchbook
- Pencil
- Ruler
- Compass
- Eraser
Now that you have your materials ready, let’s dive into the step-by-step instructions.
Step 1: Draw the Outer Circle
Start by drawing a large circle in the center of your paper. Use a compass to create a perfectly round shape. If you don’t have a compass, you can trace around a circular object like a plate or a lid.
Step 2: Divide the Circle
Next, use your ruler to draw a straight line across the center of the circle, horizontally. Then draw another line vertically, intersecting the first line at the center of the circle. This will divide the circle into four equal parts.
Step 3: Add the Inner Circles
Now, using your compass, draw a smaller circle at the very center of the larger circle. This inner circle should be about one-third the size of the outer circle.
Step 4: Draw the First Ring
To create the first ring of the target, draw a circle that is slightly larger than the inner circle. The width of this ring is up to you, but it should be consistent all the way around.
Step 5: Draw the Second Ring
Repeat the previous step to draw another circle around the first one. This second ring should be slightly larger in width than the first ring.
Step 6: Continue Adding Rings
Continue drawing additional rings, each one slightly wider than the previous one. You can create as many rings as you like, but aim for a total of at least five rings to achieve a traditional target appearance.
Step 7: Shade the Rings
To create a sense of depth and dimension, shade the rings starting from the outermost ring and gradually getting lighter as you move towards the center. You can use a pencil or shading technique of your choice. This will give your target a three-dimensional look.
Step 8: Fine-Tune and Erase
Now it’s time to fine-tune your target. Use your ruler to ensure that all the lines are straight and symmetrical. Erase any unnecessary guidelines or marks, leaving only the clean outlines of the target.
Conclusion
Congratulations! You have successfully learned how to draw a target. With a little practice and patience, you can create targets of various sizes and styles. Whether you’re an aspiring artist or just looking for a fun drawing project, the ability to draw a target is a valuable skill to have in your artistic toolbox.
Remember, drawing targets can be a great way to practice your symmetry and precision. So don’t be afraid to experiment with different sizes, colors, and shading techniques. The possibilities are endless!
I hope you found this step-by-step guide helpful and enjoyable. Now go grab your drawing supplies and start exploring the world of target drawing. Happy creating!