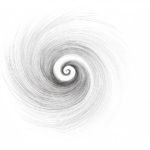
Mandalas are beautiful and intricate geometric designs that have been used in various cultures and spiritual traditions for centuries. They are not only visually appealing but can also be a calming and meditative practice to create. Whether you are an experienced artist or a beginner, this step-by-step guide will help you learn how to draw your own mandala.
Materials Required
Before we begin, let’s gather the materials you will need:
- Drawing paper or sketchbook
- Pencil
- Eraser
- Ruler or compass
- Fine-tipped markers or pens
- Colored pencils (optional)
Now that you have everything ready, let’s dive into the process of creating a beautiful mandala.
Step 1: Start with a Circle
Begin by drawing a circle in the center of your paper. You can use a compass to create a perfect circle or simply trace around a circular object such as a plate or a jar lid. The size of the circle is up to you, depending on how large or small you want your mandala to be.
Step 2: Establish the Center Point
Locate the center of your circle by drawing two perpendicular lines that intersect at the center. This will be your reference point for creating symmetrical designs in your mandala.
Step 3: Create Symmetrical Guidelines
To maintain symmetry in your mandala, draw a series of guidelines radiating out from the center point. These guidelines will serve as a framework for your design. You can create as many guidelines as you like, depending on the complexity of your mandala.
Step 4: Start with Basic Shapes
Begin filling in the sections of your mandala using basic shapes such as circles, triangles, squares, or rectangles. These shapes can be arranged in various patterns and sizes to create interesting and intricate designs. Feel free to experiment and let your creativity guide you.
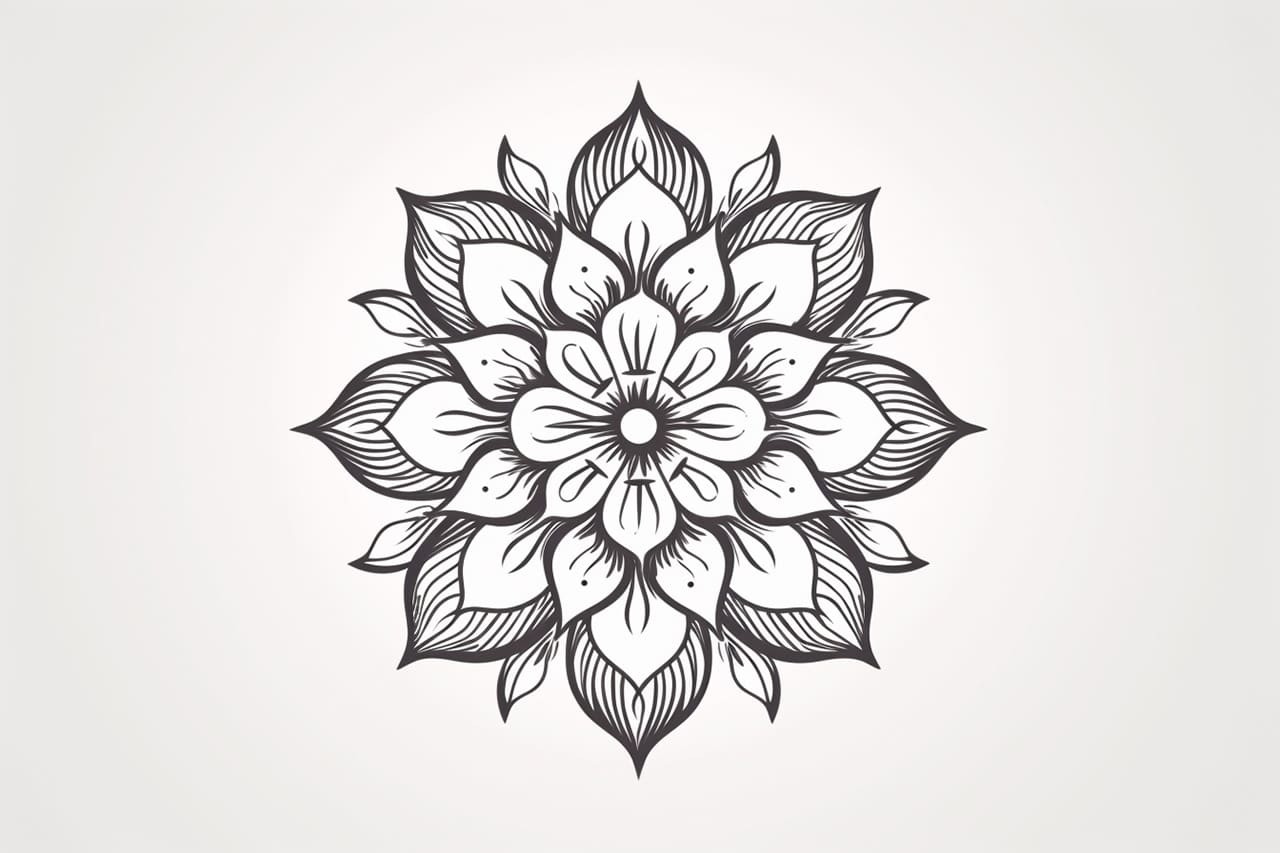
Step 5: Add Patterns and Details
Once you have established the basic shapes, it’s time to add patterns and details to your mandala. You can incorporate lines, dots, curves, and any other elements you desire. Remember to keep the design symmetrical on both sides of the guidelines to maintain the balance of your mandala.
Step 6: Explore Different Themes and Motifs
Mandalas can be inspired by various themes and motifs. You can draw inspiration from nature, animals, traditional patterns, or even create your own unique style. Experiment with different designs and see what resonates with you the most.
Step 7: Use Colors to Enhance Your Mandala
Now that your mandala is complete, it’s time to bring it to life with colors. Use fine-tipped markers or pens to color in your design. You can opt for a monochromatic color scheme or use a variety of colors to make your mandala vibrant and visually appealing. If you prefer a softer look, colored pencils can also be used.
Step 8: Finalize and Refine Your Mandala
Once you have finished coloring your mandala, take a step back and assess your artwork. This is the perfect time to make any final adjustments or refinements. Erase any stray pencil lines, smudges or make any additional changes you feel necessary to ensure your mandala looks polished and complete.
Conclusion
Drawing a mandala is a wonderful way to tap into your creativity and find inner calmness. By following these step-by-step instructions, you can create your own beautiful mandala artwork. Remember to experiment, have fun, and let your imagination guide you. Enjoy the process of creating and exploring the intricate world of mandalas.