Welcome to this step-by-step guide on how to draw a Tesla! Whether you’re an aspiring artist or just looking for a fun creative project, drawing a Tesla can be a great way to tap into your artistic skills. In this article, I will walk you through the process of drawing a Tesla in a clear and concise manner. So let’s get started!
Materials Required
Before we dive into the drawing process, let’s make sure we have all the necessary materials. Here are the things you will need:
- Paper: Choose a smooth and sturdy paper that is suitable for drawing. A sketch pad or drawing paper works well.
- Pencil: Have a few pencils of different grades, such as 2B, 4B, and 6B, to create different shades and textures.
- Eraser: Keep a good quality eraser handy for correcting mistakes and refining details.
- Fine-tipped pen: You will need a fine-tipped pen, such as a felt-tip or fineliner, for the final outline and details.
- Colored pencils or markers (optional): If you want to add color to your drawing, have some colored pencils or markers ready.
Now that you have gathered all the required materials, let’s begin the drawing process!
Step 1: Basic Outline
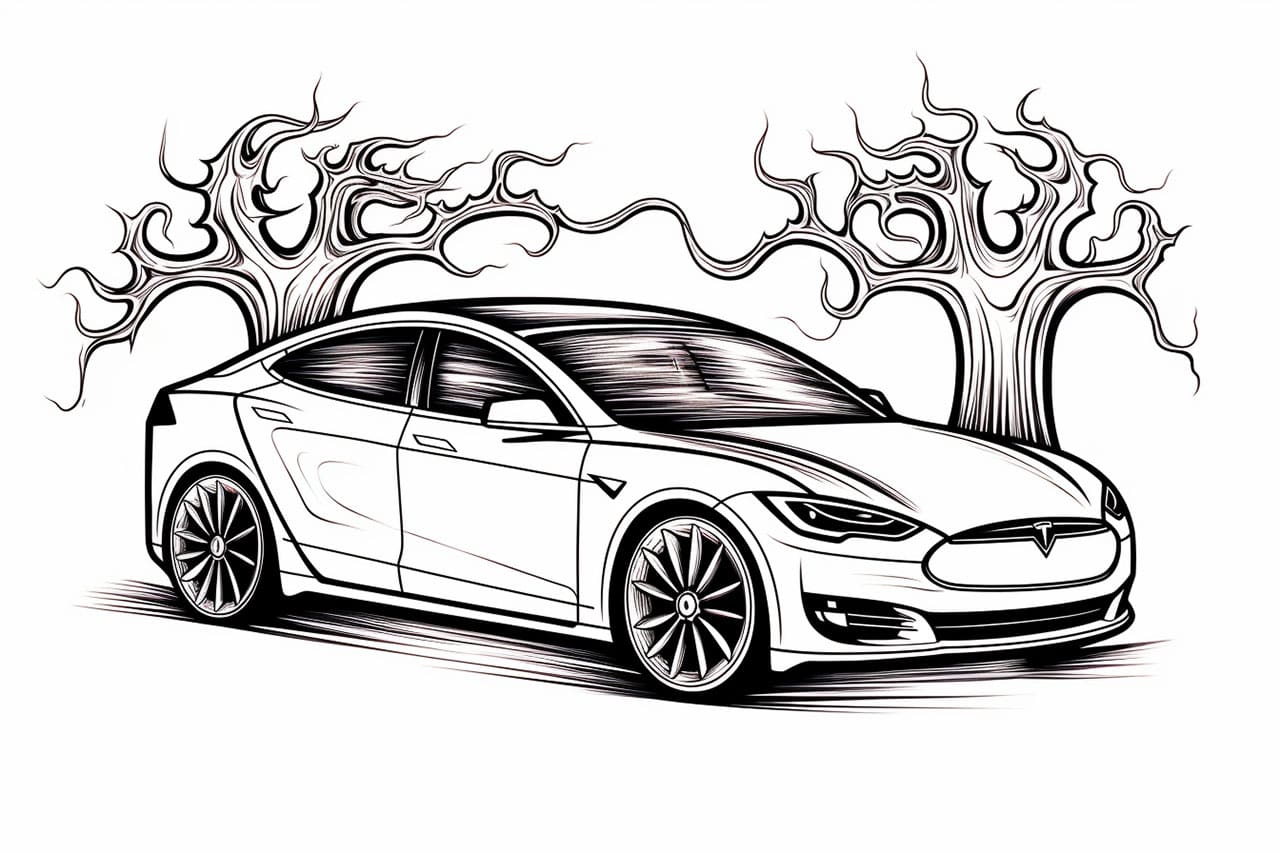
Start by lightly sketching the basic outline of the Tesla. Begin with the main body shape, which resembles a sleek and aerodynamic design. Focus on capturing the overall proportions and curves. Use simple geometric shapes to guide you, such as rectangles for the body and circles for the wheels.
Step 2: Details and Features
Once you have the basic outline in place, start adding more details and features to your drawing. Pay attention to the unique characteristics of a Tesla, such as the distinctive front grille, headlights, and logo. Take your time to carefully observe reference images or a real Tesla car to ensure accuracy.
Step 3: Wheels and Tires
Now let’s work on drawing the wheels and tires. Tesla cars often have stylish and modern designs for their wheels. Use circles or ellipses to create the wheel shapes, and add some texture to the tires with curved lines to depict treads.
Step 4: Shading and Texture
To make your Tesla drawing more realistic, add shading and texture to give it depth and dimension. Use different grades of pencils to create varying shades. Start with lighter strokes and gradually build up the darker tones. Pay attention to the light source in your drawing and add shading accordingly to create highlights and shadows.
Step 5: Refine and Add Details
Take a step back and evaluate your drawing so far. This is the perfect time to refine any areas that need improvement and add more intricate details. Pay attention to smaller elements like door handles, side mirrors, and any other unique features that make your Tesla recognizable.
Step 6: Final Outline
Once you are satisfied with all the details and shading, it’s time to add a final outline to your drawing. Use a fine-tipped pen to carefully trace over the main lines and features of your Tesla. This will help to define and clean up the drawing, giving it a polished look.
Step 7: Color (Optional)
If you want to add color to your drawing, now is the time to do it. Use colored pencils or markers to bring your Tesla to life. Refer to reference images or photos for accurate colors, or let your imagination guide you to create a unique color scheme.
Conclusion
Congratulations! You have successfully learned how to draw a Tesla. By following these step-by-step instructions and using your artistic skills, you were able to create a wonderful representation of this iconic electric car. Remember, practice makes perfect, so don’t be afraid to try drawing a Tesla again or explore other subjects. Keep honing your skills and embracing your creativity. Happy drawing!