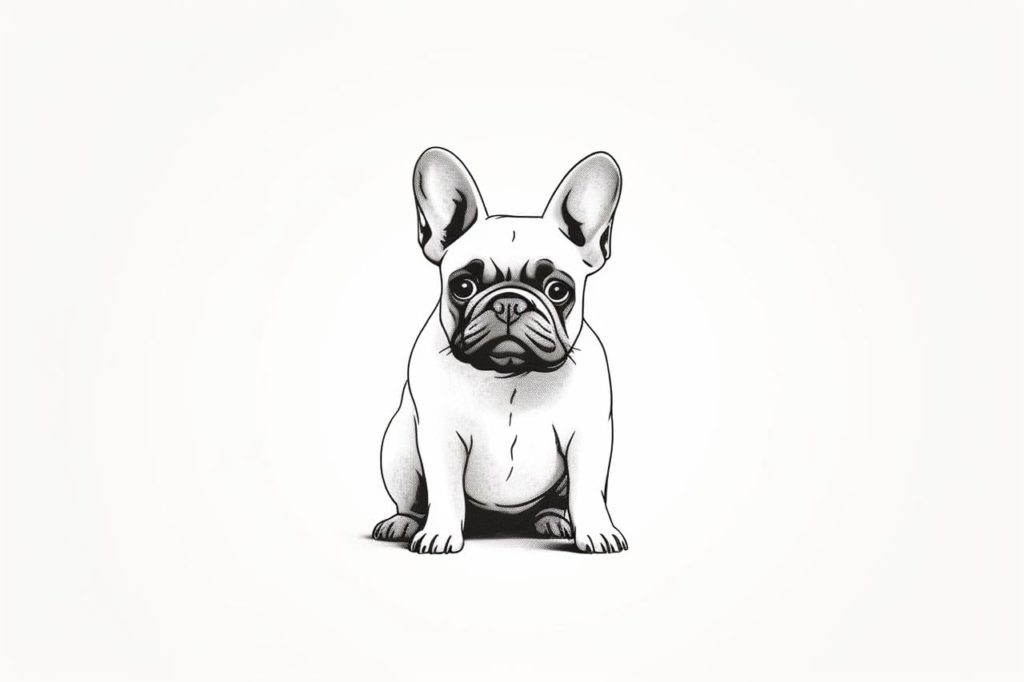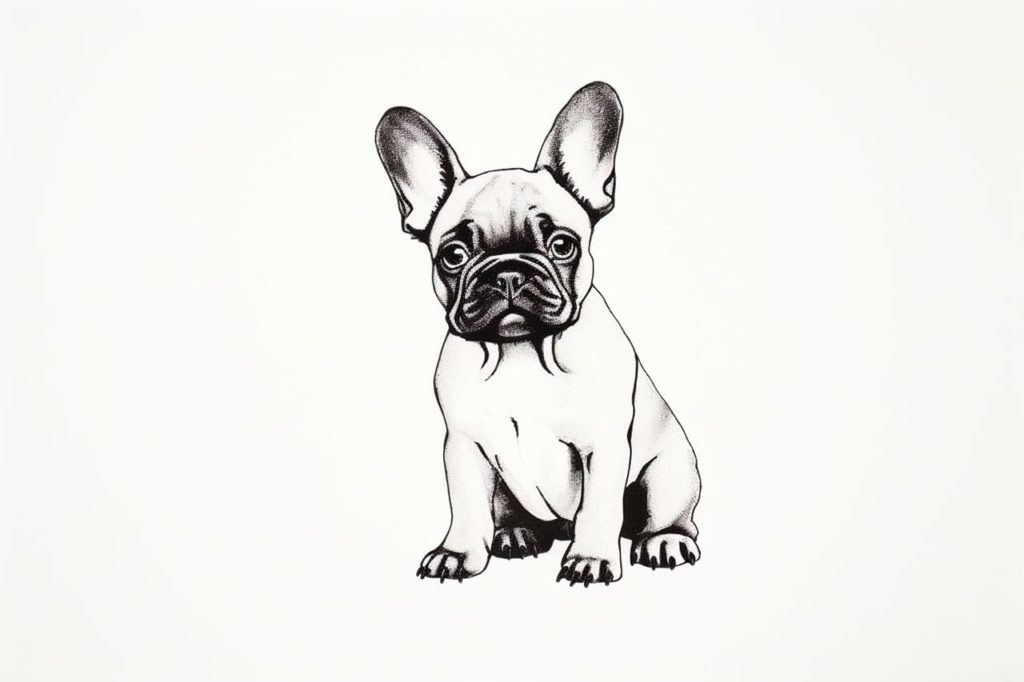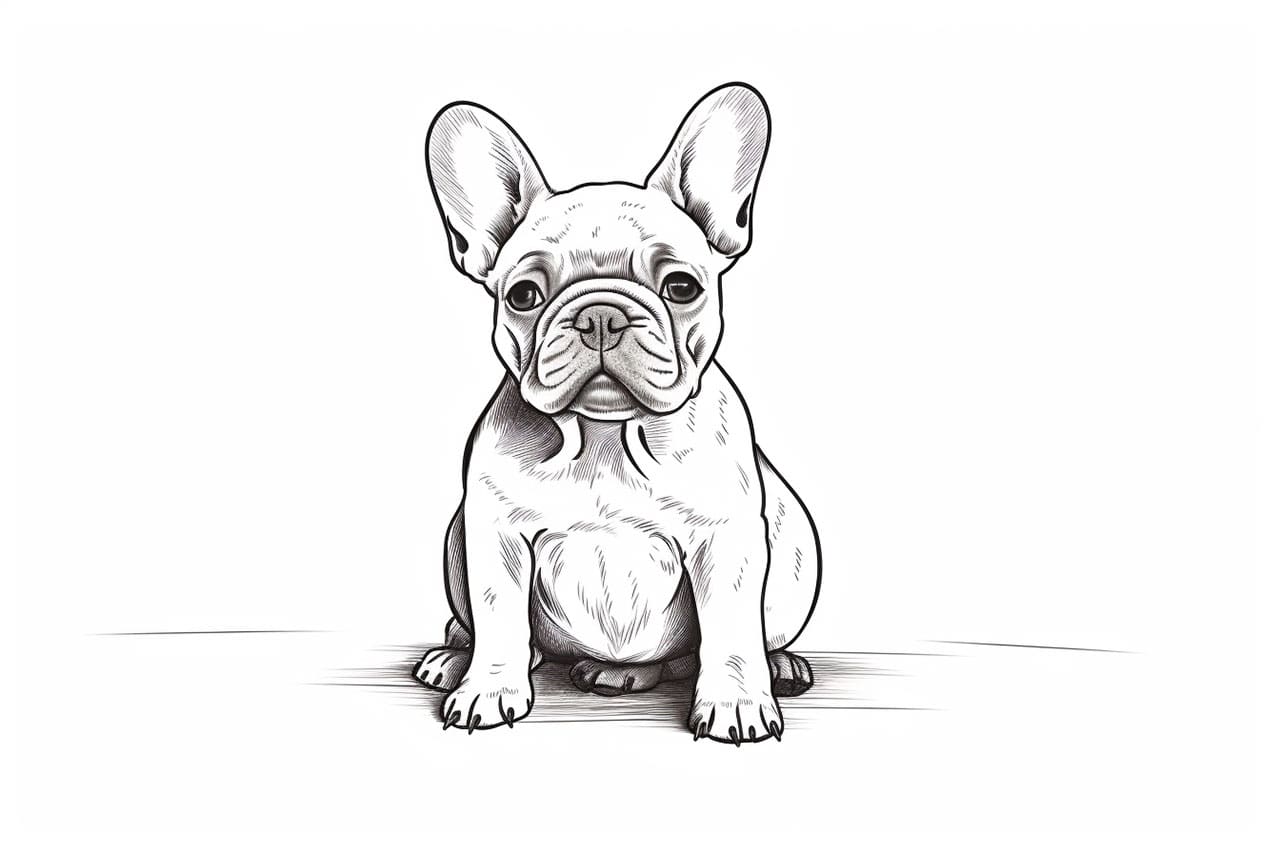
Welcome to this step-by-step tutorial on how to draw a French Bulldog! Whether you are a beginner or an experienced artist, I will guide you through the process of capturing the unique features and adorable charm of this popular dog breed. By following these simple instructions, you will be able to create a lifelike and expressive drawing of a French Bulldog. So let’s get started!
Materials Required:
Before we begin, gather the following materials:
- Graphite pencils (HB, 2B, 4B, and 6B)
- Drawing paper (preferably smooth and heavyweight)
- Eraser (kneaded and/or vinyl)
- Blending tools (tortillon or blending stump)
- Reference photo of a French Bulldog
Now that you have the necessary materials, we can dive into the process of drawing a French Bulldog.
Step 1: Basic Shapes
Begin by lightly sketching the basic shapes that make up the French Bulldog’s head and body. Start with an oval shape for the head and add a smaller circle overlapping it for the snout. Then, add a rectangular shape for the body, ensuring that it connects smoothly with the head.
Step 2: Eyes and Ears
Next, let’s focus on the facial features. Draw almond-shaped eyes on either side of the snout. Within each eye, add a small circle for the pupils. Above the eyes, sketch the characteristic bat-like ears of a French Bulldog. These ears are triangular in shape and slightly rounded at the tips.
Step 3: Nose and Mouth
Moving on, draw the nose by adding a small triangular shape at the end of the snout. French Bulldogs have a distinct squashed nose that adds to their charm. Below the nose, sketch a curved line to indicate the mouth. Don’t forget to add a small line to suggest the dog’s bottom lip.
Step 4: Facial Details
Now it’s time to add some details to bring your French Bulldog to life. Draw a curved line above each eye to define the brow and add depth to the expression. Next, sketch a few lines around the eyes to indicate wrinkles and folds of skin. Pay attention to the reference photo to ensure accuracy.
Step 5: Body and Limbs
Let’s move on to the body and limbs of our French Bulldog. Start by adding details to the body shape. French Bulldogs have a compact and muscular build, so be sure to emphasize those traits in your drawing. Sketch the neck, chest, and the outline of the front legs.
Step 6: Paws and Tail
Continue by drawing the paws and tail. French Bulldogs have sturdy and compact paws, so make sure to add that characteristic appearance to your drawing. For the tail, draw a short and slightly curved line at the back of the body.
Step 7: Shading
Now that the basic structure is complete, it’s time to add shading to your drawing. Start by using a light pencil to shade the areas where shadows fall, such as under the body, behind the ears, and around the neck. Gradually build up the value by using darker pencils and adding more layers.
Step 8: Fur Texture
To give your drawing a realistic look, it’s important to add texture to the fur. Use short, overlapping strokes to create the appearance of fur, following the direction of the hair growth. Pay close attention to the reference photo to accurately capture the unique pattern and texture of a French Bulldog’s coat.
Step 9: Refining and Final Touches
At this stage, take a step back and assess your drawing. Make any necessary adjustments to the proportions, details, or shading. Use an eraser to lighten or correct any areas that need refinement. Take your time to add the final touches that will bring your French Bulldog drawing to life.
Conclusion
Congratulations! You have successfully learned how to draw a French Bulldog. By following these step-by-step instructions and using your creativity, you were able to capture the adorable features and unique characteristics of this beloved breed. Remember, practice is key to improving your drawing skills, so keep experimenting and exploring different techniques. Enjoy the process, and have fun creating your very own French Bulldog masterpiece!
Gallery of French Bulldog Drawings