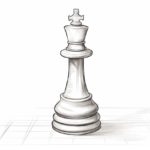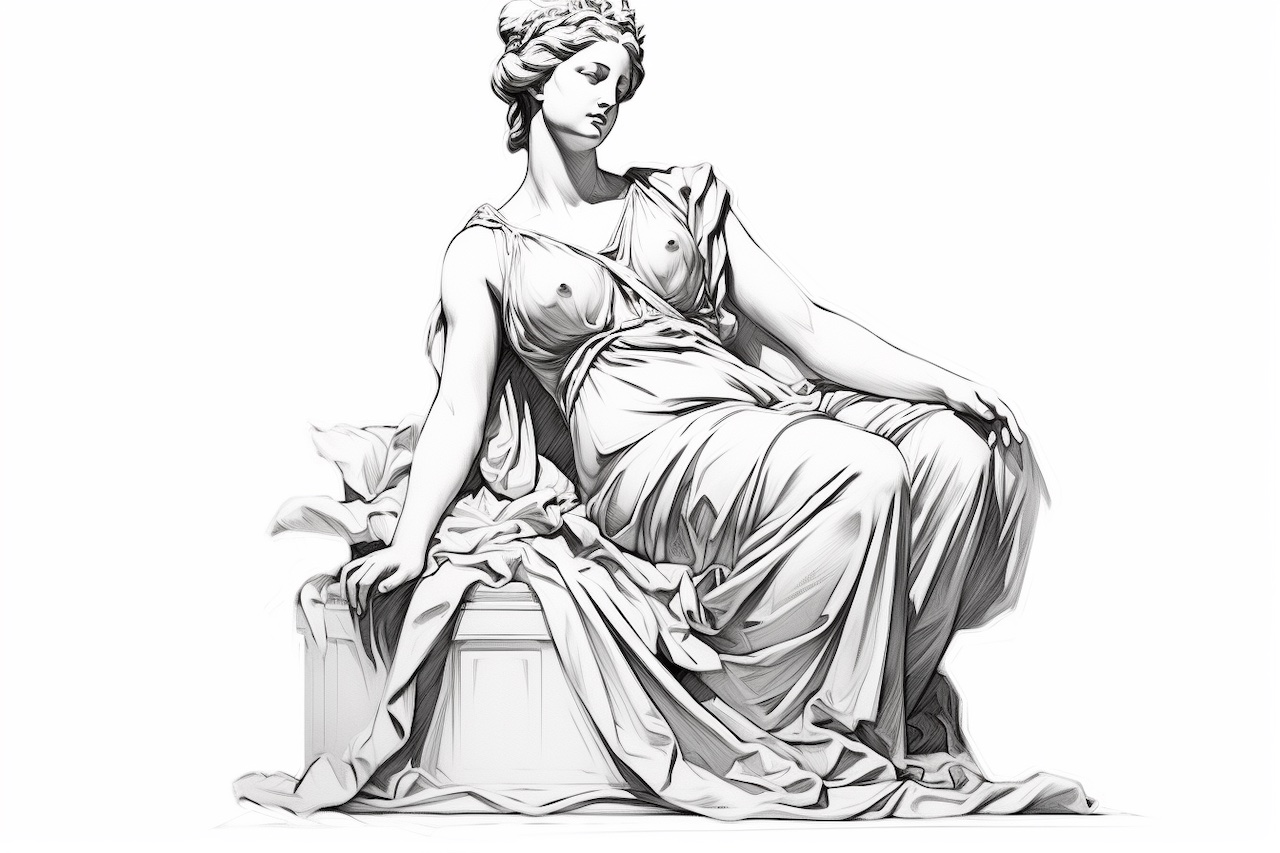
Are you fascinated by the beauty and grandeur of statues? Do you want to learn how to capture their essence on paper? Drawing a statue might seem daunting, but with a few simple steps and some practice, you’ll be able to create your own masterpiece. In this article, we will guide you through the process of how to draw a statue, from understanding its basic structure to adding intricate details. So let’s grab our pencils and get started!
Materials Required
Before we begin, gather the following materials:
- Drawing paper
- Pencils (HB, 2B, and 4B)
- Eraser
- Ruler
- Sharpeners
- Blending stump
- Optional: Charcoal pencils or conte crayons for shading
Now that we have everything we need, let’s dive into the steps to draw a stunning statue.
Step 1: Observation is Key
Start by selecting a statue you would like to draw. Take time to observe the statue from various angles, paying attention to its proportions, shapes, and details. Understanding the subject will help you sketch it accurately.
Step 2: Basic Shapes and Proportions
Begin with a light pencil outline of the statue’s basic shapes. Identify the main geometric forms such as spheres, cylinders, and cubes that make up the statue’s structure. Focus on getting the proportions right by comparing different parts of the statue to each other.
Step 3: Sketch the Outline
Using your observations and the basic shapes as guides, start sketching the outline of the statue. Draw lightly, using loose strokes, and focus on capturing the overall shape and gesture. Remember, it’s better to start with a rough sketch and refine it later.
Step 4: Block in the Forms
Now, start adding more volume to your drawing by blocking in the forms of the statue. Use a darker pencil, such as a 2B, to create more defined lines. Pay attention to the light and shadow areas, as they will add depth and dimension to your drawing.
Step 5: Refine the Details
With the basic forms in place, it’s time to refine the details of the statue. Use a sharper pencil, like a 4B, to add smaller shapes, lines, and textures. Focus on the intricate details that make the statue unique, such as facial features, clothing folds, or architectural elements.
Step 6: Add Shadows and Highlights
Shading is an essential element in bringing a statue to life on paper. Use light and dark values to create shadows and highlights that give your drawing a three-dimensional feel. Experiment with different shading techniques such as hatching, cross-hatching, or stippling to achieve the desired effect.
Step 7: Blend and Smudge
For a smoother and more realistic look, use a blending stump or your finger to blend and smudge the shading. This technique helps to soften harsh lines and transitions, creating a subtle gradation of values.
Step 8: Adjust and Refine
Take a step back and analyze your drawing. Look for any areas that need adjustment or refinement. Correct any inaccuracies in proportions or shapes, and add additional details if necessary. Don’t be afraid to erase and make changes until you’re satisfied with the result.
Step 9: Final Details
In this final step, focus on adding the finishing touches that will make your drawing truly shine. Pay attention to smaller details such as intricate patterns, facial expressions, or subtle texture variations. Take your time with these details, as they can greatly enhance the overall quality of your artwork.
Conclusion
Drawing a statue requires careful observation, attention to detail, and patience. By following the steps outlined in this article, you can create a stunning representation of a statue on paper. Remember to start with basic shapes and proportions, refine the details, and add shading to bring your drawing to life. With practice, you’ll be able to capture the beauty and grandeur of statues with confidence and skill.
So, pick up your pencils and embark on the exciting journey of drawing statues. Enjoy every stroke as you bring your artistic vision to life!