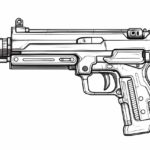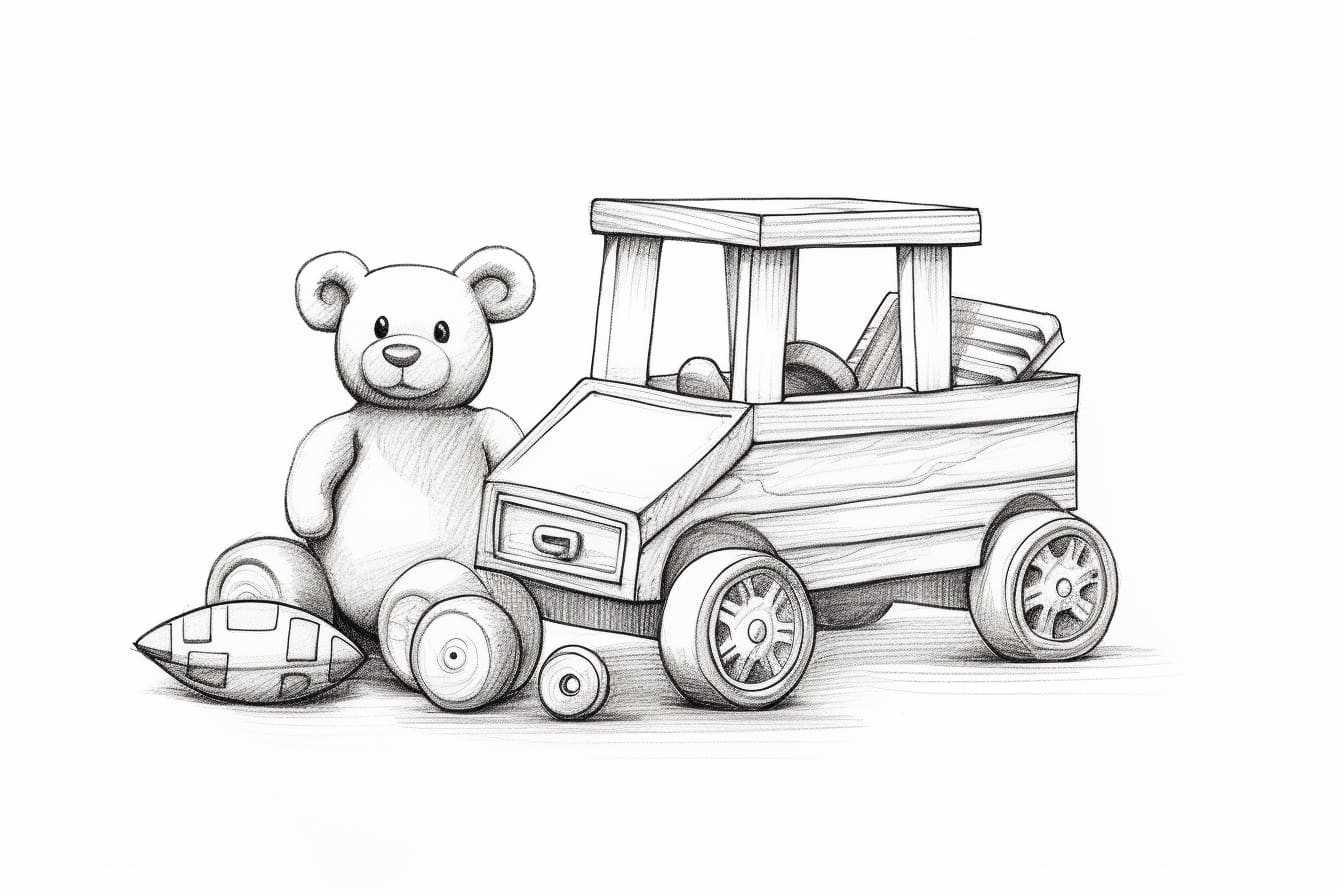
Welcome to this step-by-step guide on how to draw a toy! Whether you are a beginner or an experienced artist, drawing toys can be a fun and exciting way to unleash your creativity. In this tutorial, I will walk you through the process of drawing a classic toy. So grab your drawing supplies and let’s get started!
Materials Required
Before we begin, let’s make sure we have all the necessary materials. Here’s a list of supplies you will need:
- Paper: Choose a medium-weight paper that is ideal for drawing, such as sketch paper or drawing paper.
- Pencil: Use a graphite pencil with a medium hardness (HB or 2B) for sketching.
- Eraser: Opt for a soft, kneaded eraser that can easily be shaped and doesn’t leave residue.
- Sharpener: Keep a pencil sharpener handy to maintain a fine point on your pencil.
Now that we have our materials ready, let’s start drawing our toy!
Step 1: Sketch the Basic Shape
Begin by lightly sketching the basic shape of the toy. Start with simple geometric shapes like circles, squares, or rectangles. Determine the size and proportions of your toy and loosely draw these shapes to create a rough outline.
Step 2: Add Details and Features
Now it’s time to add some details and features to your toy. Study the toy you are drawing and carefully observe its distinct characteristics. Is it a stuffed animal? A robot? A car? Whatever it may be, focus on capturing its unique attributes.
Add any facial features, limbs, or other distinctive elements to your drawing. Remember to keep your lines light and loose at this stage, as you can refine and clean them up later.
Step 3: Refine the Outline
Once you have added the basic features, it’s time to refine the outline of your toy. Take a closer look at the proportions and smooth out any rough edges or inconsistencies. Use your pencil to lightly darken the lines that define the shape of your toy, gradually giving it more definition.
Step 4: Bring Your Toy to Life
Now that you have a solid outline, it’s time to add some depth and dimension to your drawing. Start by shading the different areas of your toy. Determine the direction of the light source and establish the areas of light and shadow accordingly.
Use your pencil to create different shades and tones, paying attention to the texture and material of the toy. It’s important to layer your shading to achieve a realistic and three-dimensional effect.
Step 5: Add Colors (If Desired)
If you want to add some color to your drawing, now is the time to do so. Select your desired colors and use colored pencils or markers to carefully fill in the different areas of your toy. Consider how light and shadows affect the colors and apply them accordingly.
Remember to use light, gentle strokes when adding color to ensure a smooth and even application. Take your time and build up the colors gradually, layering them to create depth and realism.
Step 6: Final Touches
Once you are satisfied with the colors and shading, take a step back and assess your drawing. Look for any areas that may need adjustments or enhancements. Use your eraser to lightly erase any stray lines or smudges.
You can also use your pencil to add any final details or highlights that may be missing. These small touches can make a big difference in bringing your drawing to life.
Conclusion
Congratulations, you have successfully drawn a toy! I hope you enjoyed this step-by-step guide and found it helpful in unleashing your artistic skills. Drawing toys can be a wonderful way to tap into your imagination and create something fun and whimsical.
Remember, practice makes perfect, so don’t be discouraged if your first attempt doesn’t turn out exactly as planned. Keep experimenting, exploring, and refining your technique, and you will continue to improve.
Now it’s time for you to grab your drawing supplies and start creating your own toy masterpiece. Have fun, and let your creativity shine!