Do you want to learn how to draw a starfish? These beautiful sea creatures are often seen in coastal areas and coral reefs, and are known for their unique shape and intricate details. In this step-by-step guide, I will walk you through the process of drawing a starfish, from basic sketching to adding realistic textures. So grab your pencils and let’s dive into the artistic world of starfish!
Materials Required
Before we begin, make sure you have the following materials handy:
- Drawing paper
- Pencils (preferably HB, 2B, and 4B)
- Eraser
- Blending stump (optional)
- Colored pencils or markers (optional, for adding color)
Now that you have everything you need, let’s get started!
Step 1: Basic Outline
Start by drawing a large circular shape in the center of your paper. This will serve as the main body of the starfish. Don’t worry too much about making it perfect; we can refine the shape later. Next, draw five evenly spaced lines radiating outwards from the center of the circle. These lines will represent the arms of the starfish.
Step 2: Arm Formation
Now, it’s time to add some details to the arms of the starfish. Begin by lightly sketching a curved line along each arm, following the general shape of the arm but allowing for some irregularities. Starfish arms tend to have a slightly uneven surface, so don’t worry about making the lines too smooth or symmetrical.
Step 3: Texture and Details
To make the starfish more realistic, we need to add some texture and details to its body and arms. Start by sketching small bumps or tubercles along the arms and body of the starfish. These bumps can vary in size and shape, so feel free to experiment. Remember to keep your pencil strokes light and delicate.
Step 4: Spines and Suction Cups
Now, let’s add some spines to the starfish. Along the edges of each arm, draw small lines that curve outward. These lines should resemble small spikes or thorns. Again, don’t worry about being too precise; irregularities will add to the natural appearance of the starfish.
Next, draw some suction cups on the underside of each arm. These cups are usually circular or oval in shape and can be scattered randomly along the arms. To create each cup, draw a small oval and add some curved lines within it to give the illusion of depth.
Step 5: Finalize the Shape
Now that we have added all the necessary details, it’s time to refine the shape of the starfish. Take a look at your drawing and make any necessary adjustments to ensure that the arms are evenly spaced and symmetrical. Use your eraser to lighten any unwanted lines or smudges.
Step 6: Adding Color (optional)
If you want to bring your starfish drawing to life, you can add some color using colored pencils or markers. Starfish come in a variety of shades, including vibrant oranges, pinks, and purples. Feel free to get creative with your color choices and experiment with blending different hues together.
Conclusion
Congratulations, you have successfully learned how to draw a starfish! By following these step-by-step instructions, you can create a realistic and detailed representation of this fascinating sea creature. Remember to be patient and practice regularly to improve your drawing skills. So grab your sketchbook, unleash your creativity, and dive into the wonderful world of starfish art!
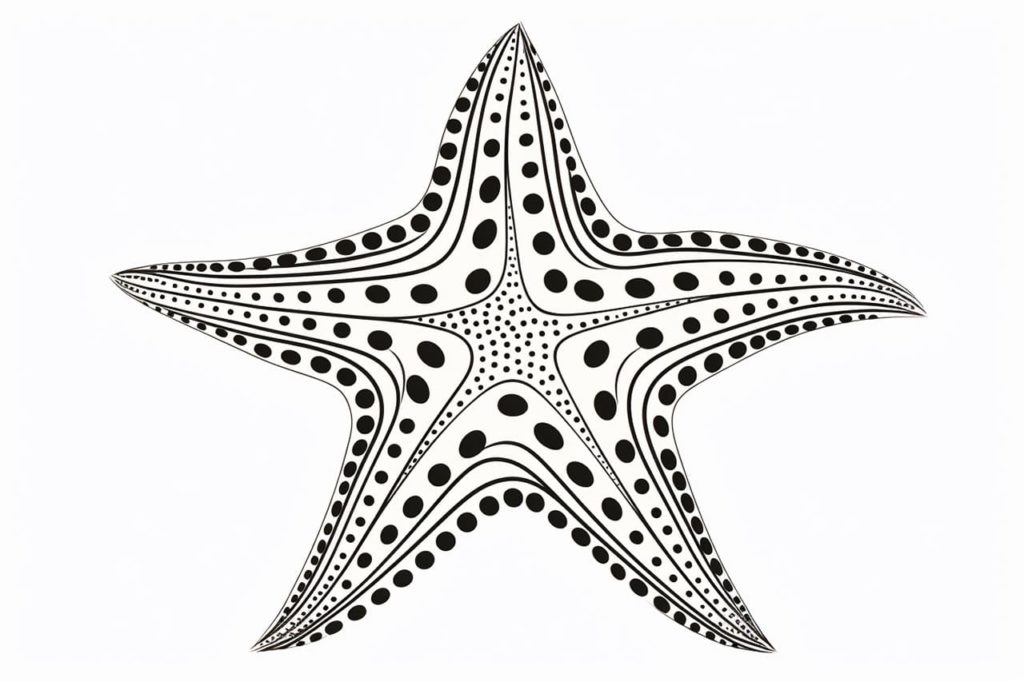
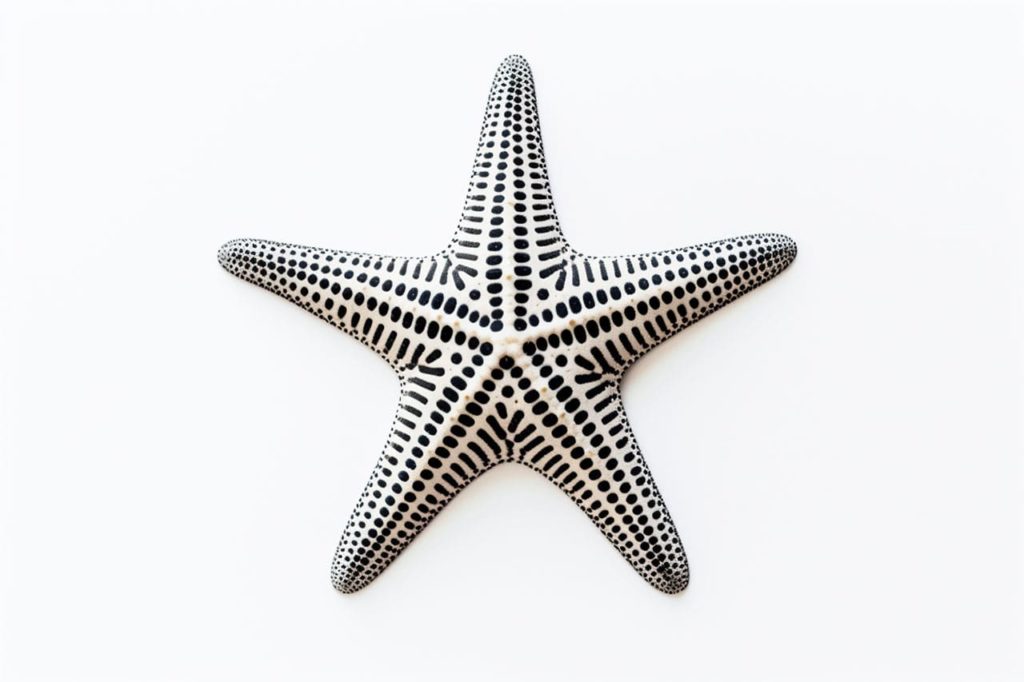
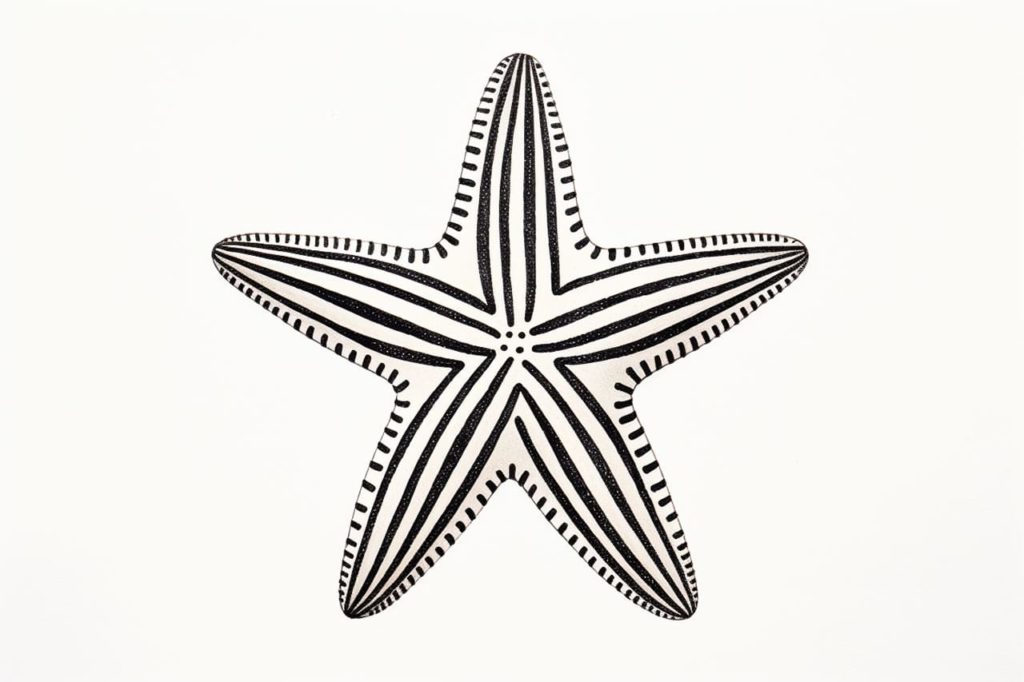
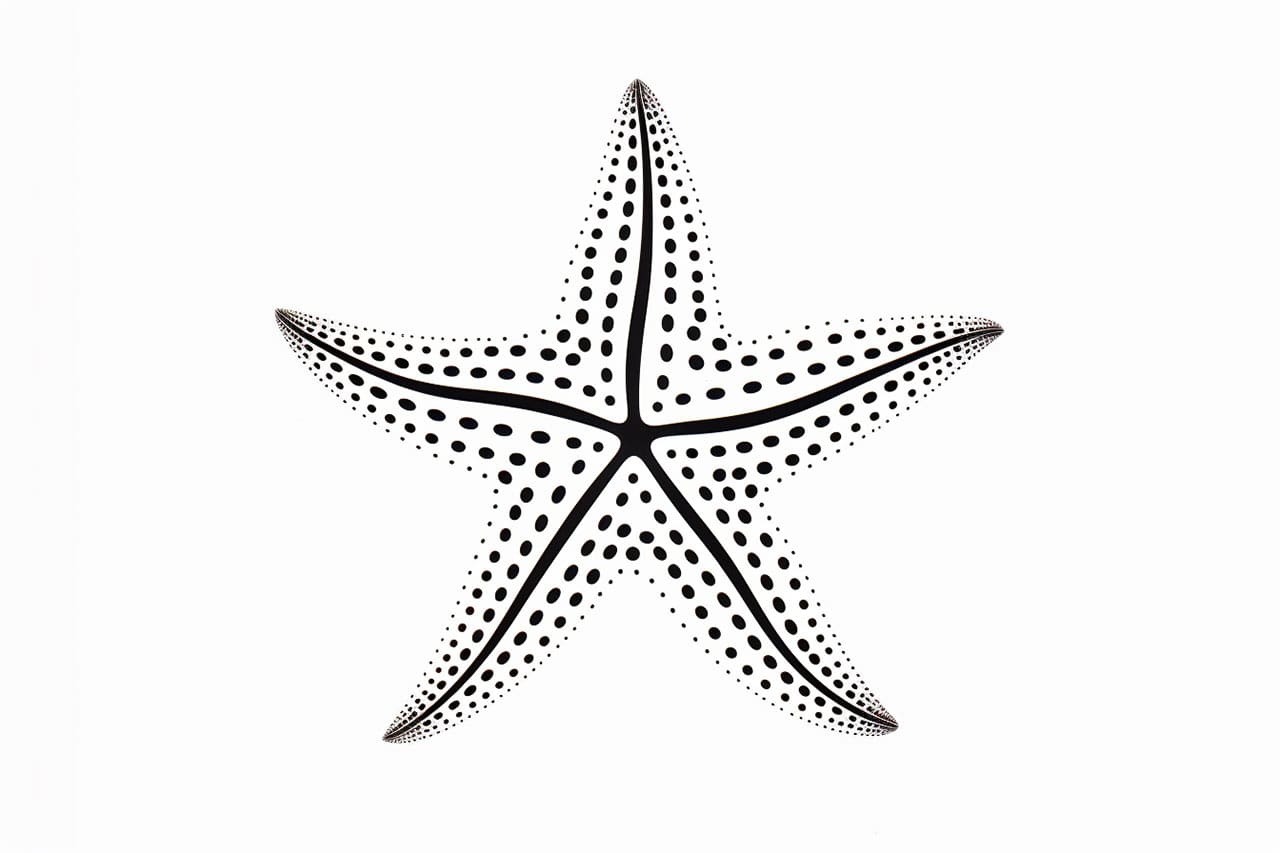
Gallery of Starfish Drawings