Welcome to this step-by-step guide on how to draw a sign! Whether you want to create a handmade sign for your business, a personalized sign for your home, or simply enjoy the art of drawing, this tutorial will provide you with all the necessary instructions to create a beautiful sign. So grab your drawing supplies and let’s get started!
Materials Required
To draw a sign, you will need the following materials:
- Paper: Choose a sheet of paper that is suitable for your desired size of the sign. A thicker paper, such as a Bristol board or cardstock, is recommended for durability.
- Pencil: A regular graphite pencil will work fine for sketching and creating the initial outline of the sign.
- Eraser: It’s always handy to have an eraser to correct any mistakes or remove unwanted lines.
- Black ink pen: A fine-point black ink pen is essential for tracing and outlining the finalized design of the sign.
- Colored markers or pencils: If you wish to add color to your sign, have some colored markers or pencils ready.
Now that you have gathered all the necessary materials, let’s dive into the step-by-step process of drawing a sign!
Step 1: Plan Your Design
Before starting to draw, it’s important to have a clear idea of what you want your sign to look like. Consider the purpose of the sign, the message or image you want to convey, and any specific style or theme you wish to incorporate. Sketch out a rough layout and experiment with different font styles and design elements until you are satisfied with your concept.
Step 2: Sketch the Outline
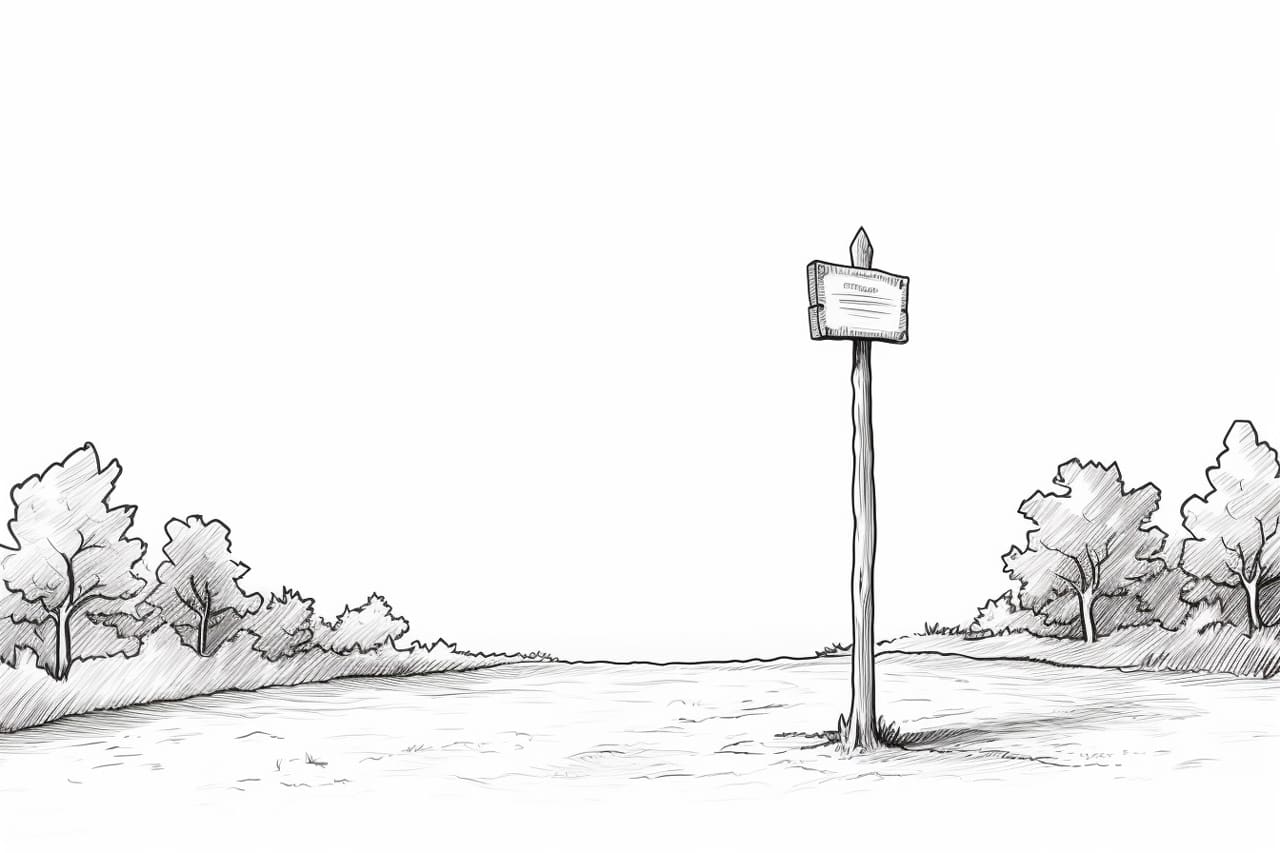
Using a pencil, lightly sketch the outline of your sign on the chosen paper. Begin with basic shapes and lines to establish the overall structure. Pay attention to proportions and ensure that your sign fits nicely within the dimensions of the paper. Don’t worry about details at this stage; focus on capturing the general form.
Step 3: Add Details and Typography
Now it’s time to add details and typography to your sign. Start by refining the shapes and lines of your design, adding any decorative elements or borders you desire. If your sign includes text, carefully draw each letter, ensuring consistency in size and spacing. Experiment with different fonts to find the one that best complements your sign’s style and message.
Step 4: Trace with Ink
Once you are satisfied with your pencil sketch, use a black ink pen to trace over the final design. Emphasize the outlines and important details of your sign, and confidently fill in any typography or decorative elements. Take your time and be patient, as neat and precise lines will elevate the overall appearance of your sign.
Step 5: Erase Guidelines
After the ink has dried, gently erase any visible pencil guidelines. Take care not to smudge the ink or damage the paper. This step will ensure that your sign appears clean and professional.
Step 6: Add Color (Optional)
If you prefer a colorful sign, use colored markers or pencils to bring your design to life. Select colors that complement each other and enhance the overall visual impact. Be mindful of color combinations and remember that simplicity can often be more effective than excessive color usage. Apply color evenly, paying attention to shading and highlighting for added depth.
Step 7: Final Touches
Take a step back and evaluate your completed sign. Make any necessary adjustments or touch-ups to ensure that it meets your vision. Address any areas that may require additional details or refinements. This is your opportunity to add those finishing touches that will make your sign stand out!
Conclusion
Congratulations on completing your sign! By following this step-by-step guide, you have learned how to draw a sign from start to finish. Remember to start with a clear plan, sketch the outline, add details and typography, trace with ink, erase guidelines, add color if desired, and apply final touches. Whether you use your newfound skills for business or personal purposes, the ability to create your own signs adds a touch of creativity and uniqueness to any setting.
Now it’s time to grab your drawing supplies and get started on your own sign-drawing journey. Happy drawing!