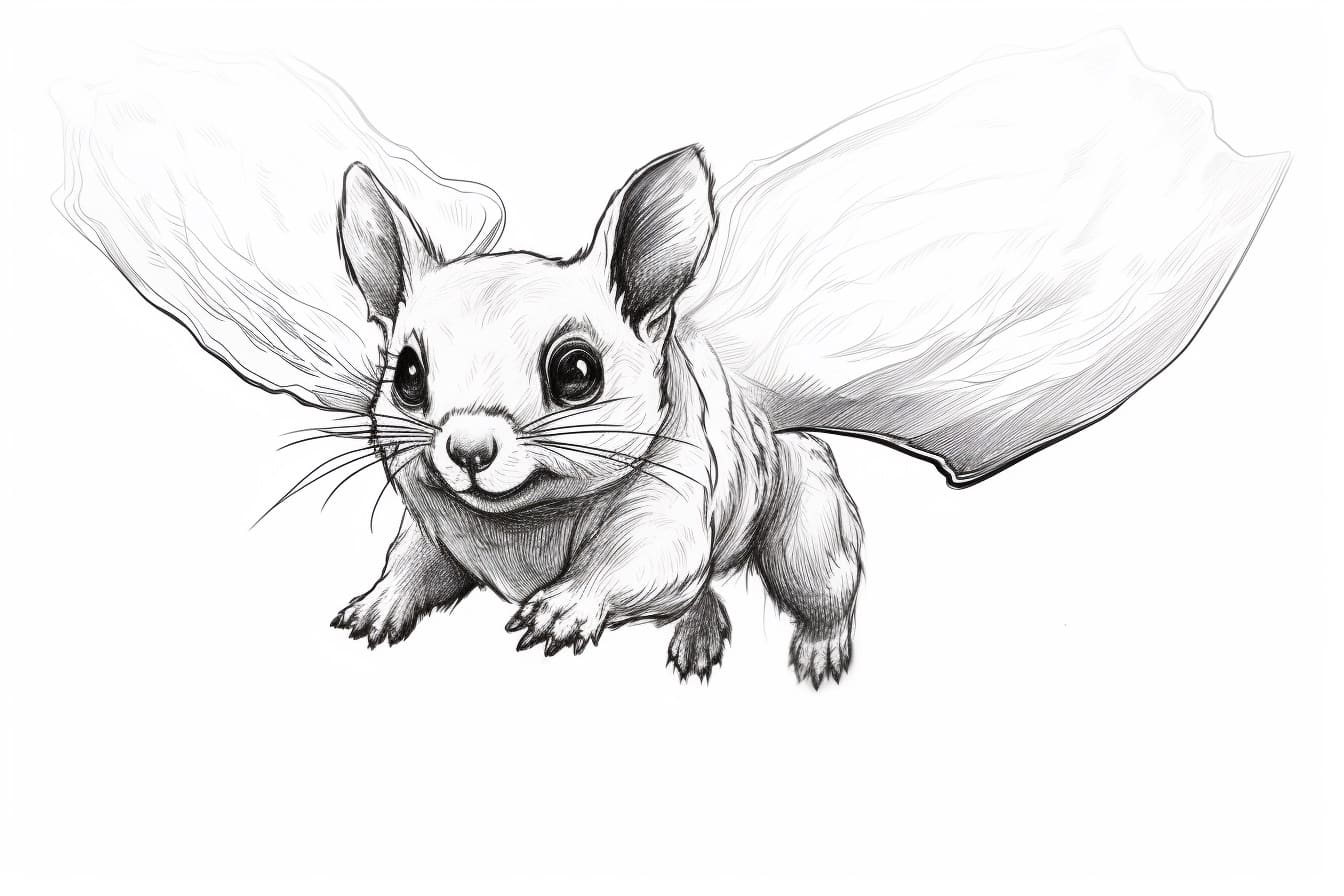
Welcome to this step-by-step tutorial on how to draw a flying squirrel. In this guide, I will walk you through the process of creating a detailed and realistic drawing of this amazing creature. Whether you are a beginner or an experienced artist, I’m here to help you unleash your creativity and master this drawing. So grab your pencils and let’s get started!
Materials Required
Before we begin, gather the following materials:
- Drawing paper
- Pencils (HB, 2B, 4B, and 6B)
- Eraser
- Blending stump or cotton swabs
- Reference photo of a flying squirrel
Having these materials ready will make the drawing process smooth and enjoyable.
Step 1: Observe and Sketch the Basic Shapes
Start by observing the reference photo of a flying squirrel. Notice the overall shape and proportions of the squirrel’s body, including its head, torso, limbs, and tail. Begin sketching the basic shapes lightly using an HB pencil. Focus on simple shapes like circles, ovals, and rectangles to lay down the foundation of your drawing.
Step 2: Outline the Body and Facial Features
Refine the shapes and outlines of the flying squirrel’s body and facial features. Pay attention to the curves and angles to capture the squirrel’s natural posture. Use a 2B pencil to outline the details more clearly, such as the rounded head, almond-shaped eyes, and pointy ears. Take your time to achieve accuracy in your drawing.
Step 3: Add Fur Texture and Body Contours
Now, it’s time to add texture and contours to the flying squirrel’s body. With a 4B pencil, lightly sketch the direction and flow of the fur. Pay attention to the fur’s patterns and how it covers the body. Gradually build up the layers of fur by making short, curved strokes. Use light pressure with your pencil at first and gradually increase the pressure to create darker areas.
Step 4: Define the Facial Features and Eyes
Focus on the squirrel’s facial features. Using a 2B pencil, define the shape and structure of the eyes, nose, and mouth. Observe the reference photo carefully to capture the delicate details. Add shading to create depth and form around the eyes and nose. Apply light strokes to indicate the fur around the eyes, emphasizing its texture.
Step 5: Add Details to the Ears and Limbs
Move on to adding details to the squirrel’s ears and limbs. Use a 2B pencil to outline the shape and structure of the ears, taking note of any tufts or fur accents. Pay attention to the length and curvature of the limbs, capturing their natural pose. Once again, add shading to create depth and dimension, using long, gentle strokes.
Step 6: Define the Tail and Membranes
The flying squirrel’s tail and membranes are its defining features. With a 4B pencil, carefully outline the shape and texture of the tail. Identify the direction of the fur and emphasize its flow. Use a 2B pencil to indicate the membranes that connect the limbs, creating a framework for the squirrel’s ability to glide. Pay close attention to the fine details and be patient in capturing them accurately.
Step 7: Shade and Blend for Realism
Now that you have added all the major details, it’s time to bring your drawing to life. Use a range of pencils from 2B to 6B to create gradations in the shading. Start with the lighter areas, gradually building up the value by layering darker tones. Remember to blend the shading using a blending stump or cotton swabs for a smoother and more realistic finish.
Step 8: Refine and Add Final Touches
Take a step back and evaluate your drawing. Look for any areas that need refinement or adjustment. Use an eraser to lighten or correct any mistakes. Add additional details, such as smaller fur texture, highlights, or shadows, to enhance the overall realism of your drawing. Take your time with these final touches to achieve a polished result.
Conclusion
Congratulations on completing your drawing of a flying squirrel! By following these step-by-step instructions, you have learned how to capture the grace and beauty of this fascinating creature. Remember to practice regularly and be patient with yourself as you continue to develop your drawing skills. With dedication and perseverance, you will find joy and satisfaction in creating stunning artworks. Happy drawing!