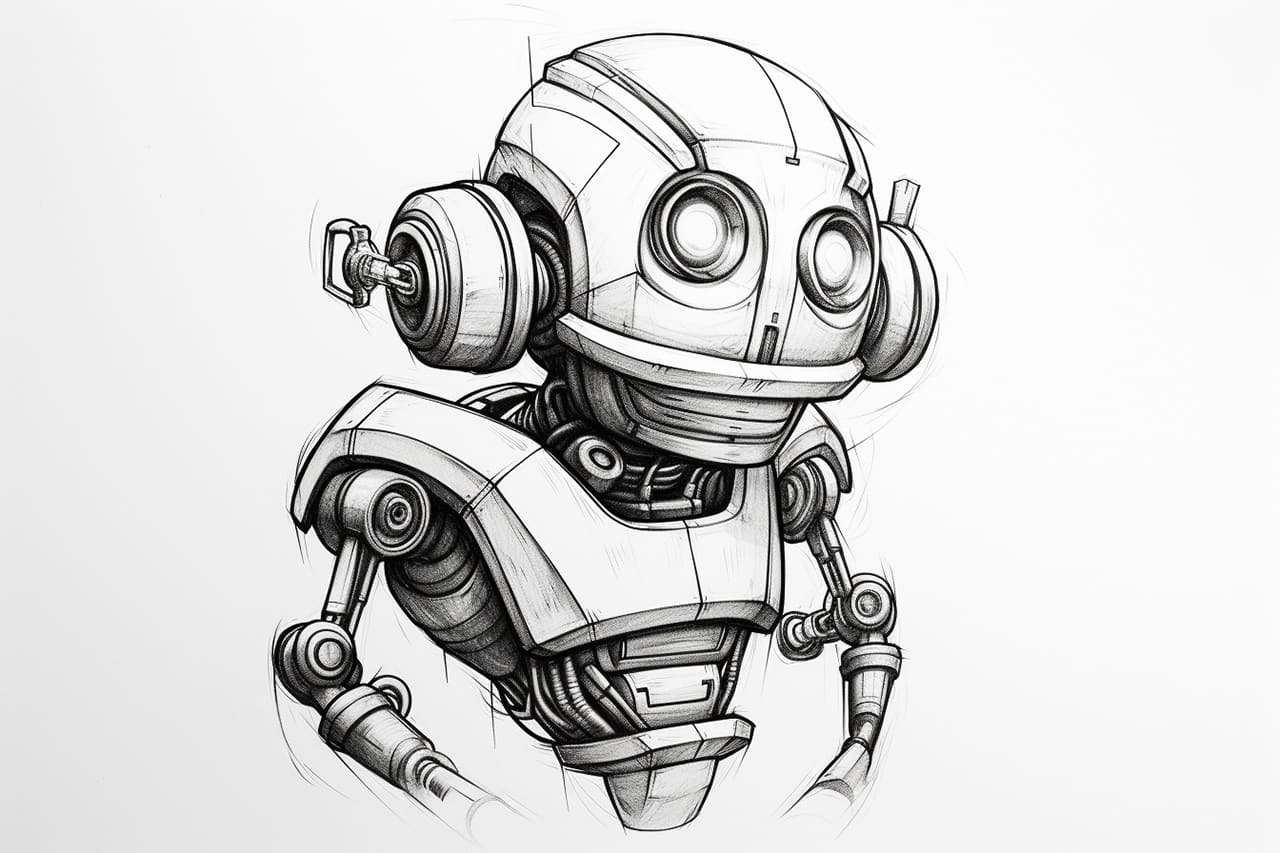
Welcome to this step-by-step guide on how to draw a robot. Whether you’re a beginner or an experienced artist, this tutorial will help you create your very own robot masterpiece. Robots come in all shapes and sizes, so feel free to let your imagination run wild! So grab your pencil, paper, and let’s get started!
Materials Required:
- Paper
- Pencil
- Eraser
- Fine tip marker or pen
- Coloring materials (optional)
Now that you have your materials ready, let’s dive into the steps of drawing a robot.
Step 1: Basic Shape
Start by drawing a simple rectangle or square shape. This will be the body of your robot. Think about the size and proportions you want for your robot and adjust accordingly.
Step 2: Head
On top of the body shape, draw a smaller rectangle or square. This will serve as the head of your robot. Feel free to make it as big or as small as you like.
Step 3: Facial Features
Now it’s time to give your robot some personality. Add eyes, a nose, and a mouth to the head shape. You can make them simple or get creative with different shapes and expressions.
Step 4: Arms and Legs
Extend two lines from the sides of the body shape to create the robot’s arms. Decide if you want your robot to have two arms or more, and draw them accordingly. For the legs, create two lines extending downwards from the bottom of the body shape.
Step 5: Hands and Feet
At the end of each arm, draw the robot’s hands. These can be simple shapes like rectangles or circles, or you can add more detail to make them look like mechanical hands. Repeat the same process for the feet, drawing shapes at the end of the leg lines.
Step 6: Details
Now it’s time to add some details to your robot. This is where you can get creative and think about what kind of robot you want to draw. You can add buttons, switches, antennas, or any other mechanical features that come to mind. Don’t be afraid to experiment and have fun with it!
Step 7: Outlines
Once you’re satisfied with the overall shape and details of your robot, go over your pencil lines with a fine tip marker or pen. This will give your drawing a clean and finished look. You can also erase any unnecessary pencil lines at this stage.
Step 8: Coloring (Optional)
If you want to add some color to your robot, now is the time to do so. Think about the materials and textures you want to portray. Is your robot made of shiny metal or colorful plastic? Use your coloring materials to bring your robot to life.
Conclusion
Congratulations on completing your robot drawing! Whether you’ve created a friendly helper robot or a futuristic machine, your unique creation is something to be proud of. Remember, drawing is all about expressing your creativity and having fun. So keep practicing, experimenting, and let your imagination soar!


