Are you an aspiring artist who wants to learn how to draw a spray can? Maybe you’re working on a graffiti-inspired artwork or simply want to expand your drawing skills. Whatever the reason, you’ve come to the right place. In this article, I will guide you step-by-step on how to draw a realistic spray can. So grab your sketchbook and pencils, and let’s get started!
Materials Required
Before we dive into the drawing process, let’s gather the materials you will need:
- A sketchbook or drawing paper
- Pencils of various hardness (e.g., 2H, HB, 2B)
- Eraser
- Ruler
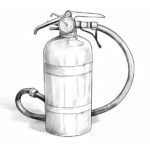
- A reference image of a spray can (this can be found online or you can use an actual spray can as a reference)
With the materials ready, it’s time to unleash your creativity and start drawing!
Step 1: Sketch the Basic Shape of the Spray Can
Begin by lightly sketching a vertical rectangle on your paper. This will serve as the basic shape of the spray can. Use a ruler to ensure straight lines. It’s important to keep the lines light at this stage, as they will be erased later.
Step 2: Add the Cap and Nozzle
Next, sketch a smaller rectangle at the top of the vertical rectangle to represent the cap of the spray can. Make sure it is centered. Below the cap, draw a small oval shape to depict the nozzle. The nozzle should be slightly tilted and towards the front of the can.
Step 3: Define the Can Body
Now it’s time to add some volume to your spray can drawing. Start by drawing a curved line along the sides of the vertical rectangle. This will give the can a round appearance. Next, add two parallel lines on each side, connecting the top and bottom of the can. These lines will represent the ridges on the can body.
Step 4: Refine the Cap and Nozzle
To make the cap and nozzle look more realistic, add some details. Draw a thin rectangular strip around the cap to represent the rim. Within the cap, sketch a circle to indicate the button that is pressed to release the spray. For the nozzle, add some grooves and texture to make it look more three-dimensional.
Step 5: Outline the Can and Add Details
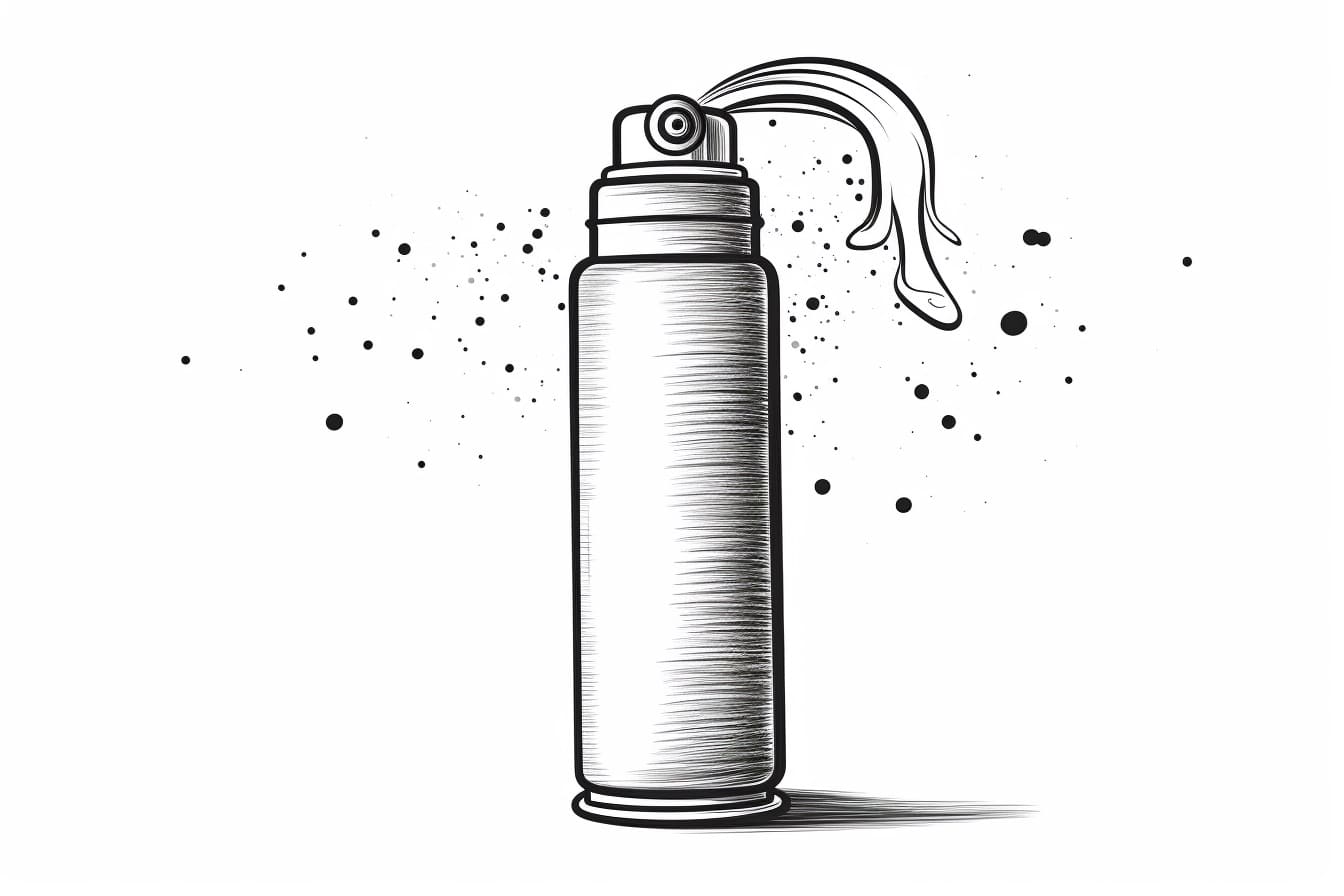
Now it’s time to outline the entire spray can. Use a darker pencil or pen to trace over the sketch lines and make them more defined. Pay attention to the contours and curves of the can, making sure to capture its cylindrical shape. Once you have the outline, add any additional details, such as brand labels or design elements, to make your spray can drawing more interesting.
Step 6: Shade and Add Depth
To give your drawing a realistic look, it’s essential to add shading and depth. Identify the light source in your reference image or imagine one if you’re using your imagination. Start by shading the areas that are farthest from the light source, using a lighter pencil (e.g., 2H). Gradually transition to darker pencils (e.g., HB, 2B) as you move towards the areas that receive more light. Pay attention to the shadows and highlights, and blend the shading with a blending stump or your finger for a smoother appearance.
Step 7: Finalize the Details
Now that you have the basic shading and depth, it’s time to refine the details. Add more texture and highlights to the ridges on the can body. Pay attention to reflections and shiny areas on the cap and nozzle. Add any necessary labels or markings to make your spray can drawing more authentic. Take your time with this step, as the details will make a significant difference in the overall look of your drawing.
Conclusion
Congratulations! You have successfully learned how to draw a spray can. Drawing objects with cylindrical shapes can be challenging, but with practice and patience, you can master it. Remember to observe real spray cans or reference images closely to capture the details accurately. So go ahead and experiment with different colors, designs, and backgrounds to take your artwork to the next level. Happy drawing!