Have you ever looked up at the night sky and felt a sense of wonder and awe? One of the most captivating celestial objects is the spiral galaxy. With its mesmerizing swirls of stars, dust, and gas, a spiral galaxy is a true masterpiece of the universe. If you’ve ever wanted to capture the beauty of a spiral galaxy on paper, you’re in luck! In this step-by-step guide, I will teach you how to draw your very own spiral galaxy. So grab your pencils and let’s get started!
Materials Required
Before we begin, let’s gather all the materials you will need for this drawing:
- Drawing paper
- Pencil set (HB, 2B, 4B, 6B)
- Eraser
- Blending stump or cotton swabs
- Colored pencils or pastels (optional)
Now that we have everything we need, let’s dive into the step-by-step process of drawing a spiral galaxy.
Step 1: Sketch the Center
Start by drawing a small circle near the center of your paper. This will serve as the core of your spiral galaxy. Keep the lines light and loose, as we will be refining the details in the later steps.
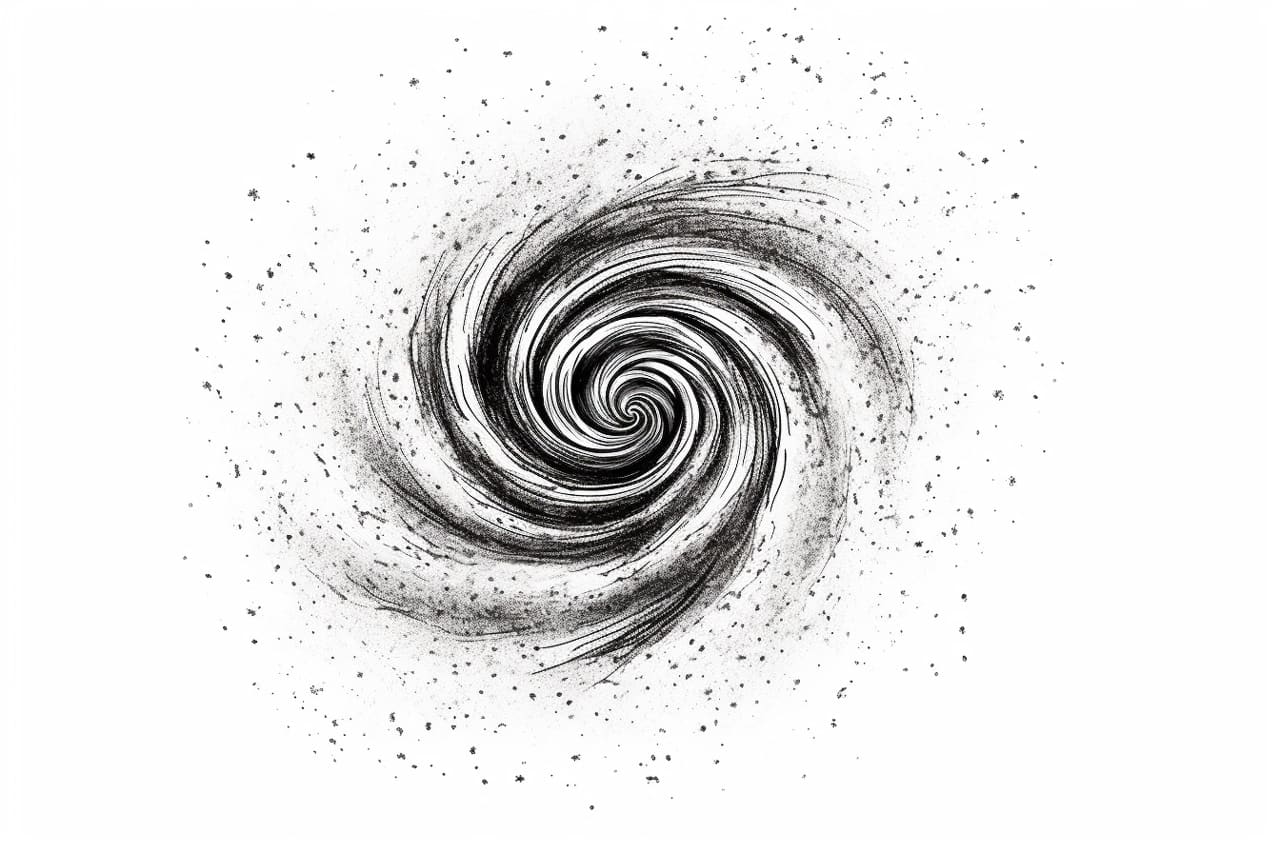
Step 2: Create the Spiral Arms
From the center circle, start drawing curved lines that radiate outward. These lines will represent the spiral arms of the galaxy. Make the lines gradually wider as they extend further away from the center. Remember, spiral galaxies have multiple arms, so feel free to add as many as you like. Experiment with different shapes and lengths to make your galaxy unique.
Step 3: Add Details to the Arms
Now it’s time to add some intricate details to the spiral arms. Start by drawing smaller curved lines within the arms to give them a more textured look. These lines can overlap and intersect with each other to create depth and complexity. Don’t worry about making them perfect – imperfections add character to your galaxy.
Step 4: Add Stars and Nebulae
Next, let’s bring your galaxy to life by adding stars and nebulae. Use your pencil to dot the areas between the spiral arms with small, scattered marks. Vary the sizes and densities of the dots to create a realistic distribution of stars. For the nebulae, draw cloud-like shapes around the arms using curving lines. These nebulae will add a touch of color and mystery to your galaxy.
Step 5: Blend and Shade
To add depth and dimension to your drawing, use a blending stump or a cotton swab to gently blend the shading in the spiral arms. This will create a smooth transition from light to dark. Pay attention to the areas where the arms overlap or intersect – these areas should appear darker and more defined.
Step 6: Darken the Core
Now, let’s give more emphasis to the center of the galaxy. Using a softer pencil (4B or 6B), shade the core area to make it darker than the rest of the galaxy. This will create a focal point and make the arms appear to radiate from the center. Use light, circular motions to blend the shading and create a smooth transition.
Step 7: Optional Coloring
If you want to add a pop of color to your drawing, grab your colored pencils or pastels. Choose vibrant shades of blue, purple, and pink to represent the gas and dust in the galaxy. Apply the colors lightly, allowing the pencil strokes to blend naturally. Focus on the nebulae and areas where the arms overlap to add more dimension and visual interest.
Conclusion
Congratulations! You have successfully learned how to draw a spiral galaxy. By following these step-by-step instructions, you’ve captured the beauty and majesty of the cosmos on paper. Remember, each galaxy is unique, so don’t be afraid to experiment and let your creativity shine. Keep practicing, and soon you’ll be able to create your own stunning galaxies. Happy drawing!