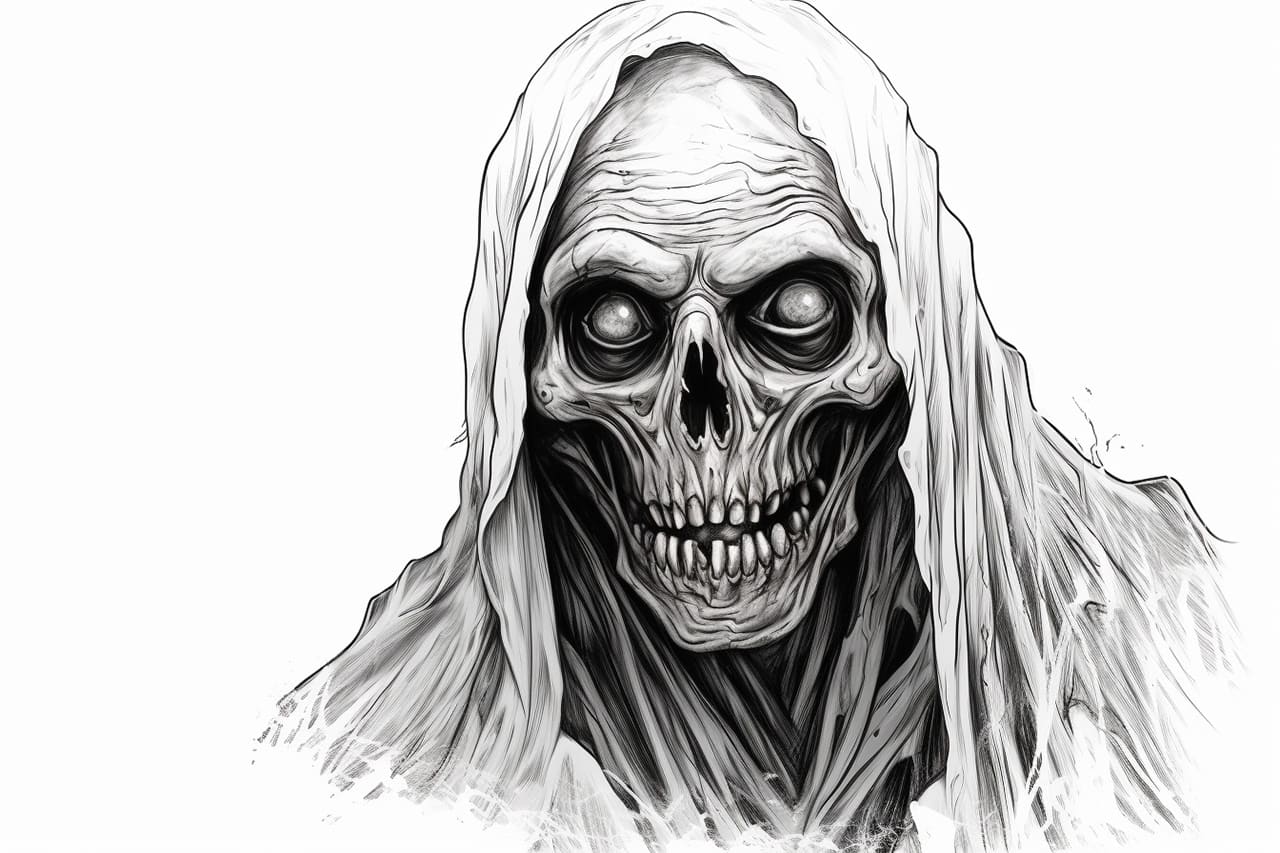
Welcome to this step-by-step guide on how to draw a ghoul! Whether you’re an experienced artist or just starting out, drawing a ghoul can be a fun and challenging project. In this tutorial, I will provide clear and concise instructions to help you create your own spooky ghoul masterpiece. So grab your drawing supplies and let’s get started!
Materials Required
Before we begin, make sure you have the following materials on hand:
- Pencil
- Eraser
- Paper
- Fine-tipped pen or marker (optional)
- Colored pencils or markers (optional)
These materials will provide you with the necessary tools to sketch, outline, and add color to your ghoul drawing. Feel free to adjust the materials based on your preferences and artistic style.
Step 1: Sketch the Basic Shape
Start by lightly sketching the basic shape of your ghoul. Begin with a circle for the head and add a slightly elongated oval shape below it for the body. This will serve as a foundation for the rest of the drawing. Don’t worry about perfection at this stage – we’ll refine the details later.
Step 2: Outline the Head and Facial Features
Using your pencil, you can carefully outline the shape of the ghoul’s head, defining the desired features. Ghouls are often portrayed with sunken eyes, so draw two oval shapes for the eyes, placing them slightly below the center of the head. Add a curved line for the mouth, emphasizing sharp teeth or fangs. Remember to include other characteristic details, such as wrinkles or scars, to give your ghoul its unique look.
Step 3: Add the Hair and Ears
Next, add the hair and ears to your ghoul. Ghouls are commonly depicted with messy, unkempt hair, so feel free to get creative with the hairstyle. Add some uneven strands and make the hair textured by lightly sketching small lines and strokes. For the ears, draw two small, pointed shapes on either side of the ghoul’s head. Remember, ghouls are often associated with a more sinister look, so you can exaggerate the features for added effect.
Step 4: Refine the Body Shape
Now it’s time to refine the body shape of your ghoul. Add more definition to the initial oval shape by sketching the outlines of the arms, legs, and torso. Ghouls are known for their gaunt and skeletal appearance, so keep that in mind as you sketch the body’s proportions. You can also add ripped or tattered clothing to give your ghoul some additional character and personality.
Step 5: Detail the Face and Features
With the basic structure complete, it’s time to add more detail to the face and other features of your ghoul. Use your pencil to carefully refine the shape of the eyes, adding depth and shading to create a hollowed-out look. You can also darken the areas around the eyes and mouth to enhance the ghoul’s creepy appearance. Experiment with different shading techniques to achieve the desired effect.
Step 6: Finalize the Outline
Once you’re satisfied with the details, go over your pencil sketch with a fine-tipped pen or marker to finalize the outline of your ghoul. This will make the drawing more defined and help the details stand out. Be patient and take your time to ensure a steady hand as you trace over the lines. You can erase any remaining pencil marks once the ink has dried.
Step 7: Color Your Ghoul (Optional)
If you prefer to add color to your drawing, now is the time to do so. Use colored pencils or markers to bring your ghoul to life. Ghouls are often depicted with pale, lifeless skin tones, so start with a light base color and gradually build up the shading. Experiment with different color combinations and techniques to add depth and dimension to your drawing. Don’t be afraid to get creative with your color choices!
Conclusion
Congratulations on completing your ghoul drawing! I hope this step-by-step guide has been helpful in creating your own spooky masterpiece. Remember, practice makes perfect, so keep honing your drawing skills and experimenting with different styles. With time and dedication, you’ll be able to create even more detailed and haunting ghouls. Happy drawing!