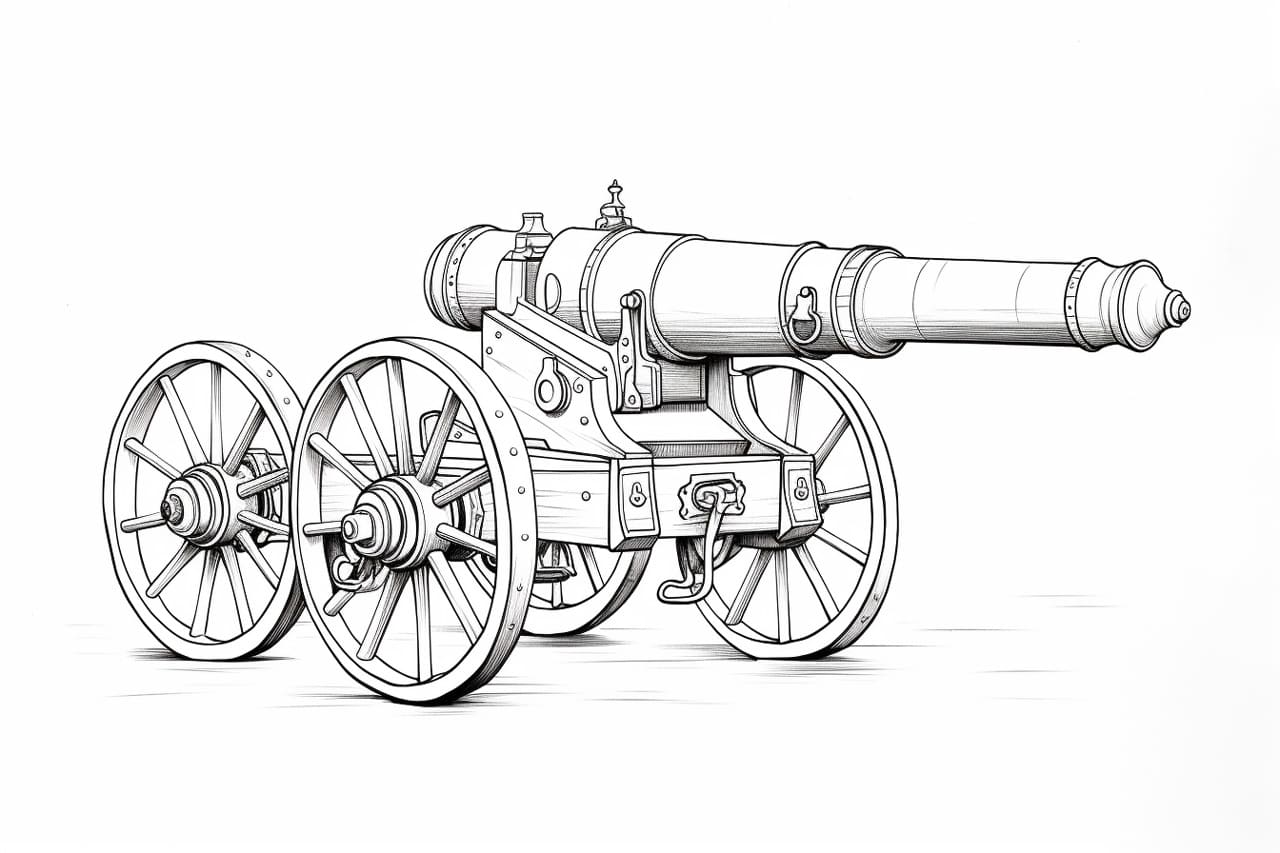
Welcome to this step-by-step guide on how to draw a cannon. Whether you are an experienced artist or just starting out, this tutorial will walk you through the process of creating a realistic and detailed cannon drawing. By following these easy steps and using basic drawing supplies, you’ll be able to create a stunning work of art. So grab your pencils and let’s get started!
Materials Required
To draw a cannon, you will need the following materials:
- Drawing paper
- Pencil set (HB, 2B, 4B, and 6B)
- Eraser
- Ruler
- Blending stump
Now that you have gathered all the necessary materials, let’s begin our cannon drawing!
Step 1: Define the Basic Shape
Start by sketching the basic shape of the cannon using light lines. Begin with a rectangle to represent the body of the cannon. Then, add two smaller rectangles on top for the wheels. The wheels should be slightly larger at the bottom to create a three-dimensional effect.
Step 2: Add Detail to the Body
Next, add a small rectangle on top of the body to create the cannon opening. Then, draw two long rectangles that extend from the opening to represent the barrel. Make sure the barrel is slightly thicker towards the base.
Step 3: Draw the Wheels
To add depth to the wheels, draw spokes inside each wheel using straight lines. Make sure the spokes are evenly spaced and extend from the center of the wheel to the outer edge. Add a smaller circle at the center of each wheel to represent the hub.
Step 4: Define the Barrel
Add details to the barrel by drawing a series of horizontal lines across its length. These lines will give the barrel texture and make it appear more realistic. Make sure the lines are evenly spaced and parallel to each other.
Step 5: Add the Cannonball
Draw a small circle just above the opening of the cannon to represent the cannonball. You can add shading to the cannonball to give it a three-dimensional look by using light lines to create highlights and darker lines to create shadows.
Step 6: Refine the Body and Wheels
Now that you have the basic shape of the cannon, go over your initial sketch with darker lines to define the details. Add additional lines and curves to the body to give it a more realistic appearance. Use a ruler to ensure straight lines and smooth curves.
Step 7: Add Shading
To add depth and dimension to your drawing, it’s time to add shading. Identify the light source and imagine where the shadows would fall on the cannon. Use your pencils to create light, medium, and dark tones accordingly. Start by shading the sides of the cannon, then gradually darken the areas where the shadows are cast, such as the spaces between the wheels and the underside of the cannon.
Step 8: Refine the Details
Now it’s time to add finer details to your cannon drawing. Use a sharper pencil to add texture to the barrel and the wheels. Add more lines and curves to create a realistic and detailed representation of the cannon. Don’t forget to erase any unnecessary or stray pencil marks.
Step 9: Blending and Smudging
To create a smoother and more realistic appearance, use a blending stump or your finger to blend and smudge the shading. This will help to soften the edges and create a seamless transition between different tones. Use gentle and controlled movements to avoid smudging areas that should remain crisp and defined.
Step 10: Final Touches
Take a step back and examine your drawing. Make any necessary adjustments or additions to enhance the overall look of the cannon. Pay attention to details such as highlights, shadows, and textures to make your drawing more visually appealing.
And there you have it! You have successfully drawn a realistic cannon. Remember, practice makes perfect, so feel free to experiment with different techniques and styles to further refine your skills. With time and patience, you’ll be able to create even more impressive drawings.
Conclusion
In this step-by-step guide, we have learned how to draw a cannon using basic drawing materials. By following these easy steps, you can create a realistic and detailed representation of a cannon. Remember to start with a basic shape, add details, and then refine your drawing with shading and fine details. Don’t forget to blend and smudge your shading for a more polished look. With practice, you’ll be able to draw cannons and other objects with ease.
So grab your pencils and start drawing your own cannon masterpiece today!