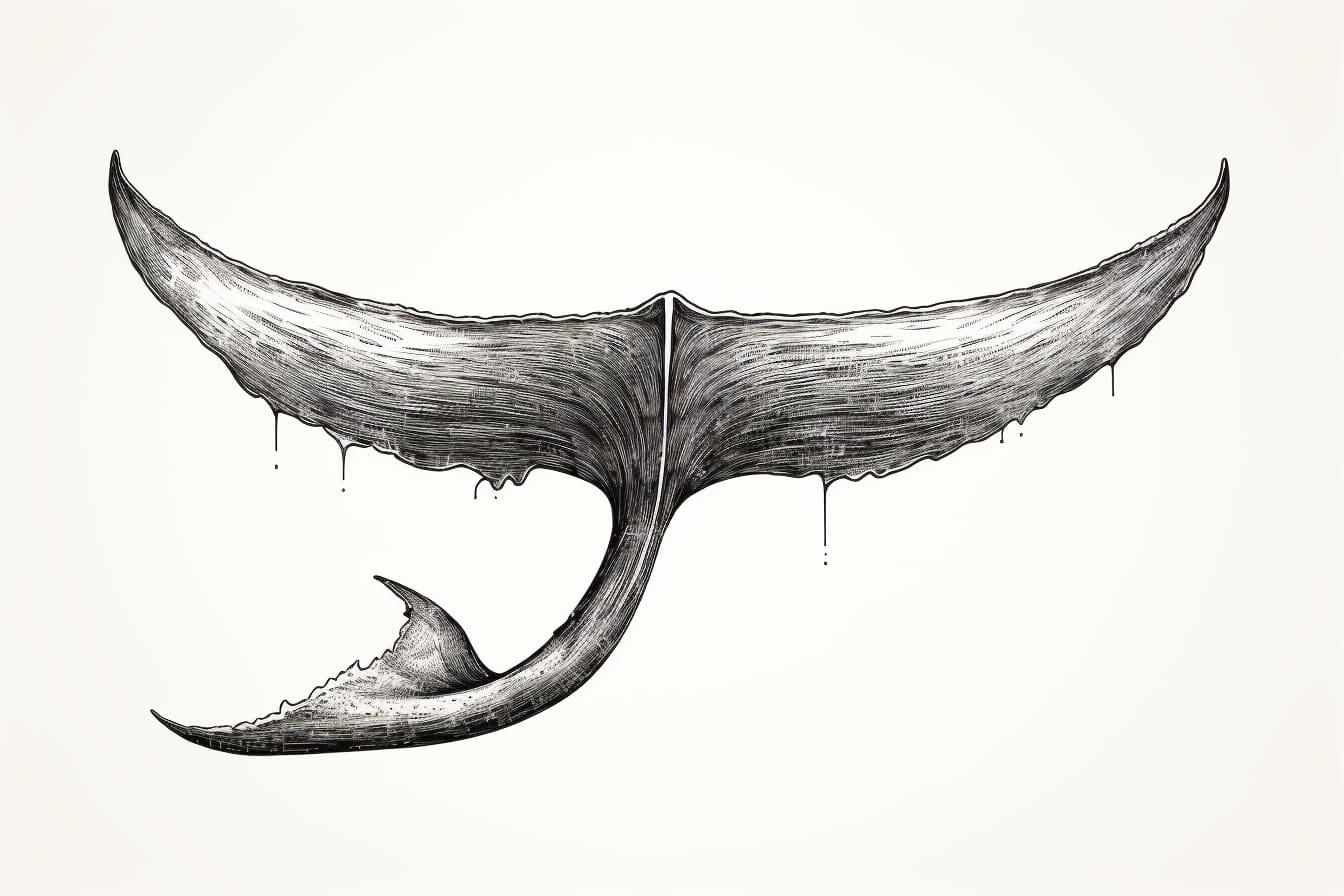
Whale tails are beautiful and majestic creatures that inhabit our oceans. Drawing a whale tail can capture the grace and power of these magnificent creatures. In this article, we will guide you through the step-by-step process of how to draw a whale tail. So grab your pencils, and let’s dive in!
Materials Required
Before we begin, gather the following materials:
- Pencil
- Eraser
- Drawing paper
- Fine-tip black marker or pen
- Colored pencils or markers (optional)
Now that you have all the necessary materials, let’s get started on creating your own stunning whale tail artwork!
Step 1: Start with the Outline
To begin, lightly sketch an elongated oval shape on your drawing paper. This will serve as the base of your whale tail. The oval should be slightly tilted to the right, as if the whale tail is diving into the water.
Step 2: Add the Curved Lines
Draw a large curved line that starts from the left side of the oval and curves upwards. This will create the upper part of the whale tail. Next, draw a smaller curved line that starts from the lower part of the oval and curves downwards. This will form the lower part of the tail. Pay attention to the natural flow and shape of the curves, as this will give your drawing a more realistic look.
Step 3: Define the Shape
Using your pencil, add more definition to the shape of the whale tail. Start by refining the outline, making it smoother and more curved. Then, add a slightly curved line at the top of the tail, following the shape of the upper curve. This will give the tail a more three-dimensional appearance.
Step 4: Create the Flukes
The flukes are the two lobes at the end of the whale tail. Begin by adding a curved line at the tip of the lower part of the tail. Then, draw two more curved lines, one on each side of the first line, gradually curving inward. Connect the ends of these lines with a curved line at the bottom. This will form the shape of the flukes. Make sure to leave a small gap between the flukes and the rest of the tail.
Step 5: Refine the Details
Now it’s time to refine the details of the whale tail. Use your eraser to remove any unnecessary lines and smudges. Then, go over the outline with a fine-tip black marker or pen, making it bolder and more defined. Add small, curved lines along the flukes to represent the texture of the whale’s skin.
Step 6: Add Depth and Shadows
To create depth and shadows, lightly shade the areas of the whale tail that would naturally be darker, such as the lower part of the tail and the area between the flukes. Use your pencil to gradually build up the shading, using light strokes to create a smooth transition. You can also use colored pencils or markers to add color to your drawing, if desired.
Step 7: Final Touches
Take a step back and assess your drawing. Make any final adjustments or additions to enhance the overall appearance. You can add more details, such as water splashes around the tail, or even other marine creatures in the background to make your artwork more dynamic and interesting.
Conclusion
Drawing a whale tail can be a fun and rewarding experience. By following these step-by-step instructions, you can create a stunning artwork that captures the beauty and grace of these incredible creatures. Remember to practice and experiment with different techniques to improve your skills. So grab your pencils and start exploring the depths of your creativity with a whale tail drawing!


