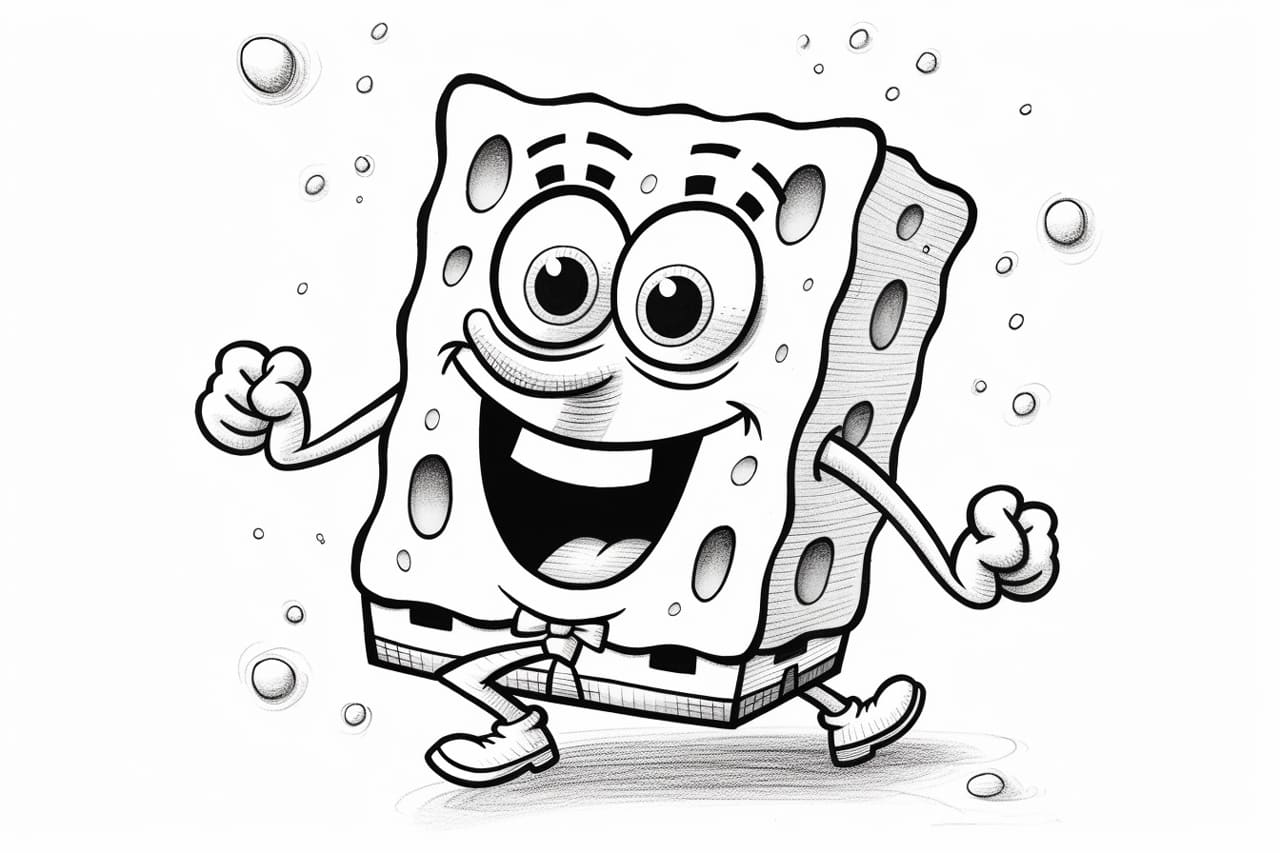
Do you love watching SpongeBob SquarePants and want to learn how to draw your favorite character? Look no further! In this step-by-step tutorial, we will guide you through the process of how to draw a cartoon SpongeBob. So grab your pencils, and let’s dive in!
Materials Required
To begin, gather the following materials:
- Drawing paper or sketchbook
- Pencils (preferably a set with various lead hardness)
- Eraser
- Fine-tip black marker or pen
- Colored pencils or markers (optional)
Now that you have all your materials ready, it’s time to bring SpongeBob to life on paper!
Step 1: Basic Shapes
Start by drawing a large rectangle in the center of your paper. This will be SpongeBob’s body. Next, add a smaller rectangle on top of the first one for his head. These basic shapes will serve as the foundation for the rest of the drawing.
Step 2: Facial Features
Divide SpongeBob’s head into three equal horizontal sections. The top section will be for his eyes, the middle section for his nose, and the bottom section for his mouth. Draw two large oval-shaped eyes in the top section, slightly tilted towards each other. Add smaller circles inside the eyes for his pupils.
Below the eyes, draw a short, curved line for his nose. Then, in the bottom section, draw a wide, rectangular shape for his mouth. Add a small curve at each end to give SpongeBob his signature smile.
Step 3: Eyebrows and Teeth
Above each eye, draw a thick, curved line for SpongeBob’s eyebrows. Make sure they are slightly arched to give him a lively expression. Next, inside his mouth, draw two rows of square-shaped teeth. Don’t worry about making them perfectly straight or aligned – SpongeBob’s teeth are quirky and unique!
Step 4: Arms and Legs
Now, let’s add some limbs to our cartoon SpongeBob. Draw two curved lines extending from the sides of his body for his arms. At the end of each line, add three short, rounded fingers.
For his legs, draw two long, curved lines extending down from the bottom of his body. At the end of each line, draw a short, curved line for his shoes. SpongeBob’s shoes resemble squares with rounded corners.
Step 5: Shirt and Tie
To give SpongeBob some clothing, draw a collar around his neck. The collar should be a simple curved line that extends from one side of his body to the other. Then, draw two small triangles on each side of his collar to represent his tie.
Step 6: Facial Details
It’s time to add some more details to SpongeBob’s face. Draw two small circles on the right side of his head, above his mouth, to represent his cheeks. Inside each cheek, draw a smaller circle for his dimples.
Next, draw two thick, curved lines above SpongeBob’s eyes for his eyelashes. These lines should be slightly longer on the outside edges of his eyes. Finally, draw a thin, curved line for his tongue inside his mouth.
Step 7: Sponge Texture
To give SpongeBob his sponge-like texture, lightly draw a crisscross pattern all over his body. This will mimic the appearance of a kitchen sponge. Once you are satisfied with the pattern, darken the lines with your pencil.
Step 8: Outlining with a Marker
Now that you have completed the pencil sketch, it’s time to outline your drawing with a fine-tip black marker or pen. Trace over all the main lines, including the eyes, mouth, arms, legs, and details. This will make your drawing more defined and crisp.
Step 9: Coloring (Optional)
If you want to add some color to your SpongeBob drawing, grab your colored pencils or markers and let your creativity shine! SpongeBob’s body is typically yellow, his eyes are blue, and his tie is red. However, feel free to experiment with different color schemes or add your unique twist.
Step 10: Final Touches
Once you have finished coloring, take a moment to review your drawing. If there are any stray pencil lines, gently erase them to clean up your artwork. You can also add shading or highlights to make your cartoon SpongeBob look more three-dimensional.
Congratulations! You’ve successfully drawn your very own cartoon version of SpongeBob SquarePants. Now, whether you choose to display it proudly or share it with friends, you can celebrate your artistic achievement.
Conclusion
Drawing SpongeBob may seem challenging at first, but with these step-by-step instructions, you can create your own cartoon masterpiece. Remember to start with basic shapes, add details gradually, and have fun throughout the process. Practice makes perfect, so don’t be afraid to try again if your first attempt doesn’t meet your expectations.
We hope you enjoyed this tutorial and that it sparked your creativity. Now, go ahead and draw SpongeBob, the lovable and iconic character, anytime you want. Happy drawing!