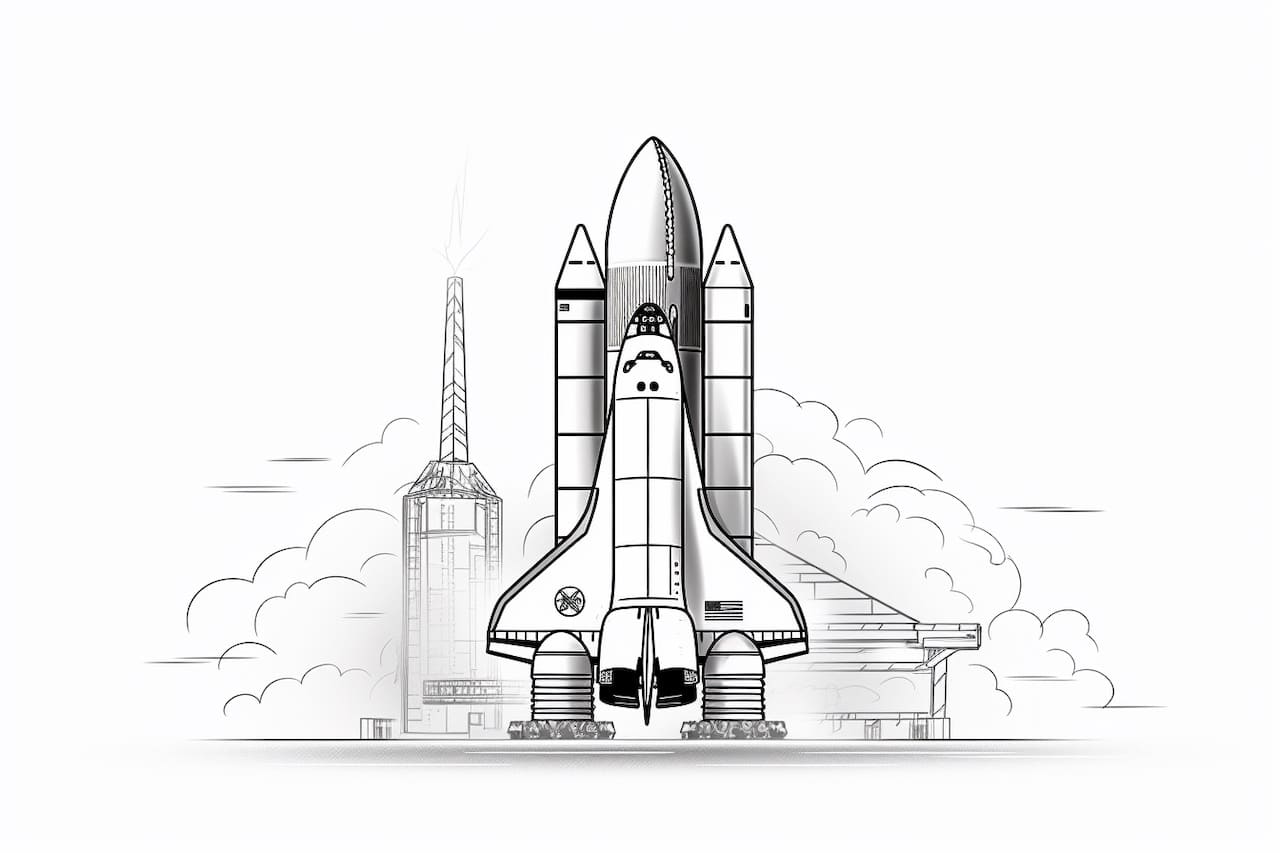
Welcome to this step-by-step guide on how to draw a space shuttle! Whether you are a beginner or an experienced artist, this tutorial will provide you with clear instructions to create your own impressive space shuttle drawing. So grab your art supplies, and let’s get started on this exciting journey!
Materials Required
Before we begin, gather the following materials:
- Drawing paper
- Pencil (preferably a mechanical pencil or a sharp #2 pencil)
- Eraser
- Fine-tip black marker or pen
- Colored pencils or markers (optional)
- Reference image of a space shuttle (recommended)
Now that you have your materials ready, let’s dive into the steps to draw a space shuttle!
Step 1: Sketch the Basic Shapes
Start by lightly sketching the basic shapes of the space shuttle. Begin with a large oval shape for the body of the shuttle. Then, draw a smaller rectangular shape towards the front of the oval for the cockpit. Finally, add two smaller rectangles on either side of the oval for the wings.
Step 2: Define the Outline
Using your pencil, carefully define the outline of the space shuttle. Pay close attention to the curves and angles of the body, wings, and cockpit. Use light, smooth strokes to ensure the lines are clean and easy to erase if needed.
Step 3: Add Details to the Body
Now, it’s time to add some details to the body of the space shuttle. Draw a smaller oval inside the main oval shape to represent the payload bay. Next, add a series of rectangular shapes along the body to depict windows. Remember to keep the lines clean and precise.
Step 4: Refine the Wings
Refine the shape of the wings by adding more details. Draw diagonal lines across the wings to give them a realistic appearance. Then, add vertical lines to represent the different sections of the wings. Pay attention to the proportions and angles to maintain accuracy.
Step 5: Draw the Tail and Engines
Extend the bottom of the space shuttle to create the tail. Add a triangle shape at the end of the tail to complete it. Next, draw two small rectangles near the bottom of the shuttle to represent the main engines. Add some details to the engines by drawing circles or ellipses in the rectangles.
Step 6: Sketch the Rocket Boosters
To make the space shuttle look more realistic, sketch the rocket boosters. Draw two long, cylindrical shapes on either side of the shuttle’s main body. These boosters should be slightly shorter than the wings. Add some more details such as circles or ellipses on the boosters to represent the nozzle openings.
Step 7: Erase Unnecessary Guidelines
Take your eraser and carefully remove any unnecessary or overlapping guidelines. Make sure to erase lightly to avoid smudging the pencil lines you want to keep. Use a kneaded eraser if you have one, as it allows for more precise erasing.
Step 8: Ink the Drawing
Now that you have a clean outline, use a fine-tip black marker or pen to trace over the pencil lines. Start from one end of the space shuttle and work your way around, ensuring smooth and confident strokes. Take your time and be patient to achieve a professional-looking result.
Step 9: Add Shading and Details
If you prefer a more realistic or dimensional look, you can add shading and additional details to your space shuttle drawing. Use a few shades of gray or colored pencils to create shadows and highlights. Focus on areas where the light hits or is blocked by different parts of the shuttle.
Step 10: Color Your Space Shuttle (Optional)
If you want to add some color to your drawing, grab your colored pencils or markers. Research different space shuttle designs or use your imagination to choose the colors for the body, wings, engines, and boosters. Be creative and have fun experimenting with various color combinations.
And there you have it – your very own space shuttle drawing! Take a step back and admire your artwork. Remember, practice makes perfect, so don’t be discouraged if your first attempt isn’t exactly what you envisioned. Keep honing your skills by drawing more space shuttles or other space-related objects.
Conclusion
In this step-by-step tutorial, we explored the process of drawing a space shuttle. From sketching the basic shapes to adding details and coloring, each step was designed to help you create an impressive space shuttle illustration. So grab your art supplies and let your creativity take flight!