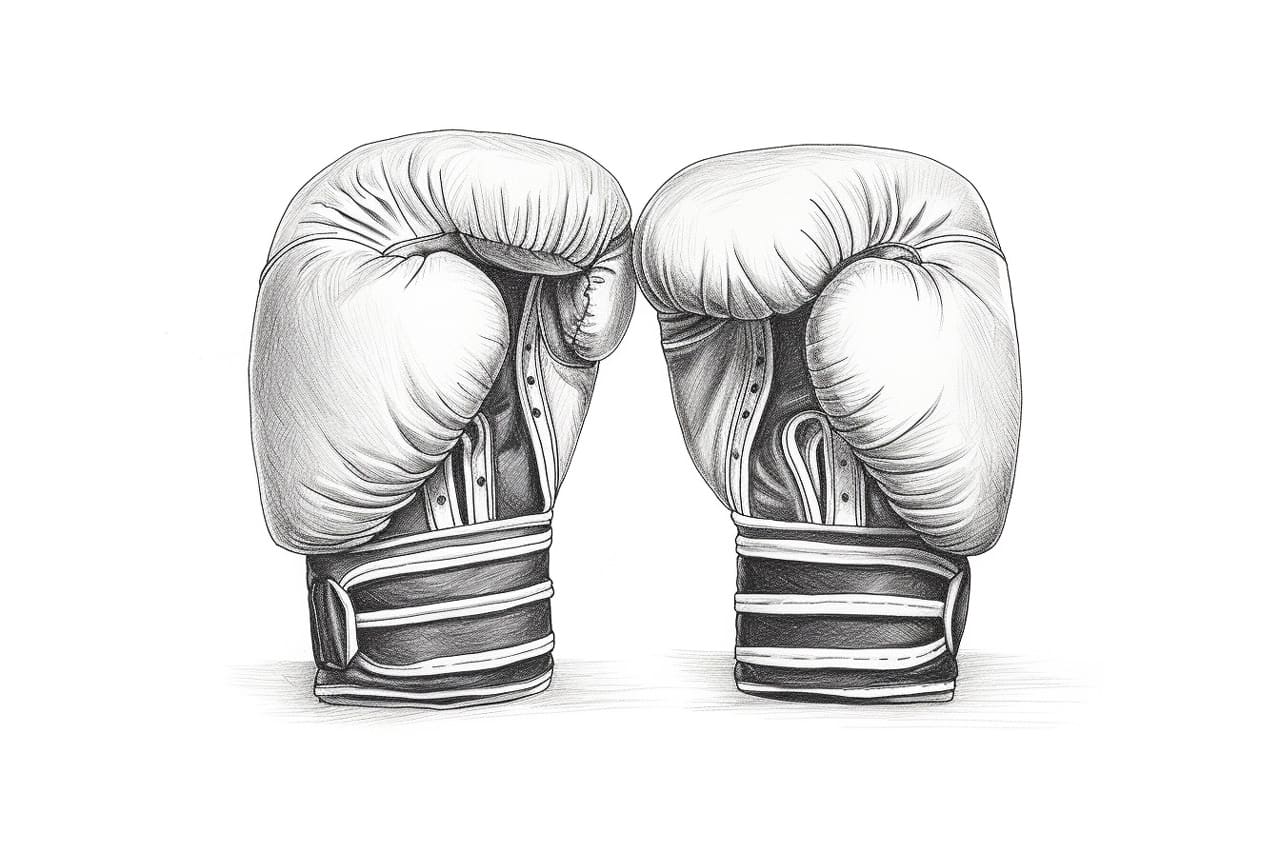
Boxing gloves are an essential part of the sport, protecting the hands and wrists of boxers during intense training and matches. Drawing boxing gloves can be a fun and challenging for artists of all skill levels. In this step-by-step guide, we will walk you through the process of how to draw boxing gloves, providing clear instructions and helpful tips along the way. So grab your pencils, erasers, and paper, and let’s get started!
Materials Required
To draw boxing gloves, you’ll need the following materials:
- Drawing paper
- Pencils (a range of hardness from 2H to 6B)
- Erasers (kneaded and/or vinyl erasers)
- Pencil sharpener
- Ruler
- Reference image (optional but highly recommended)
Step 1: Basic Shape
Begin by lightly sketching the basic shape of the boxing glove using a pencil. Start with an oval shape for the main body of the glove. Draw another oval shape below it, slightly elongated, for the cuff of the glove. Connect these two shapes with curved lines to create the overall outline of the glove.
Step 2: Adding Details
Next, add some details to your glove sketch. Draw a curved line across the palm area of the glove to indicate where the hand would go. Then, sketch two parallel lines on each side of the cuff to represent the strap that fastens the glove around the wrist. You can also add some stitching lines along the edges of the glove for a more realistic look.
Step 3: Shading the Glove
Now it’s time to add shading to give your drawing depth and dimension. Start by identifying the light source in your reference image or imagine it in your mind. Shade the areas of the glove that would be in shadow, using a softer pencil (4B or 6B). Gradually build up the shading, remembering to blend it smoothly with a tortillon or your fingertip to create a seamless transition between light and shadow.
Step 4: Textures and Details
To make your boxing glove drawing more realistic, add textures and details. Use a sharper pencil (2H or HB) to create the texture of the glove’s leather or fabric. Indicate the stitching lines more clearly by adding small dashes along the edges. Pay attention to any logos or brand names on the glove and include those details as well.
Step 5: Wrinkles and Folds
Boxing gloves are not perfectly smooth; they have wrinkles and folds that add to their authenticity. Use light, curved lines to indicate the folds and wrinkles in the leather or fabric of the glove. Focus on areas such as the knuckles and the end of the cuff where these wrinkles are more prominent.
Step 6: Final Touches
Take a step back and evaluate your drawing. Make any necessary adjustments to ensure the proportions and shapes are accurate. Erase any unnecessary sketch lines and clean up the drawing overall. Add final touches, such as highlights on the shiny parts of the glove, using a kneaded eraser or a white gel pen.
Conclusion
Drawing boxing gloves can be a rewarding artistic endeavor, allowing you to explore textures, shapes, and shading. By following these step-by-step instructions and paying attention to details, you can create a realistic and visually appealing representation of these essential sports accessories. So pick up your drawing materials and give it a try! With practice, you’ll master the art of drawing boxing gloves in no time.