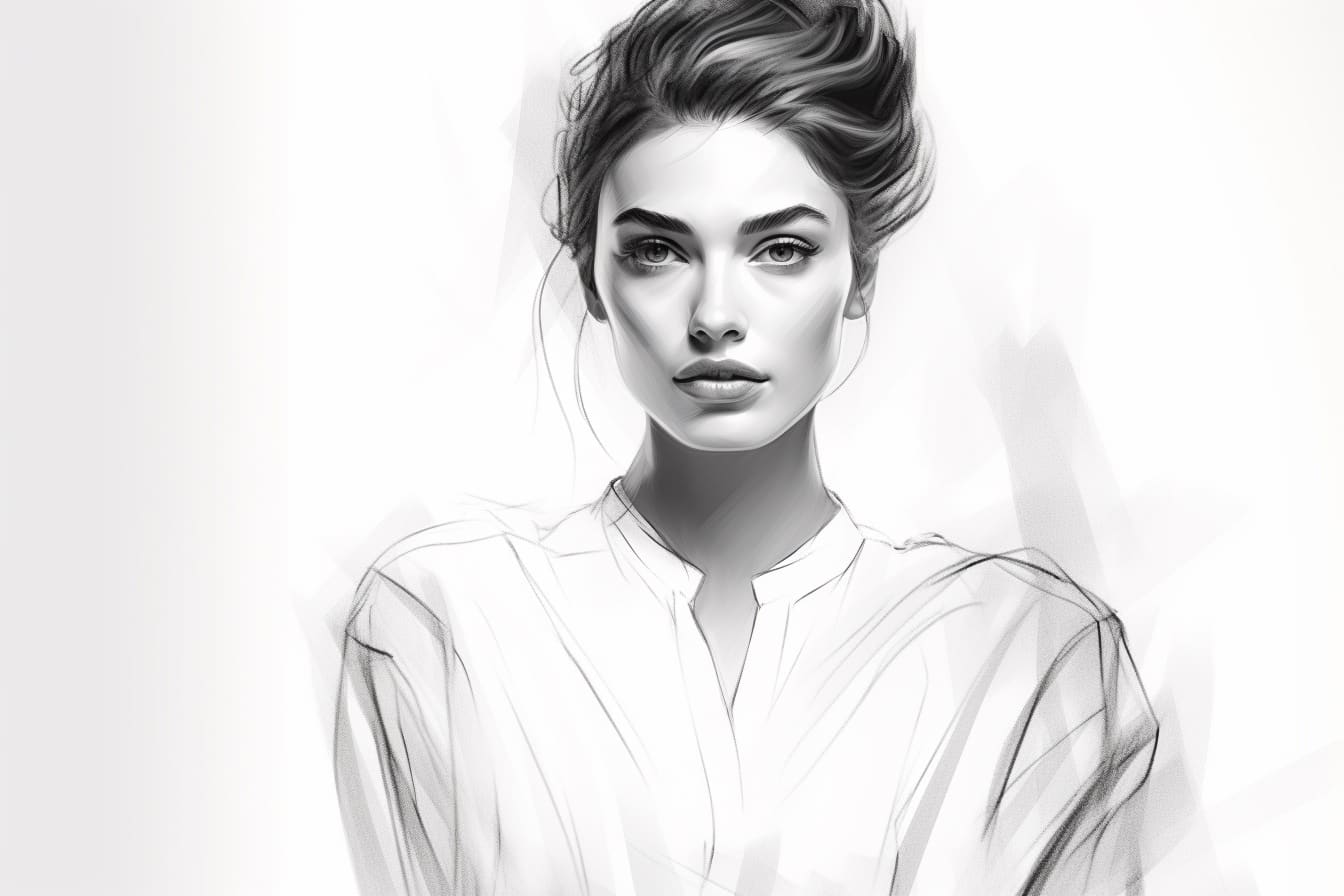
Drawing a fashion model can be a fun and rewarding experience that allows you to showcase your creativity and express your unique perspective on fashion. Whether you are an aspiring fashion designer or simply enjoy exploring different art forms, learning how to draw a fashion model is a valuable skill to have. In this step-by-step guide, I will walk you through the process of drawing a fashion model, helping you bring your ideas to life on paper. So grab your materials and let’s get started!
Materials Required:
Before we begin, gather the following materials:
- Drawing paper
- Pencils of different grades (2B, 4B, 6B)
- Eraser
- Ruler
- Reference images of fashion models (online or from magazines)
- Colored pencils or markers (optional)
Now that you have all the necessary materials, we can move on to the step-by-step process of drawing a fashion model.
Step 1: Basic Body Proportions
Start by drawing a vertical line in the center of your paper. This line will serve as the guide for the model’s body proportions. From the top, draw a small circle for the head, then draw a rectangle beneath it for the torso. Divide the rectangle into two equal parts to represent the upper and lower body. Finally, add two lines extending downwards for the legs.
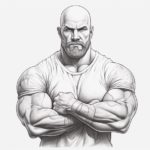
Step 2: Outlining the Body
Using your reference image as a guide, lightly sketch the outline of the model’s body. Pay attention to the curves and angles of the body, ensuring that they are in proportion to each other. Remember, fashion models are often elongated and have a slender physique, so keep the proportions realistic but stylized.
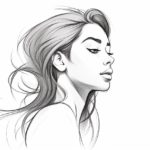
Step 3: Adding Facial Features
Draw an oval shape within the circle you sketched for the head. Divide this oval into halves vertically and horizontally to help you place the facial features accurately. Using light strokes, add the eyes, nose, and mouth. Remember to consider the angle and expression of the model in your reference image.
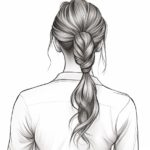
Step 4: Detailing the Hair
Fashion models often have stylish and trendy hairstyles, so take this opportunity to showcase your creativity. Sketch the hair lightly using flowing and loose strokes. Experiment with different styles and textures to find the look that best suits your fashion model.
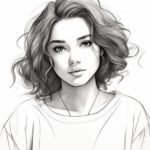
Step 5: Adding Clothing
Start adding the clothing details to your fashion model. Look closely at your reference image to identify the garment’s shape, folds, and patterns. Use light and loose strokes to sketch the clothing, gradually adding more definition as you go. Take your time to ensure the clothing looks fluid and drapes realistically on the model’s body.
Step 6: Refining and Shading
Now it’s time to refine the details and add shading to give your drawing depth and dimension. Use a darker pencil to define the outlines and add shadows where appropriate. Pay attention to the light source in your reference image to accurately depict the highlights and shadows on the model’s body and clothing.
Step 7: Adding Accessories
To complete your fashion model drawing, consider adding accessories such as jewelry, handbags, or shoes. These details can enhance the overall look and add personality to your fashion illustration. Take your time with these elements, ensuring they are in harmony with the rest of the drawing.
Conclusion:
Congratulations! You have successfully learned how to draw a fashion model. By following these step-by-step instructions and using your creativity, you can create stunning fashion illustrations that showcase your unique style. Remember to practice regularly and experiment with different poses, clothing styles, and art techniques to further develop your skills. So, grab your materials, let your imagination run wild, and enjoy the process of bringing your fashion models to life on paper!