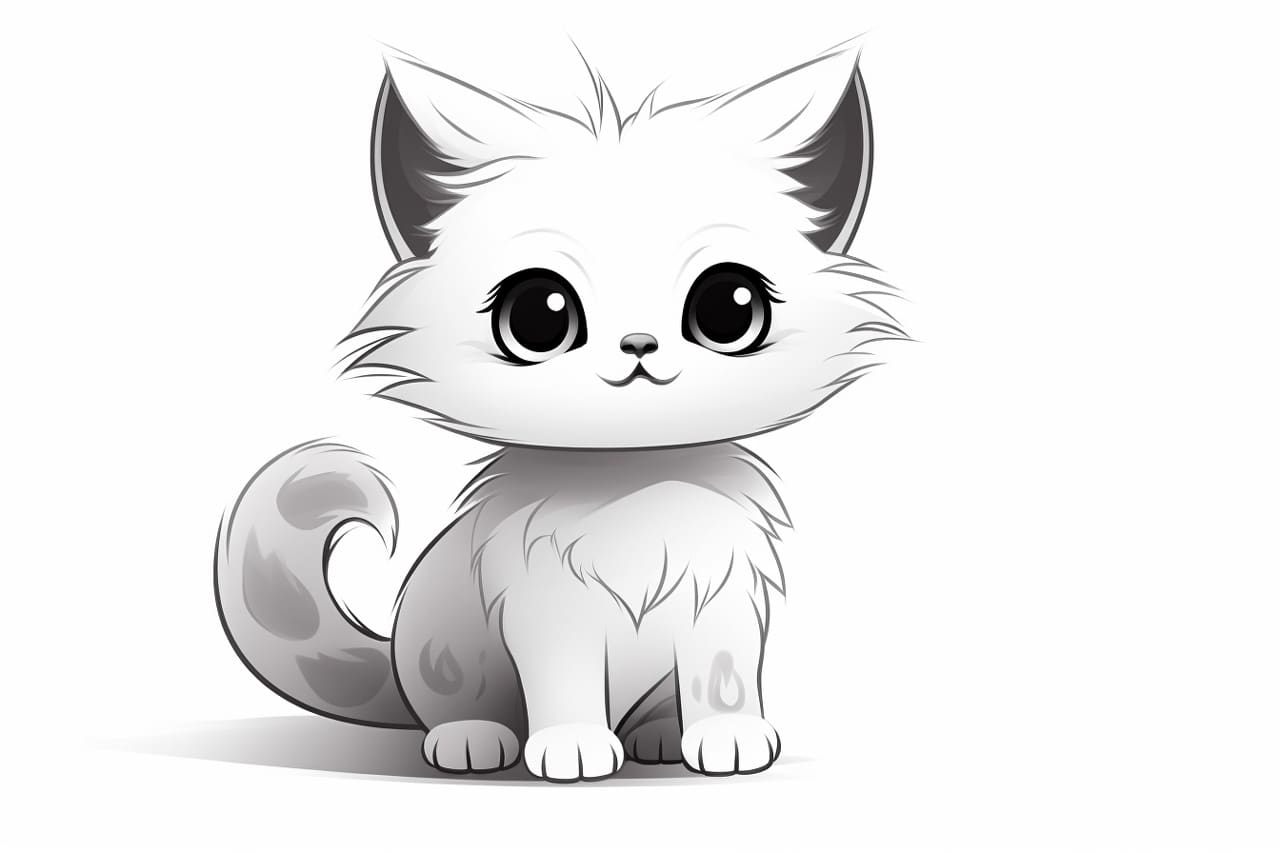
Welcome to this step-by-step tutorial on how to draw a chibi cat! Chibi is a Japanese term that refers to small, cute, and simplified versions of characters or animals. If you love cats and want to learn how to draw them in an attractive and adorable style, you’ve come to the right place! This tutorial will guide you through how to draw a chibi cat, starting from basic shapes and gradually adding details. So grab your pencil and paper, and let’s get started!
Materials Required:
To begin drawing your chibi cat, you’ll need the following materials:
- A sketchbook or a blank sheet of paper
- A pencil (preferably HB or 2B)
- An eraser
- Colored pencils or markers (optional)
Now that you have your materials ready, let’s dive into the step-by-step guide.
Step 1: Draw the Body and Head
Start by drawing a large oval shape for the body of the chibi cat. Place it towards the center of your page, leaving enough space for the head above it. Next, draw a smaller oval shape above the body to represent the head.
Step 2: Add the Facial Features
To give your chibi cat an adorable face, draw two large circles for the eyes. Leave a small gap between the eyes for the nose. Then, draw a small triangle shape below the gap to form the nose. Finally, add a curved line below the nose for the mouth.
Step 3: Draw the Ears and Whiskers
Chibi cats have cute and expressive ears, so let’s add them now. To do this, draw two triangular shapes on top of the head. You can make them slightly rounded at the tip for a softer look. Next, draw three short lines on each side of the face to represent the whiskers.
Step 4: Outline the Body and Tail
With the basic facial features in place, it’s time to outline the body and tail. Start by drawing a curved line from the head to the body, connecting them smoothly. Then, draw two curved lines extending from the body, tapering towards the tip to create the tail.
Step 5: Sketch the Paws
To draw the paws, start by sketching two small ovals on either side of the body, just below the head. These will be the front paws. Then, draw two more ovals towards the bottom of the body, slightly overlapping the front paws. These will be the hind paws.
Step 6: Add Details to the Face
Let’s add some character to the face by adding details. Draw small circles inside the eyes for the pupils. Then, draw a curved line above each eye to represent the eyebrows. You can also add some small dots or lines below the mouth to represent the chin or whisker spots.
Step 7: Refine the Shape and Features
Now that you have the basic outline, refine the shape of the chibi cat by erasing any unnecessary lines and adding more details. You can give the cat a chubby appearance by adding a few curved lines on the cheeks. Don’t forget to add some fur details on the ears, tail, and body.
Step 8: Finalize Your Drawing
To finalize your drawing, darken the lines you want to keep and erase any remaining guidelines. Once you’re satisfied with the outline, you can choose to color your chibi cat using colored pencils or markers. Feel free to get creative with colors and patterns to make your chibi cat unique and vibrant.
And there you have it! You’ve successfully learned how to draw a chibi cat. With practice, you can experiment with different poses, expressions, and accessories to make your chibi cat drawings even more adorable. Keep practicing and have fun creating your own collection of cute chibi cats!
Conclusion
Drawing a chibi cat is a fun and rewarding activity that allows you to unleash your creativity and express your love for felines. By following the step-by-step guide in this tutorial, you’ve learned how to draw a chibi cat from scratch, starting with simple shapes and gradually adding details. Remember, practice is key to improving your drawing skills, so don’t be afraid to try different poses and experiment with colors. Have fun creating your own adorable chibi cat characters, and enjoy the process of bringing them to life on paper!


