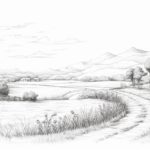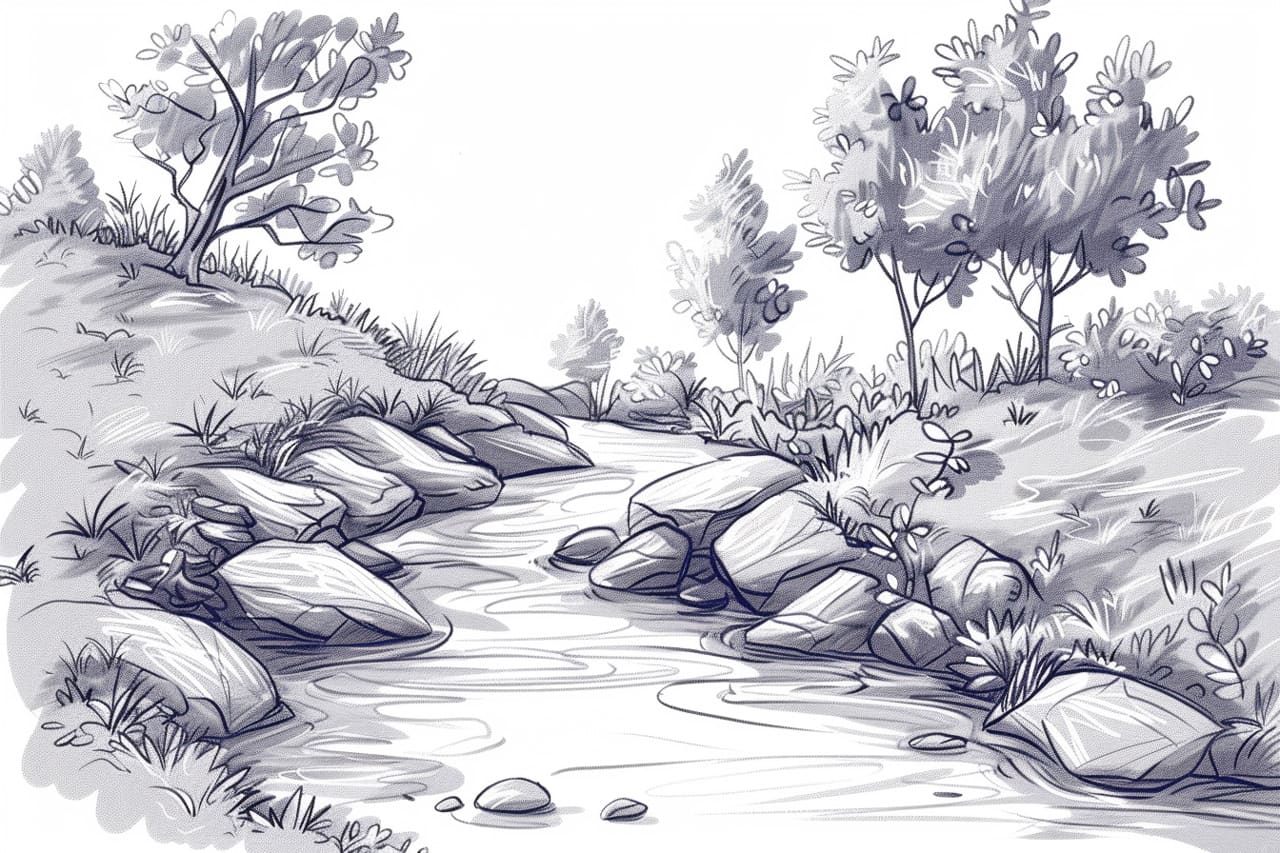
Are you an aspiring artist who wants to learn how to draw a realistic and picturesque stream? Streams can be a captivating subject to draw, with their flowing water and surrounding landscapes. In this step-by-step guide, I will teach you how to draw a stream on paper, recreating its natural charm. So, let’s grab our drawing supplies and get started!
Materials Required
Before we begin, make sure you have the following materials ready:
- Drawing paper: Choose a high-quality paper that is suitable for sketching and can handle the application of various drawing techniques.
- Pencils: Have a range of graphite pencils available, such as 2B, 4B, and 6B. These pencils will allow you to create the necessary tonal values.
- Erasers: Keep a kneaded eraser and a vinyl eraser handy for making corrections and adjusting the values in your drawing.
- Blending tools: You will need a blending stump or tortillon to blend and smudge certain areas of your drawing for a more realistic effect.
- Reference image: Find a photo or picture of a stream that inspires you. This will help you understand the shapes, forms, and details of a stream.
Now that you have everything you need, let’s dive into the step-by-step process of drawing a stream.
Step 1: Sketch the Basic Shapes and Lines
Start by lightly sketching the basic shape of the stream. Use fluid and curved lines to create the contour of the stream’s path. Remember that streams are rarely perfectly straight, so try to add gentle curves and bends to your line.
Next, sketch the surrounding landscape. Include elements such as trees, rocks, and grass. Keep in mind the direction and flow of the stream when positioning these natural features.
Step 2: Define the Stream’s Banks
In this step, you will define the banks of the stream. These are the sides that contain and guide the flow of the water. Use slightly curved lines to indicate the slope of the banks. Pay attention to how the banks interact with the surrounding landscape and adjust your sketch accordingly.
Step 3: Add Depth with Tonal Values
Tonal values play a crucial role in creating a sense of depth and realism in your drawing. Begin by shading the darker areas of the stream, such as the areas where the water collects or where the stream becomes deeper. Use a 4B or 6B pencil to achieve a darker tone.
Gradually work on shading the lighter areas of the stream, where the water is shallow or more transparent. Use a lighter pencil, such as a 2B, and apply less pressure to create a softer shading effect.
Step 4: Render the Water
To create the illusion of flowing water, it’s essential to understand the characteristics of water and how it interacts with its surroundings. Start by lightly shading the area of the stream where the water flows. Use diagonal lines or gentle curves to indicate movement.
Next, use your kneaded eraser to lift off some graphite and create highlights where the water is hitting rocks or creating small ripples. This will give your drawing a more realistic look and add texture to the surface of the water.
Step 5: Add Details and Texture
To make your stream drawing more convincing, focus on adding details and textures. Begin by adding rocks and pebbles along the stream’s bed. Vary the shape, size, and position of the rocks to create a natural and irregular pattern.
Next, work on adding texture to the surrounding landscape. Use short, quick strokes to create the appearance of grass or foliage. Pay attention to the direction of the strokes, as it can help create a sense of movement and depth.
Step 6: Refine and Finalize
Take a step back and assess your drawing as a whole. Are there any areas that need adjustment or refinement? Use your erasers to make corrections and refine the tonal values if necessary.
Once you are satisfied with your drawing, darken the lines and contours of the stream, as well as any other key details. This will make your drawing appear more defined and finished.
And there you have it! You have successfully created a drawing of a stream. Remember, practice makes perfect, so keep honing your skills and experimenting with different techniques to make your stream drawings even more captivating.
Conclusion
Drawing a stream can be a challenging yet rewarding experience. By following this step-by-step guide and using the right materials, you can create a stunning and lifelike representation of a stream. Remember to observe and study the characteristics of water and its surroundings to achieve a realistic and convincing result. So grab your drawing supplies, find some inspiration, and let your creativity flow just like the stream itself!